
A laptop panel needs a controller matched to its exact model to work as a computer screen. That board converts the computer's video signal into the panel's input. An HDMI cable alone can't drive a bare laptop display.
You'll be assembling a display from existing parts, rather than making the glass or pixels. Start with a working panel and a matched controller kit, test them together, then build the enclosure around the parts that actually work.
Identify the panel before buying the electronics
Read the complete part number from the label behind the panel. A laptop's retail model name is useful for finding its service manual, but it isn't a reliable substitute for the display panel's own part number.
Different screens can fit the same laptop family. Keep every suffix in the panel number when asking about compatibility. The same screen size or a similar-looking connector doesn't tell you whether a controller can run the panel correctly.
For a panel still inside a laptop, follow that model's service manual for removing the display assembly and disconnecting its battery. Do not work on the display cable while the laptop is powered or its battery remains connected.
If you haven't opened a laptop before, starting with a loose panel or asking a repair shop to remove it is a sensible choice. The screen and its small cable latches are less forgiving than an external HDMI plug.
Check the picture before removing the panel, when possible. A separate controller won't repair cracked glass or existing panel faults. You're changing how the screen receives video, so it needs to work before you start.
Choose a controller kit for that exact model
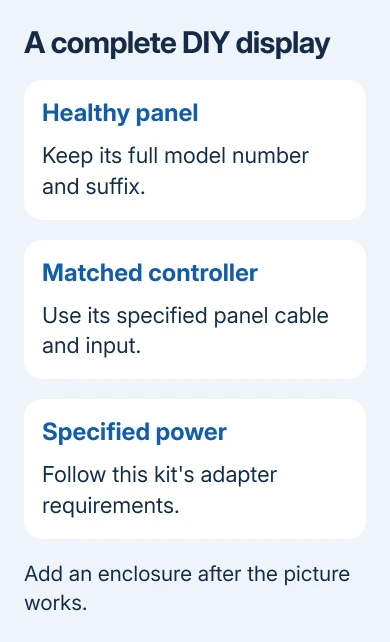
Ask the kit supplier to confirm the complete panel number, including its suffix. The kit needs the correct panel cable, controller settings and power supply, not simply a listing that says it supports laptop screens.
Laptop panels can use eDP (embedded DisplayPort) or LVDS, another internal video connection. They aren't interchangeable. Choose a controller designed for your panel's connection.
One owner completed a laptop-panel monitor build by matching the LCD part number to an eDP controller. Their board worked during an open test before they made its acrylic backing and mounted the electronics.
That board offered HDMI and USB-C inputs, with USB-C supplying video and power. Other controllers work differently. A kit accepting HDMI video can still require its own power adapter.
Before ordering, ask which inputs, cable and button board are included and which power adapter you need. Ask whether the controller arrives set up for your panel or needs setup by the supplier first.
I'd settle those questions before buying the enclosure. A bargain board won't help until you have the cable, power supply and panel it needs. You'll also need to know the port positions before cutting the case.
Gather the parts for a complete display
For the basic build, you'll need the working panel, its matched controller and cable, the specified external power supply, a video cable and a backing or enclosure. Include the controller's button board if it's a separate part.
An older panel with a CCFL backlight, which uses fluorescent lamps, also needs a compatible inverter to power those lamps. Have the supplier confirm that the kit covers the backlight as well as the video connection.
The button board gives access to power, input selection and the controller's on-screen menu. Leave a usable place for it in the case rather than sealing it behind the panel where you can't reach its controls.
Choose mounting hardware to suit the panel and controller's actual mounting points. Support the electronics and keep them clear of surfaces that conduct electricity. A cable connection shouldn't have to carry the weight of either part.
Match the adapter to the supplier's voltage, polarity (which contact is positive or negative) and current rating. Don't copy another project's voltage: kits for similar-sized screens can need different power supplies.
For a first build, leave batteries and charging circuits out of the plan. An external adapter plugged into a wall outlet and specified for the controller keeps the project focused on getting a reliable picture before adding portable power.
Test the matched parts before making the case
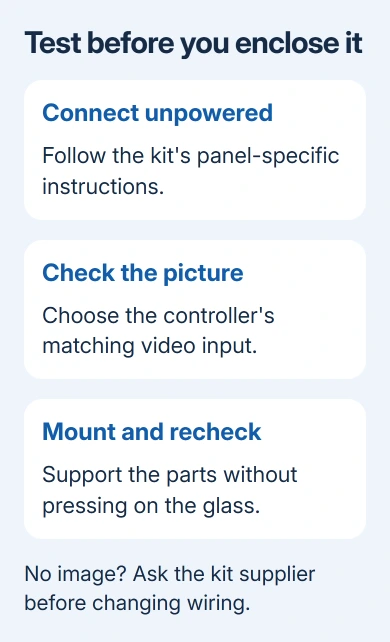
Place the parts on a clean, stable surface that doesn't conduct electricity. Keep the display face protected from grit and pressure. With power disconnected, connect the supplied panel cable exactly as the kit's instructions show.
Check the connector's direction and latch before applying force. These cables don't all lock into place the same way. Ask the supplier for your panel's connection diagram if the kit lacks one.
Connect the computer's video cable to the controller, then connect the specified power supply. Turn on the controller and choose the matching input with its controls. Keep the parts supported while checking the picture.
If the controller's own menu appears but the computer picture doesn't, check its selected input and the computer's display output. For HDMI input and output checks, use the working laptop screen while adjusting the new display.
If neither an image nor the controller menu appears, send the supplier your panel number, kit model and connection photos. Unplug power before reseating cables. Guessing voltages or jumper positions can damage the parts.
Mount the electronics without loading the glass
Once the picture works, measure the assembled parts and their cable clearance. Design the backing around those measurements. Include access to the power connector, video input and control buttons before fixing anything permanently.
Support the screen through the parts intended for mounting, rather than pressing screws or a tight frame against the display area. Keep cable bends gentle and leave enough space for connectors to sit naturally.
Use suitable spacers to hold the controller clear of the backing and any conductive hardware. The completed build should cover exposed electronics while leaving the board's required ventilation space and accessible ports.
The owner used an acrylic backing and spacers called standoffs for the controller. Use that as an example of how to build it. Choose screw lengths, mounting points and dimensions to fit your own panel and board.
After mounting, reconnect the computer and check the picture again. If the fault appears only after the case is assembled, unplug the build and check for pressure on a cable, a trapped lead or hardware touching the board.
Set the computer's output and check the finished image
In Windows 10 or Windows 11, open Settings > System > Display, select the new screen and choose its recommended display resolution. That sets the resolution Windows recommends for the connected display.
Use Windows+P to choose Duplicate or Extend as needed. If the image looks stretched, check resolution before changing scaling. Scaling enlarges or reduces text and controls; it doesn't add physical pixels to the panel.
For display measurements, measure the visible screen separately from the enclosure. A larger frame doesn't change the panel's diagonal size or resolution.
If a supplier-confirmed kit fails, ask for help with your panel or a replacement instead of buying random cables. Send the exact panel number, power-adapter details and whether the controller menu appears.
The Short Version
Use a controller matched to the panel's exact part number, with its specified cable and power supply. Test before making the case. Support the parts securely and select the recommended resolution on the computer.
Checked November 10, 2026.

Isaac Smith is the founder and editor of PC Glance, a website that covers computers, laptops, and technology. He is a tech enthusiast and a computer geek who loves to share his insights and help his readers make smart choices when buying tech gadgets or laptops. He is always curious and updated about the latest tech trends.