
Connect your Epson printer with the setup software for its exact model, then choose USB or your home network. Leave USB unplugged until the installer asks. Wireless printing needs a network that lets both devices communicate.
These steps cover Windows and Mac, using the ET-2850 as an example. Your model's installer shows the connections it supports. A phone printing app doesn't replace the printer setup on your computer.
Start with the model and the computer's operating system
Read the model on the printer's front or identification label. Include its letters and numbers, such as ET-2850, instead of searching for EcoTank alone. Printers that look alike can need different software.
Open the model's official support page on the computer you'll print from. The ET-2850 download page is the example here; choose your own model if it differs.
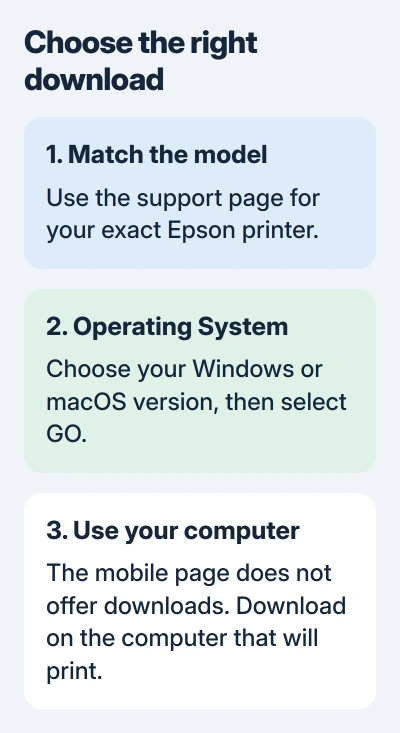
Check the Operating System selector before downloading. If it picked the wrong system, choose the Windows or macOS version on your computer, then select GO. You'll see the files for that choice.
On a phone, the page may say downloads aren't available on mobile devices. Return to the computer for this part. Don't select an unrelated operating system just to make a download button appear.
Choose the setup or drivers package for your model and system. A driver lets your computer send jobs to the printer. A scanner utility or firmware updater does a different job.
Prepare the printer before running the installer
Finish setting up the printer itself: remove its packing material, install its ink or fill its tanks as instructed, and complete any first ink charge. Load ordinary paper and clear messages on the printer's display.
Wait for the printer's ready screen. The computer's installer can't finish hardware setup that the printer still needs. Follow the printer's Start Here sheet for its buttons and ink instructions.
Download the installer, then open the saved file. For the ET-2850, Epson says in its Start Here sheet to start software installation with the printer disconnected from the computer.
The installer may offer several components. Keep the printer driver selected, and include scanning software if you'll use the scanner. Review the optional choices; you may not need them all for printing.
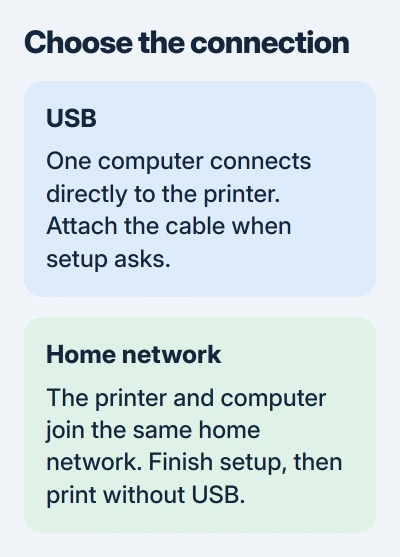
I'd choose USB for a printer that sits beside one computer and doesn't need to serve other devices. Choose network setup when several computers need access without moving a cable between them.
Connect by USB when the setup program asks
Select Direct USB connection, USB connection, or the matching wired choice in your model's installer. Keep following that program until it asks you to attach the printer.
Choose a USB cable that fits the printer's computer port and your computer. A USB-C-only laptop may need an adapter. Check the printer manual before buying a cable; its power cord doesn't carry print jobs.
Connect the cable firmly at both ends and keep the printer on. Give the installer time to find it. Once it does, setup should continue to its final screen or offer a test print.
If the installer can't find it, check power and both cable ends. Bypass any hub and use a port on the computer itself. The printer should still show its ready screen. Continue once the installer recognizes your model.
When an ET-2850 installation starts with a Windows Found New Hardware prompt, its setup sheet says to cancel that prompt and disconnect USB. Start the model's installer, then reconnect at its requested stage.
Choose network setup for shared home printing
Select the installer's wireless connection option. Use the network name and password for your home router, following the model's prompts. A printer already connected to that network may be found without entering those details again.
Connect your computer to that home network too. A guest network may keep devices apart even when both can get online. On a managed network, ask its administrator which connection you can use.
If the printer can't join, follow the Epson Wi-Fi connection checks. That guide uses the printer's connection report to tell password, security and address problems apart.
Once network setup finishes, disconnect USB and print from the computer if you plan to use wireless. This checks that the job travels over the network instead of through the cable.
Check the installed printer on Windows or Mac
In Windows 11, open Settings > Bluetooth & devices > Printers & scanners. Look for your model. In Windows 10, the printer list is under Settings > Devices > Printers & scanners.
If the installer finished but no entry appears, choose Add device in Windows 11. The Windows installation instructions cover adding a printer that automatic detection missed.
On a Mac, open System Settings > Printers & Scanners. If needed, select Add Printer, Scanner, or Fax, choose the discovered printer and review the Use choice before adding it.
If your model supports AirPrint, you can print without a separate printer driver. Use the model's software when you need its extra features. Choose the printer entry for the connection you set up.
Print one page and keep the working entry
Open a short document, choose Print and select your Epson by name. Match the selected paper size to the loaded paper, then print one page. Seeing it arrive in the output tray confirms that printing works.
If several entries share the model name, compare them before removing anything. One can represent USB and another the network. Use the one that just printed successfully for later jobs.
If your printer is listed but won't accept jobs, use the Windows Offline checks. Tell support whether setup couldn't find it or finished but left you unable to print. Those need different checks.
If setup still won't finish, contact support with the exact model, operating system, connection and installer message. Keep the download filename too; it helps them spot a package meant for a different model or system.
The Short Version
Download software for the exact model and operating system. Prepare the printer, then follow the installer's USB or network choice. Check its Windows or Mac entry and print one page through the connection you intend to use.
Checked November 5, 2026.

Isaac Smith is the founder and editor of PC Glance, a website that covers computers, laptops, and technology. He is a tech enthusiast and a computer geek who loves to share his insights and help his readers make smart choices when buying tech gadgets or laptops. He is always curious and updated about the latest tech trends.