
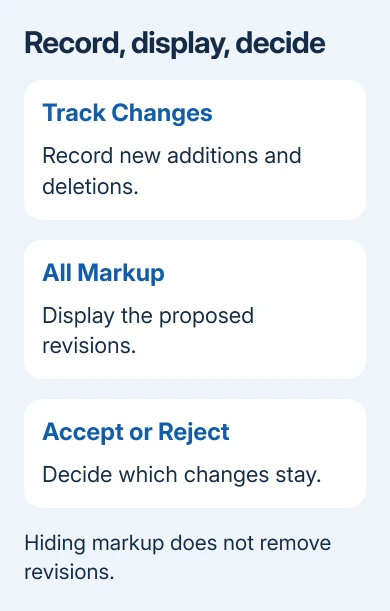
Word records additions and deletions for review when Review > Track Changes is on. Enable it before editing, then choose All Markup to keep the revisions visible as you work.
Already edited the document with tracking off? Use Compare in desktop Word with the original and revised files. Changing the text color afterward won't recreate a reliable record of those edits.
Start with a review copy and turn tracking on
Save a separate copy before you begin, especially when the original must stay unchanged. Give the copy a name that makes its purpose clear, such as the document title followed by review.
In Word for Windows, open Review and find Track Changes in the Tracking group. Some ribbon layouts place it inside a Tracking menu. Select it before typing the first revision.
Check whose edits the tracking menu will record. Just Mine records only your edits; choose tracking for all reviewers when several people will edit the document.
Type a small addition and delete a few words in the review copy. Word should mark the new text as an addition and show which words you deleted. The exact appearance depends on your markup view and display settings.
Don't confuse this with selecting a red font. A font change gives text a different appearance; it doesn't give the recipient a recorded addition or deletion to accept or reject.
Show the complete redline with All Markup
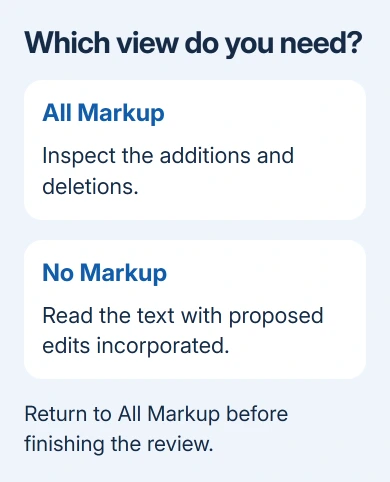
Open Review > Display for Review and select All Markup. This view shows the edits instead of just the text as it would read with those edits accepted. It's the best starting point when you need to see what changed.
Simple Markup puts a mark in the margin beside revisions while keeping the page easier to read. No Markup shows how the text would read with the proposed changes accepted. Original shows the earlier text without displaying the revisions.
Those last two views hide changes without accepting or rejecting them. The recipient can switch views to see pending revisions again. That's why a document can look clean on your screen and still contain its editing history.
Under Show Markup, check the change types you need, including Insertions and Deletions. Check the reviewer selection too. Filtering to one person can make other people's edits disappear from the current view.
Choose Show Markup > Balloons to control whether supported revisions appear in the margin or in the text. For balloons, use Print Layout or Web Layout. Inline deletions are often easier to follow in a short passage.
Microsoft's Track Changes instructions explain these display choices. I'd use All Markup for the actual review, then switch temporarily to No Markup when checking how a rewritten paragraph reads.
Track revisions in Mac Word and the browser
On a Mac, open Review > Track Changes. The keyboard shortcut Command+Shift+E also toggles tracking. Check its current state before using the shortcut, since pressing it again turns tracking off.
Select All Markup in the review display menu and make a small test revision. Mac Word also provides controls for which changes are displayed. Keep the document in a view where you can edit it while you check the result.
In Word for the web, open Review > Track Changes and choose whose changes to record. Select Just Mine only for your own edits. Its review controls differ from some desktop layouts.
A shared file may open in Reviewing mode or with restrictions set by its owner. If you can't turn tracking off, ask the sender to change your review permission if you need to edit normally. Don't assume the button is broken.
When the document itself won't accept edits, check Word's editing restrictions before changing review settings. Being able to read a document doesn't mean you have permission to edit it.
Keep comments separate from text revisions
Use a tracked edit when proposing replacement wording. Use a comment when asking a question or explaining the reason for a change. A comment attached to a sentence doesn't replace that sentence or record a proposed deletion.
For example, replace an incorrect date with tracking on so the reviewer sees both versions. Add a comment if you need them to confirm the new date. They can then see exactly what you want changed and what you need them to check.
Read the sentence around each edit. Deleting one word can leave an extra space or change the meaning of a nearby phrase. Tracking records what you changed, but you'll still need to read the edited sentence to check its meaning.
Recover a redline when editing happened first
When tracking was off, keep both the untouched original and the revised file. In desktop Word, open Review > Compare > Compare, then choose the original document and the revised document in their matching boxes.
Review the comparison settings and create the comparison in a new document. Word can show differences as revisions there. Check that the files are in the right boxes so Word shows additions and deletions the right way around.
Comparison shows differences between those two saved versions. It can't reconstruct edits that were made and undone between saves, and it isn't a record of every person's actions. Keep the source files available for reference.
If only one version remains, ask the sender for the original or check the file's available version history. Turning Track Changes on now records future changes; it doesn't turn earlier untracked typing into a complete redline.
Review changes before sending the final document
Select a revision and use Review > Accept or Reject. Accept keeps an insertion or confirms a deletion. Reject reverses the proposed change. Work through the document until each revision has a decision.
Be careful with Accept All Changes Shown when reviewer filters are active. It applies to the changes you can currently see. Accept All Changes goes further, so choose the command that matches the review you've actually completed.
Turning tracking off stops new revisions from being recorded. It doesn't remove existing ones. Before sending the finished file, accept or reject the revisions and review comments separately. Then save the completed copy with a clear name.
For a paper review, check Word's print settings and its markup choice in the preview. The on-screen review view and the intended printed copy need to agree before you send the job.
If tracking stays locked, request its password or an unrestricted copy from the owner. For a fault in your own file, remove private details from a sample. Include that file and your Word version when asking Microsoft Support for help.
The Short Version
Record edits with Track Changes and display them with All Markup. Compare can create a redline from two saved versions. Finish by accepting or rejecting revisions; hiding them leaves them in the file.
Checked November 10, 2026.

Isaac Smith is the founder and editor of PC Glance, a website that covers computers, laptops, and technology. He is a tech enthusiast and a computer geek who loves to share his insights and help his readers make smart choices when buying tech gadgets or laptops. He is always curious and updated about the latest tech trends.