
Drawing on a Windows computer can start in Paint with a mouse: open the app, choose a pencil or brush, select a color and drag across the canvas. Use its Shapes tool when a rectangle or circle needs cleaner edges than a freehand stroke.
A touchscreen or compatible pen gives another way to draw, but neither is required for this first picture. Start with a simple object so the drawing tools are easier to learn.
Open Paint and make a few practice marks
Press the Windows key, type Paint, then open the matching app. Begin on the blank canvas. If an existing picture is open, save any changes before choosing File > New.
Microsoft states that Paint supports freehand drawing, shapes and text. Choose Pencil, pick a color from the palette and hold the mouse button while moving across the canvas.
Status: Paint controls and Microsoft documentation reviewed November 1, 2026. This is a manual drawing procedure for Windows 11; no Paint session or pen was tested.
Release the button to end that stroke. If it goes wrong, press Ctrl + Z before drawing the next part. Microsoft's Windows shortcut reference documents Undo.
Our practice exercise is a simple sign: make a colored shape, place a short label beside it and save the result. Each part uses a different tool without needing a detailed sketch.
Choose the brush size before drawing details
Select a brush style from Brushes, then choose its thickness. Make a short test stroke in unused space and undo it if the result is too broad or too faint.
Microsoft documents a size slider for Pencil, Brushes and Eraser. On versions with that control, it appears beside the canvas after selecting one of those tools.
Drag the slider and watch its size preview before committing to the next stroke. Paint versions with the older toolbar expose size choices through a menu, so the control's position can differ.
Zooming in gives more room to work on a small detail. Zoom changes the editing view; it does not make the saved picture larger. Return to a view of the complete canvas to judge the drawing's proportions.
Add a regular shape and a readable label
Choose a rectangle or ellipse in Shapes, then drag across the canvas to size it. This is easier than tracing a geometric edge with the mouse. Adjust the selected shape before clicking away from it.
For a closed shape, Fill with color applies the chosen color inside it. If a freehand shape leaks color into the surrounding area, undo that fill and check the drawing for a gap before retrying.
Select the A icon for Text, create a text area and type the label. Microsoft shows this control in its Windows 11 Paint toolbar guide. Set the font, size and color while editing the words.
Check spelling and fit before leaving the text area. For a picture with an unwanted background, the separate Windows background-removal guide covers that editing task.
Save the picture and check the file
Open File > Save as, choose PNG picture, and give the file a recognizable name and location. Microsoft says Paint supports PNG and other common image formats. Save changes again as the drawing develops.
Open the saved file from its folder and confirm that the intended drawing and label are present. Keep the working window open until that check is complete, especially when making several versions.
If a screenshot becomes unexpectedly small when pasted into the drawing, use the Paint clipboard-size checks. That behavior is separate from choosing the canvas zoom.
For repeated crashes or a Save command that fails, keep the exact error for a report in Feedback Hub > Apps > Paint. Microsoft's Paint release notes identify that feedback category.
The Short Version
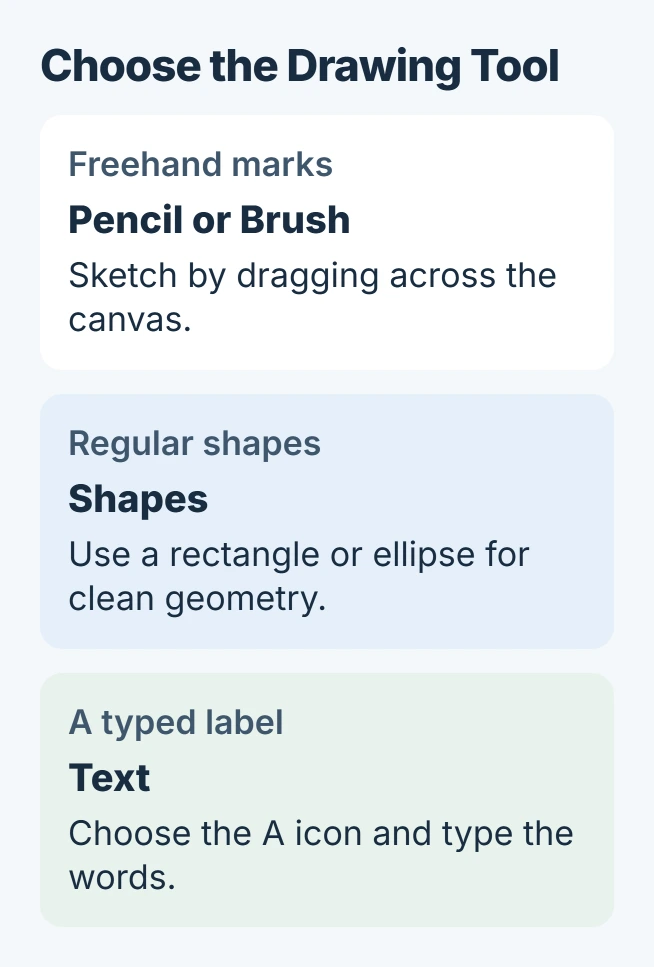
Use a pencil or brush for freehand work, a shape for a regular edge and Text for labels. Try a small drawing first, undo mistakes promptly and open the saved image to confirm the result.

Isaac Smith is the founder and editor of PC Glance, a website that covers computers, laptops, and technology. He is a tech enthusiast and a computer geek who loves to share his insights and help his readers make smart choices when buying tech gadgets or laptops. He is always curious and updated about the latest tech trends.