
A Fitbit that won't charge often has dirty contacts, a stuck charger pin or the wrong cable for that model. Check how the charger fits first; if the screen is completely black, use a working wall charger and give it a full hour.
If the charging symbol keeps appearing and disappearing, check the connection. If the battery charges fully but runs down quickly, check battery life instead. Watch what changes when you attach the cable.
1. Match the charging cable to your exact Fitbit
Find your model name before borrowing another Fitbit cable. Similar-looking chargers don't always work with the same models. Start with the original cable if you're unsure which spare belongs to which device.
For Charge 5, Charge 6 and Luxe, the magnetic connector should meet the contacts on the tracker's back. Those three models share a charging cable. Check that the connector sits flat rather than hanging from one edge.
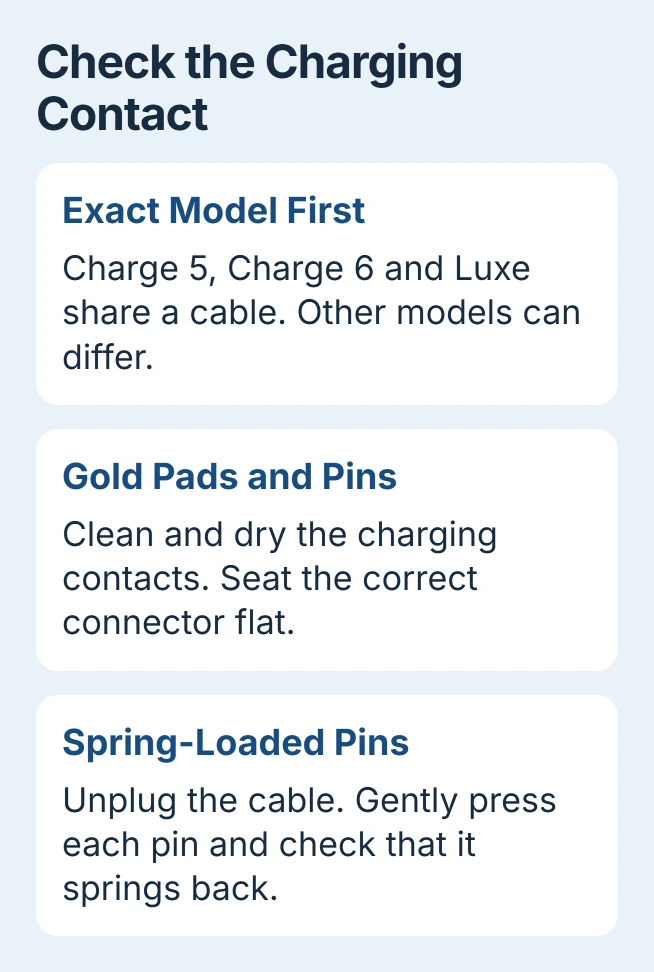
The Charge 3 cable doesn't work with Charge 4. A Versa 2 charging cable also won't work with the original Versa or Versa Lite. A connector can grip your Fitbit without being the right cable for it.
On Inspire 2 and Inspire 3, align the charger pins with the rear contacts and press the device gently into place. Magnetic Sense and newer Versa chargers attach differently, so follow the steps for your model.
The model-specific charging instructions show how each cable attaches. Once it's connected, look for the charging percentage, battery symbol or other response listed for your device.
2. Change the power source and allow a flat battery time
Connect the cable to a safety-certified USB wall adapter in a working outlet. For a completely black screen, leave the Fitbit attached for 60 minutes before deciding the battery isn't accepting power.
Google's Fitbit charging repair guide recommends that wall-power test for a black screen. A completely drained battery can keep the screen dark for several minutes after you plug it in.
For an insufficient power source message, try another wall adapter or remove some devices from the USB hub. I'd use a wall outlet for this check so a sleeping computer or shared hub doesn't affect the result.
If the cable's USB plug won't fit the adapter, check its USB connector type instead of forcing it. The small Fitbit connector and the USB plug at the power end have separate jobs.
If your Android phone also won't charge from that adapter, check the phone charging chain too. Check the adapter they share before assuming both batteries have failed.
3. Clean the gold contacts and let them dry
Remove the tracker from its charger and unplug the cable. Check the gold contact pads on your Fitbit and the small matching pins on the connector. Sweat or lotion can leave a film even when the surfaces look clean.
Gently clean just the charging contacts with a cotton swab and rubbing alcohol. Let them dry fully before reconnecting; don't charge your Fitbit while the contacts are still wet.
For stubborn buildup on the device's gold pads, the charging repair instructions also suggest a pencil eraser. Remove all loose eraser bits afterward so they don't get between the connector and the contacts.
Reconnect the charger and check whether it stays in place and keeps charging. If cleaning helped, keep the contacts clear before the next charge instead of pressing the connector harder.
If it still won't charge, inspect the cable's pins next. Cleaning the flat contacts can't repair a pin that's stuck inside the charging connector.
4. Check whether the charger pins spring back
With the charging cable unplugged from power, gently press its gold pins with your finger. Each should move and spring back immediately. Compare them: a pin that stays pushed in may not touch the Fitbit's contact pad.
If a pin stays pushed in or feels stuck after cleaning, the cable may need replacing. Use a cable sold for your exact Fitbit model, rather than choosing by a photo of a similar-looking connector.
Try a working spare cable for your Fitbit model without changing the adapter. If your Fitbit charges with that cable, the problem is with the original cable. You can make this comparison without changing your Fitbit's settings.
If neither matching cable works, try the restart next. Note what happened with each check: power adapter, cable fit, cleaning and pins. Those details tell support more than saying you've tried several chargers.
5. Restart using the buttons for that model
For Charge 5, Charge 6 and Luxe, keep the tracker connected to its charging cable. Press the button on the cable's flat end three times, leaving one second between presses, then wait about 10 seconds for the logo.
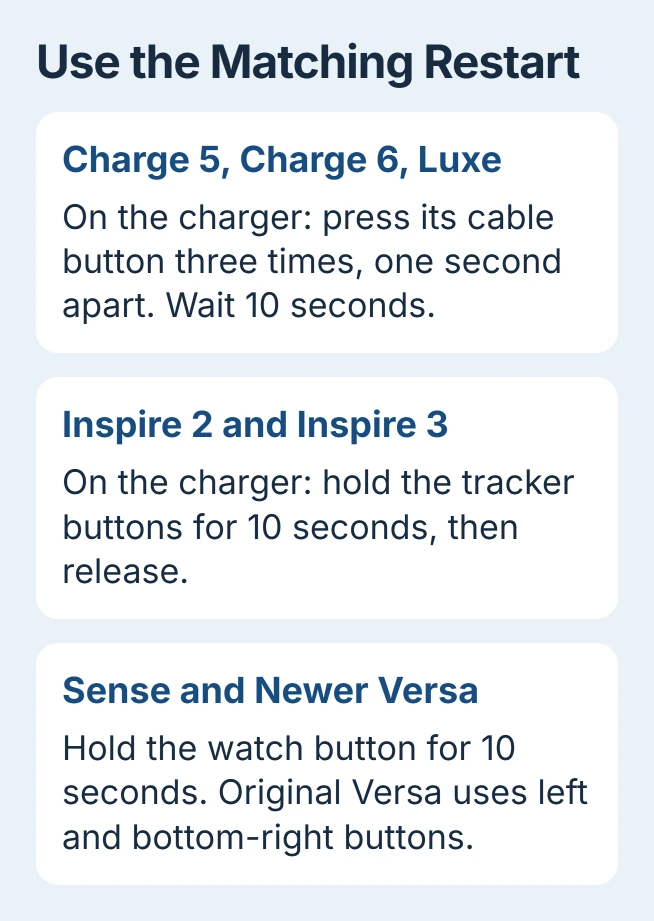
If your Inspire 2 or Inspire 3 won't respond, attach the charging cable, then hold the tracker's buttons for 10 seconds. Release them and watch for a vibration and startup symbol. Use the buttons on the tracker for these models.
For Sense, Sense 2, Versa Lite, Versa 2, Versa 3 and Versa 4, hold the device button for 10 seconds, until the Fitbit logo appears, then release. The original Versa uses its left and bottom-right buttons together.
The restart instructions for each model show which buttons to use. Restarting keeps your activity data. Only erase the device if support directs you to do so.
6. Treat a red X as a sync problem
A large red X means your Fitbit has a sync error: it isn't syncing with the companion app. For this error, the charging guide has you remove the Fitbit before pairing it again, rather than use the black-screen test.
In the Google Health companion app, tap your profile picture or initial and choose Remove this device. In the phone's Bluetooth settings, select that Fitbit and choose Forget or Unpair.
Return to the companion app, choose Set Up a Device, and follow the steps to pair it again. Older versions may still say Fitbit. If your controls differ, check support's instructions for your app version before removing the device.
If the battery charges fully but drains quickly, use the battery-life settings instead. An always-on watch display can shorten battery life even when charging works normally.
7. Give support the model and the failed check
If the right wall adapter, clean contacts, working pins and your model's restart don't get it charging, contact Fitbit Customer Support. Give your model, any symbol that appears and what happened after the full hour on wall power.
Say whether a compatible second cable worked and whether the pins move normally. That helps support decide whether you need a new cable or device service, without asking you to repeat the same checks.
The Short Version
Match the cable to your Fitbit model, then use wall power for a dead screen. Clean and dry the contacts, check the spring-loaded pins and restart using your model's buttons. A red X or short battery life needs a different check.
Checked November 5, 2026.

Isaac Smith is the founder and editor of PC Glance, a website that covers computers, laptops, and technology. He is a tech enthusiast and a computer geek who loves to share his insights and help his readers make smart choices when buying tech gadgets or laptops. He is always curious and updated about the latest tech trends.