An included layout can disappear in Android Studio because of its size, parent constraints, or preview settings. Check the parent's <include> first. Use tools:showIn to preview the child within its containing screen.
A blank editor preview and a view missing from the running app need different fixes. A tools: attribute can change the preview, but it won't repair a runtime layout.
In this guide
1. Check the parent preview and the running screen
Open the parent XML file under res/layout and select Split or Design in the editor. Choose Design rather than only Blueprint to see the controls as they'll appear.
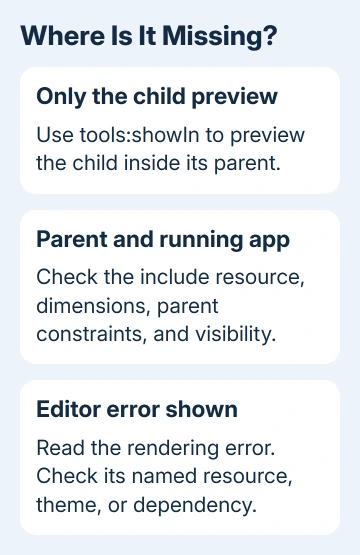
Expand the Component Tree and look for the included content. Also check the Layout Editor's warnings and errors. A missing resource or rendering error gives you a more useful next step than repeatedly changing the preview device.
Run the app and navigate to the same screen. If the included section appears there, focus on the editor's preview configuration. If it is missing in both places, continue with the XML dimensions, placement, and visibility checks.
Make sure you're inspecting the layout the activity or fragment actually uses. A similarly named file or another resource variant can make a correct edit appear ineffective because the screen is loading a different resource.
These steps apply to XML layouts built with Views, Android's traditional screen elements. A Compose-only screen uses a different preview system.
For a Figma-to-Studio workflow, check whether the resulting screen uses Views or Compose before editing an XML file.
2. Correct the include reference and both dimensions
Use the include's layout attribute to point to an XML resource, such as @layout/content_summary. Don't use android:layout for that reference. Check that the target file exists and that the editor shows no errors for the resources it uses.
Google's layout-reuse instructions explain a rule that's easy to miss: to change layout attributes through an include, provide both width and height or the other changes won't take effect.
For a reusable section inside a vertical LinearLayout, a simple include can look like this:
<include
    layout="@layout/content_summary"
    android:layout_width="match_parent"
    android:layout_height="wrap_content" />
The referenced child still needs valid content and dimensions of its own. Open it directly and check whether the expected views are present. An empty container can be included correctly while displaying nothing useful.
Match the dimensions to the include's container. In ConstraintLayout, 0dp width means match constraints: constraints must define the view's width. In another parent, the same value can leave the included section with no visible width.
I'd check those numbers before deleting caches. A zero-size view or an unresolved layout reference remains wrong after an editor restart, and the XML usually makes the problem much easier to explain.
3. Position the included root for its parent layout
A reusable child doesn't keep the placement rules of the screen it was copied from. Its root becomes a child of the container holding the include, so that container's layout rules decide where it goes.
In a ConstraintLayout parent, give the included root both horizontal and vertical constraints. Put the placement attributes on the include and set both width and height there too. For example, a full-width section at the top can use:
<include
    android:id="@+id/summary_section"
    layout="@layout/content_summary"
    android:layout_width="0dp"
    android:layout_height="wrap_content"
    app:layout_constraintStart_toStartOf="parent"
    app:layout_constraintEnd_toEndOf="parent"
    app:layout_constraintTop_toTopOf="parent" />
The parent must declare the app namespace and be a ConstraintLayout for those attributes to apply. The ConstraintLayout instructions explain how constraints control position and size.
A view positioned by the editor's design-only coordinates can appear in the preview but move when the app runs. Replace that apparent placement with real constraints. Also check whether another full-size sibling is covering the section.
An ID set on the include replaces the included root's ID. Keep constraints and code references consistent with the ID the parent actually uses, especially after moving an existing layout into a reusable file.
4. Use tools:showIn for the child's preview context
If the parent renders but the child looks incomplete when opened alone, add tools:showIn to the child's root. This tells the editor which containing layout to use while previewing that child.
On the child root, declare the tools namespace if needed and add the parent reference. Replace activity_main with the layout containing your include:
xmlns:tools="http://schemas.android.com/tools"
tools:showIn="@layout/activity_main"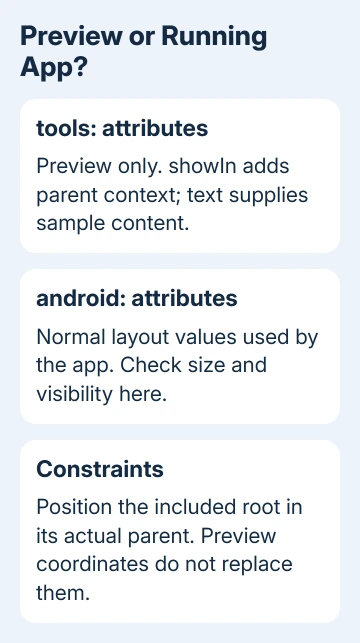
The tools-attribute reference describes this as an editor aid. It doesn't insert the child into an activity, create a missing view in the running app, or add the constraints that position it.
This helps preview a reusable section with its surrounding screen. If the parent preview itself is blank, fix the parent's include or rendering error first rather than pointing the child at the same broken layout.
5. Separate preview visibility from real visibility
Check android:visibility on the included root and the views inside it. gone removes a view's layout space, while invisible keeps its space but hides its content. Both can make a valid include look missing.
Then check tools:visibility. It affects the preview separately, so a view can be shown in the editor while remaining hidden when the app runs, or hidden in the editor despite normal runtime behavior.
The same distinction applies to tools:text and android:text. Sample text can make an otherwise empty child visible in the preview, but it isn't the text your app receives at runtime.
For a runtime-only failure, inspect code or binding expressions that change visibility or supply content. Removing a preview attribute won't fix a program that hides the included root when the screen opens.
6. Check merge roots and the actual rendering error
A <merge> root puts its child views directly inside the parent that includes it. It doesn't create another wrapper view. Those child views therefore need layout attributes that make sense for that parent.
If you replaced a LinearLayout wrapper with merge, check whether its orientation or other layout behavior was lost. Removing a container changes how the views fit together. Don't use merge simply to try to make an include appear.
When XML is correct but the preview reports an error, open Show Warnings and Errors in the Layout Editor and read the first relevant message. Check the selected theme and preview API, then correct the named resource or dependency.
If it persists, use Help > Submit a Bug Report in Android Studio. Include the Studio version, preview API, error text, and a small parent-and-child XML example showing whether the app also fails at runtime.
For a Windows error report, capture the editor with the message visible. The Snipping Tool instructions explain how to select just the relevant screen area.
The Short Version
Check the parent's include reference, dimensions, constraints, and visibility. Use tools:showIn only to preview a child inside its parent. Compare the running app with the editor, then follow the actual rendering error if the XML is valid.
Checked November 13, 2026.