

To group pictures and shapes in Word, change each one's text wrapping from In Line with Text to an option such as Square. Select them together, then choose Group > Group on the formatting tab.
The pictures and shapes can then move together. For multiple selection, Windows uses Ctrl and Mac uses Command. Use desktop Word for these steps, especially if your pictures have been placed in specific positions.
Prepare the objects before selecting them together
Select the first picture, open its Wrap Text options and choose Square if you want text to flow around it. Check and change the wrapping for each picture or shape before selecting them together.
An inline picture sits in a paragraph like a letter. That's useful when it should stay with the text, but you'll need to change its wrapping before it can join the group.
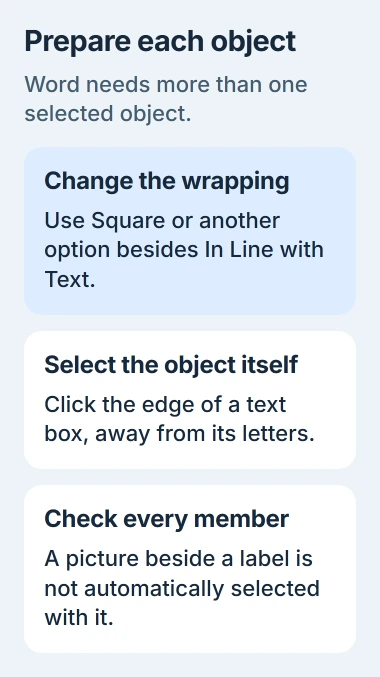
Microsoft says its Word grouping procedure needs at least two objects selected, each with wrapping other than In Line with Text. Seeing a picture beside a shape doesn't mean you've selected both.
Start with something small, such as a picture and a short label. If your label is ordinary text in the document, the Word text-box instructions explain how to add it as a separate box you can move.
Keep a copy of an important document before changing its layout. Switching an inline picture to wrapping can move surrounding paragraphs, so check the nearby text as you work.
Select the picture and shape as objects
On Windows, click the first object, hold Ctrl, then click each additional object. On Mac, hold Command while selecting the additional objects. Look for selection handles around each intended item.
For a text box, click its edge. If the cursor is blinking among the letters, you're editing the words. Click the edge to select the box itself so you can move or group it.
If a picture is covered by another object, use the Selection Pane. In Windows Word, open Home > Select > Selection Pane, then select the picture from its list.
Check that you've selected only the items you want to move together. A logo, its caption and a separate instruction might belong in one group. Leave unrelated pictures out of it.
Selecting all the document's text won't select the objects you need. If the words are highlighted instead of the pictures, click away and start again by clicking the first picture or shape.
Use Group on the formatting tab
With the objects selected, open Picture Format or Shape Format, then choose Group > Group. Older Windows ribbons may label the tab Picture Tools Format or Drawing Tools Format.
On Mac, the same Group command sits on Picture Format or Shape Format. Open Arrange if the ribbon doesn't show Group directly. A narrow window can hide commands inside that menu.
Click the finished group and drag it a short distance. All the pieces you selected should move together. If one stays behind, undo the move and check whether you selected that item before grouping.
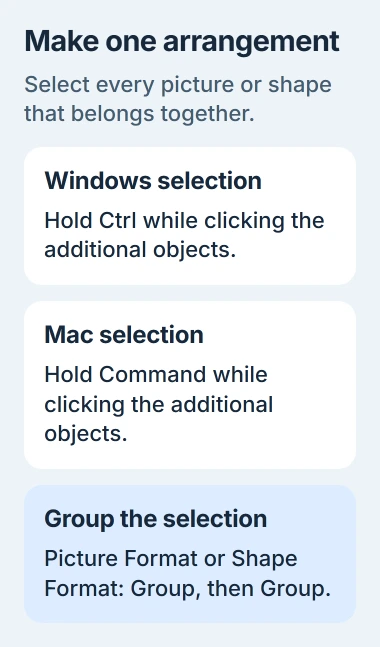
Drag a corner to make the whole group larger or smaller. Then check the lettering and the gaps between its parts. Keeping the group together doesn't stop its text from becoming too small to read.
I'd put each piece where I want it before grouping. Group keeps the arrangement together, but you still need to choose the spacing between the caption and its picture.
Align the pieces when their spacing is uneven
Before grouping, select the intended objects and open Picture Format or Shape Format > Align. Choose the relevant alignment, such as Align Top, if their top edges should sit together.
For three or more objects, the distribution commands can give them equal spacing. Use Distribute Horizontally for a row or Distribute Vertically for a stack, then inspect the result before making the group.
The object-alignment controls let you line things up with the page, its margins or the selected objects. Check which one is selected so your arrangement doesn't jump across the page.
If the objects overlap after you align them, undo the change and spread them out before trying again. Alignment lines up their edges or centers; it doesn't make room for nearby objects or long labels.
For a handwriting image with typed details, the Word signature guide explains how to insert it and save it for reuse. Grouping changes the layout. You still need to use the signing method your recipient requires.
Edit one member without moving the whole group
Click the group, then click the item inside it that you want to change. You can edit that item without breaking up the group, such as correcting a caption after you've positioned its picture.
Select the text inside a box to change the words, or select the object itself to change how it looks. When you're done, click outside the group, then select it again and check that everything still moves together.
To put one piece in front of another, use the object-stacking controls, including Bring Forward and Send Backward. These change which object sits in front, without changing the text inside a box.
When the Group command stays unavailable
Check that more than one object is selected and none is set to In Line with Text. For a caption, make sure you've selected the box's edge, rather than clicked inside its text.
If you're working in browser Word, switch to the desktop app to change positioned or wrapped pictures. The browser has fewer layout controls, so you may need desktop Word to edit an arrangement made there.
Test two simple wrapped shapes in a new document. If they group but your original items don't, tell Microsoft Support which kinds of objects fail. Share a small sample without private content, rather than only describing a dimmed button.
The Short Version
Change each object's wrapping from In Line with Text, then select the objects together. Choose Group > Group and check that all pieces move as one. Use the selection and alignment controls to adjust them.
Checked November 5, 2026.

Isaac Smith is the founder and editor of PC Glance, a website that covers computers, laptops, and technology. He is a tech enthusiast and a computer geek who loves to share his insights and help his readers make smart choices when buying tech gadgets or laptops. He is always curious and updated about the latest tech trends.