
A text box in Word holds a separate block of text that can be positioned on the page. In desktop Word, use Insert > Text Box and choose a ready-made box or draw one. Click inside it to enter the words.
Word in a browser uses a Drawing window for this task. Choose the instructions for the Word edition being used before looking for a missing desktop button.
Add the box in desktop Word
On Windows, select Insert > Text Box, then choose a built-in design or Draw Text Box. For the drawing option, drag across the page to create the box, then type inside it.
On Mac, choose Insert > Text Box > Draw Text Box. Microsoft also offers Vertical Text Box there when the text needs a vertical arrangement.
Status: Microsoft Word text-box controls checked November 1, 2026 for Windows, Mac and the web. Browser Word uses Drawing. No document was edited.
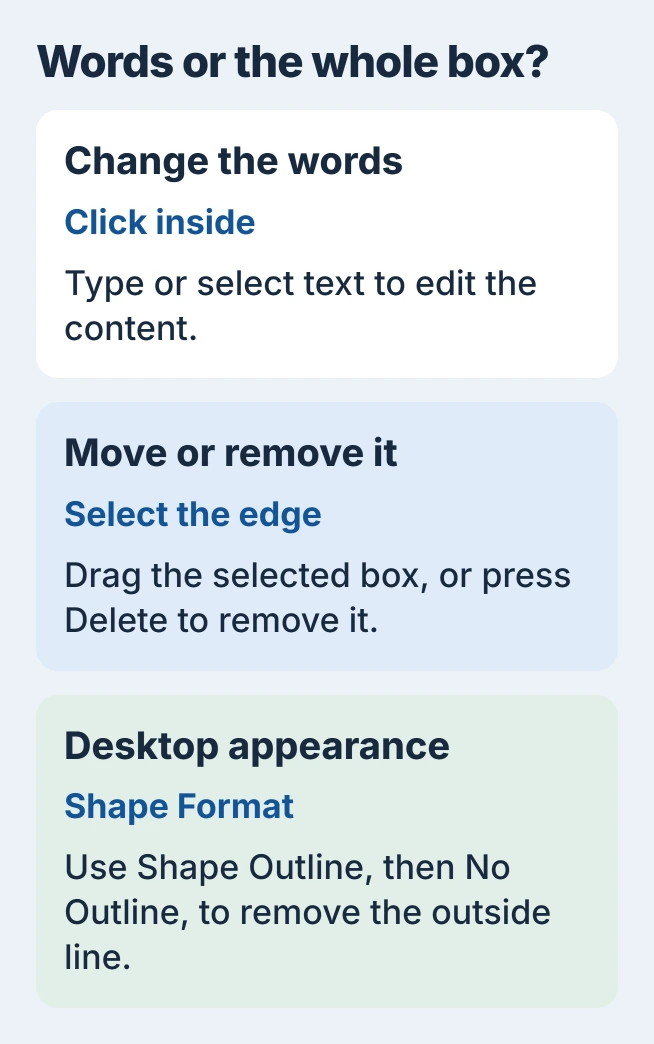
Microsoft says in its text box instructions to select the edge for object operations. Clicking among the letters selects text instead. That distinction matters when the next action should affect the object instead of its words.
Use a short label or note first, then check whether the box covers nearby text. Our recommendation is to settle its position before adding a long passage that may need a different layout.
Insert through Drawing in Word for the web
Click where the new object should be inserted. Choose Insert > Drawing, select Text Box, draw it and enter the text. Choose Save and Close to place the result in the document.
To change it later, double-click the box to reopen Drawing. Edit the text there, then save and close again. Confirm the updated wording in the document rather than leaving the change inside the drawing editor.
Select the right part before moving or deleting
Select the box's edge and drag to move it. Select that edge and press Delete to remove the whole box. A cursor among the letters instead makes editing commands act on the text.
Microsoft documents a Selection Pane in its object-selection instructions. Use it when another object covers the box. Windows Word opens it through Home > Select > Selection Pane.
On Mac, select an object first, then choose Home > Arrange > Selection Pane. Pick the intended object from the list. The Word selection guide explains why selecting document text is a different operation.
Change the box's appearance in desktop Word
Microsoft states in its shape border guidance that Shape Outline > No Outline removes a box's outside line. Select the box first, then open Shape Format to find that menu.
The older Format tab name appears in some instructions. Select the box first if no shape-formatting tab is visible. Removing its outline leaves the text box in place.
For unwanted bold or other font effects, select the words inside and use the Word text-formatting cleanup steps. Changing the box's outline does not clear formatting from its text.
Before sharing, inspect the finished page at normal reading size. Keep the note readable and clear of other content. If insertion is unavailable, check editing permission and tell Microsoft Support which Word version lacks the command.
The Short Version
Desktop Word inserts a box from the Text Box menu; browser Word uses Drawing. Select inside for text edits and select the edge for object changes. Review the completed page after positioning it.

Isaac Smith is the founder and editor of PC Glance, a website that covers computers, laptops, and technology. He is a tech enthusiast and a computer geek who loves to share his insights and help his readers make smart choices when buying tech gadgets or laptops. He is always curious and updated about the latest tech trends.