
The Checklist button in iPhone Notes creates circles you can tap as you finish each item. Start a note in iCloud or On My iPhone, enter a title, then tap Checklist on the next line.
If the Checklist button is missing, check which folder holds the note. A list stored under Gmail may not have the same controls.
Start in a folder that supports checklists
Open Notes and return to Folders before creating the list. Choose a folder under iCloud if you want the note on your other Apple devices. Choose On My iPhone for a note stored on this phone.
For checklists, the account holding your note matters more than your iPhone model. Apple says some Notes features aren't available through other email providers. Both folders appear in Notes, but they don't support all the same features.
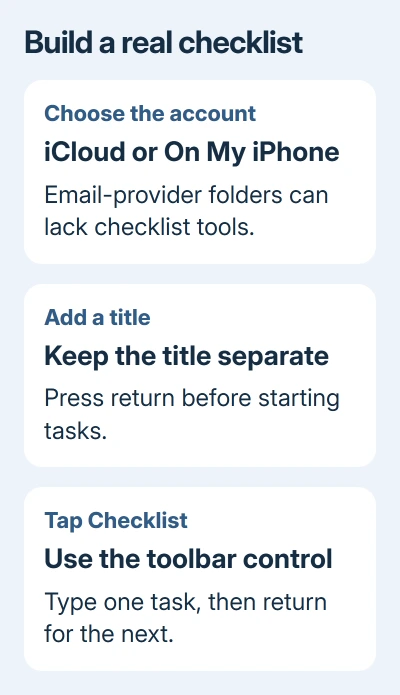
For a first attempt, make a fresh note in one of those two locations. If the checklist works there, the original account or note is the place to check next.
Don't see a local folder? On current iOS versions, open Settings > Apps > Notes and look for On My iPhone Account. On iOS 17 and earlier, Notes settings sit directly under Settings > Notes.
Turn that account on if you want local storage. It doesn't move existing iCloud notes onto the phone. Return to Folders and pick a location for your new list.
Add the first circle and enter the items
Tap Compose, the new-note control, and type a short title such as Weekend packing. Press return to put the first task on its own line rather than making it part of the title.
Tap the Checklist button in the editing toolbar. Its symbol combines checked and empty circles with short text lines. Look for that control rather than the text-formatting button used for ordinary bullet lists.
Type the first item, then press return. Notes supplies the next circle. Continue with one task per line, such as Charge headphones, Pack adapter and Download tickets.
You should see a column of empty circles beside your text. Typing square brackets or drawing a circle with the keyboard creates plain characters; those won't behave like the Checklist control.
To add tasks in an existing note, tap where the list should begin and turn on Checklist there. A note can contain normal paragraphs as well as a checklist, so you can keep both kinds of text together.
Keep a heading separate from the action it describes. For example, Packing can stay as normal text while individual things to pack get circles. This makes the list easier to scan when you're using it on a small screen.
If an edit goes wrong while you're building the list, undo the change in Notes before adding more text. It's easier to reverse one mistaken edit than to rebuild several items afterward.
Check an item without deleting its text
Tap an empty circle when the task is done. The circle changes to its completed state while the wording remains in the note. Tap it again to make the task incomplete.
To mark a task done or undo that mark, tap its circle rather than its words. Tapping the wording puts you back into editing, which is useful for correcting the item but doesn't finish it.
Checking a circle leaves the task's text in place. It's a record of what you've done, rather than an action Notes carries out. For something important, such as submitting a form, finish the action before marking the item.
For a recurring packing or shopping list, keep the original tasks and uncheck them for the next trip. That preserves the wording instead of making you type a replacement list every time.
I'd leave completed tasks visible while you're learning how the list behaves. Seeing the circle change makes it much easier to spot a missed tap or an item that only had its text selected.
Choose whether completed items move
Open Settings > Apps > Notes > Sort Checked Items. Select Manually to keep the list in your chosen order, or Automatically to send completed entries to the bottom.
On iOS 17 and earlier, take the shorter route through Settings > Notes > Sort Checked Items. This setting changes where checked items go within a list. It doesn't change the order of notes in your folder.
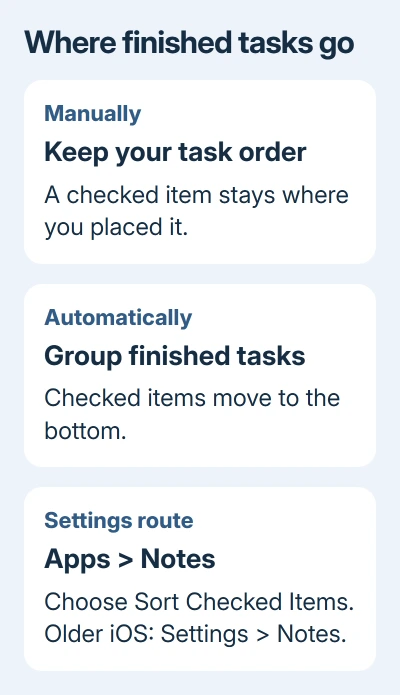
Automatic sorting suits a shopping list because unfinished purchases stay together. Manual sorting suits a sequence you want to preserve, such as preparations that need to happen in a particular order.
Return to the list and complete one item to see your choice take effect. If the item moves, it hasn't disappeared; look among the completed entries. Choose Manually if that movement makes the list harder to follow.
Reorder tasks and group related items
Drag a checklist item to change its position. This is useful when an errand needs to move earlier in the day, or when related purchases should sit together instead of being scattered through the note.
Swipe an item right to indent it. Swipe left to take the indent away. An indented line gives you a visual way to place a smaller task under a larger one.
For example, keep Pack electronics at the main level and indent Adapter and Headphones beneath it. Check each item as you finish it. Indenting a task doesn't mark it complete.
Try reorganizing a short list before a long one. If an item lands in the wrong position, move it again while it's easy to find. Account settings don't affect this; item order is part of the note.
Share the checklist or fix missing controls
Use an iCloud note if you want someone else to help keep the list up to date. In iOS 27, select Share a Link from the Share menu; in iOS 26, select Collaborate there. Review who can access the note, then choose how to send the invitation.
A sent copy and a collaboration invitation serve different purposes. The Notes sharing guide explains the choice and the permissions when someone needs to check items in the same list.
If Checklist is missing, compare a new note in iCloud with the original note's folder. If the new one works, recreate the list in the supported account rather than deleting an email account from the phone.
If a new iCloud or local note still lacks the control, check Settings > General > Software Update for an iOS update. Then ask Apple Support about Notes editing controls, giving your iOS version and the account heading in Folders.
The Short Version
Create the note in iCloud or On My iPhone, put the title on its own line, and tap Checklist before entering tasks. Tap circles to complete items, then choose Manual or Automatic sorting to control where finished tasks go.
Checked November 8, 2026.

Isaac Smith is the founder and editor of PC Glance, a website that covers computers, laptops, and technology. He is a tech enthusiast and a computer geek who loves to share his insights and help his readers make smart choices when buying tech gadgets or laptops. He is always curious and updated about the latest tech trends.