
To make photo stickers on Android, hold a subject in Google Photos and choose Copy or Share on a supported phone. Google Messages offers Photomoji for stickers made inside a text conversation.
Samsung Galaxy phones also have a Gallery route that saves a cutout to the Samsung Keyboard's sticker collection. Choose the method for the app where you want to use the result.
Choose a photo and the app that will send it
Start with a picture whose main subject stands clearly apart from the background. A person, pet or object with a clear outline is easier for the photo app to select than several overlapping subjects.
Use Google Photos for a cutout you can copy or share into another app. Choose Google Messages when you want a reusable Photomoji in that messaging app, or Samsung Gallery for its built-in keyboard sticker collection.
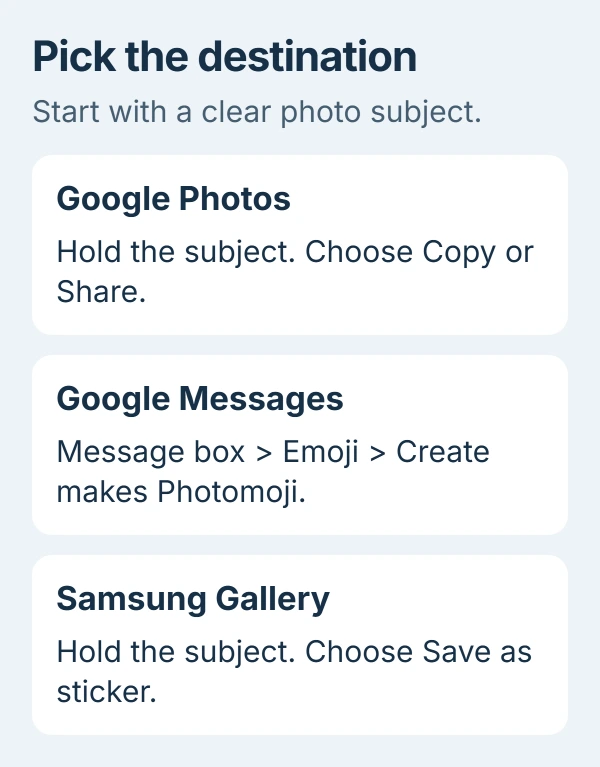
Each app has its own sticker controls. A sticker saved in Messages won't automatically appear in Samsung Keyboard. Check which app made it before searching another keyboard's sticker tray.
Keep the original picture available until you've checked the result. If the image lives in another device folder, the Android photo-backup guide explains how to check whether that folder's pictures are backed up.
Copy or share a cutout from Google Photos
Open Google Photos on your Android phone and select a picture. On a supported device, the app may highlight a subject with a shimmer when it can turn it into a sticker. Press and hold that subject.
Choose Copy to place the cutout on the clipboard, or Share to select another app. Google's photo-sticker instructions describe both choices for the Android app.
If you copied it, open the conversation or post and try its Paste control. If you shared it, choose the destination and recipient, then check the preview. Make sure it's the cutout you wanted before sending.
The feature needs 4 GB of RAM or more and the latest update on a supported Android device. RAM is your phone's working memory, which is different from free storage space for photos.
Google Photos can't currently edit stickers made with this feature. If the cutout includes the wrong subject or unwanted details, choose a better photo or another editing method your device supports.
I'd start with a simple picture before trying a busy group shot. That checks whether the control is available without making a difficult selection your first attempt.
Create a Photomoji inside Google Messages
Open Google Messages and enter the conversation where you want to send the sticker. Tap the message box, open the Emoji control and choose Create. Select a photo from your gallery.
If the picture contains more than one subject, tap the one you want. Check the selected subject, then tap Send. The Photomoji procedure lists Android 8.0 or later and excludes Android Go.
To reuse a saved one as a sticker, open a conversation, tap its message box and choose Emoji > Photomoji. Pick the saved item you need. You don't need to create it again from the original photo each time.
For a Photomoji reaction, hold an existing message, choose Create, select the photo and subject, then send. Your response attaches to that message instead of becoming a separate sticker message.
For a saved reaction, hold the target message and open Emoji > Photomoji. Check which message you're responding to before confirming. The sticker route starts in the typing box; the reaction route starts on a message.
Save a photo sticker on a Samsung Galaxy
On a supported Galaxy phone, open Gallery and select the photo. Hold the subject you want, then tap Save as sticker. Choose one of the available styles and tap Done.
To send it with Samsung Keyboard, tap the conversation's typing field and open the keyboard's emoji panel. Choose AI stickers or Custom stickers, depending on the version, then select your saved sticker.
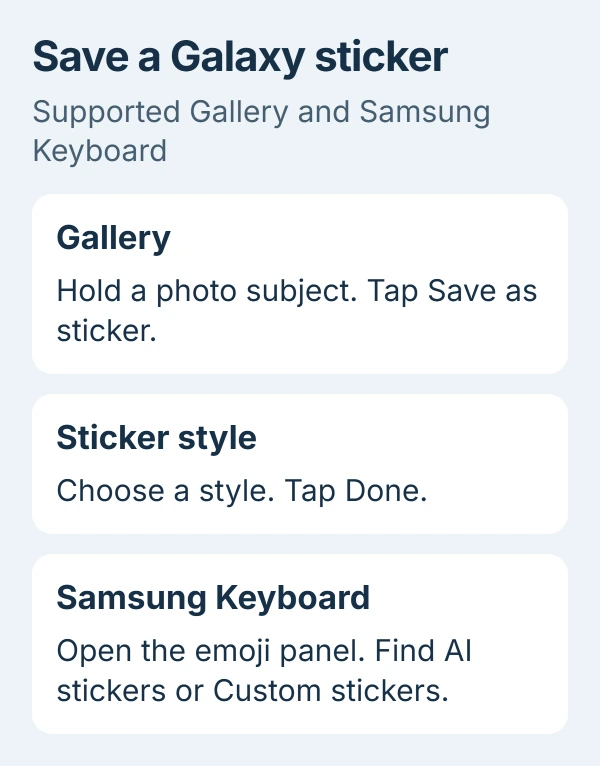
The Galaxy sticker guide distinguishes saving a subject from adding it to another photo. Controls vary with the phone and software, so a different keyboard won't necessarily show that collection.
To put a sticker on another picture, open that destination photo in Gallery and tap Edit > Decorations > Stickers. Choose the Gallery icon and Create sticker, then select the source picture and subject.
Choose the style and position the sticker on the destination photo. Tap Save and confirm when requested. Check the saved picture afterward; you've made a decorated image rather than a text reaction.
Check missing controls before installing another tool
Use the Android app-update steps to update Photos or Messages in Google Play. Samsung's own apps may also need a Galaxy Store update. After updating, open that photo again and try making a sticker.
Check that the photo is open in your chosen app. A file manager or another messaging app can show the same picture without Google Photos' subject-selection control.
If the button appears for one clear picture but not another, compare their subjects. A difficult image and an unsupported device aren't the same problem. Try a clear foreground subject before changing phone settings.
Check the preview in the receiving app too, since that app controls how a pasted or shared image appears. If it rejects the cutout, tell its support team how you made the sticker and which app you're sending it to.
If your phone meets the requirements and is updated but Photos still lacks the control, send Google Photos help your model and version. Contact Samsung Support for Gallery or its keyboard collection. Name the missing button.
The Short Version
Google Photos can copy or share a selected subject as a sticker. Messages uses Create for Photomoji; Gallery uses Save as sticker for Samsung Keyboard. Check support, updates and the destination preview before sending.
Checked November 5, 2026.

Isaac Smith is the founder and editor of PC Glance, a website that covers computers, laptops, and technology. He is a tech enthusiast and a computer geek who loves to share his insights and help his readers make smart choices when buying tech gadgets or laptops. He is always curious and updated about the latest tech trends.