To send an email on iPad, tap Compose in Mail, add the recipient, subject and message, then tap Send. With several accounts connected, check From before sending so a personal message doesn't leave through your work mailbox.
These steps are for Apple's Mail app. Gmail and Outlook have their own compose screens; opening one of those apps won't show the same controls.
In this guide
Start a new message in Mail
Open Mail, then tap Compose, the pencil-and-square control. A new message opens with address fields and space for your text. Choose a fresh message when you're starting a new conversation rather than replying to an unrelated email.
If Mail opens with a list of account providers instead, connect your existing mailbox first. Our iPad email setup guide covers that earlier step. Return to Compose once your inbox is available.
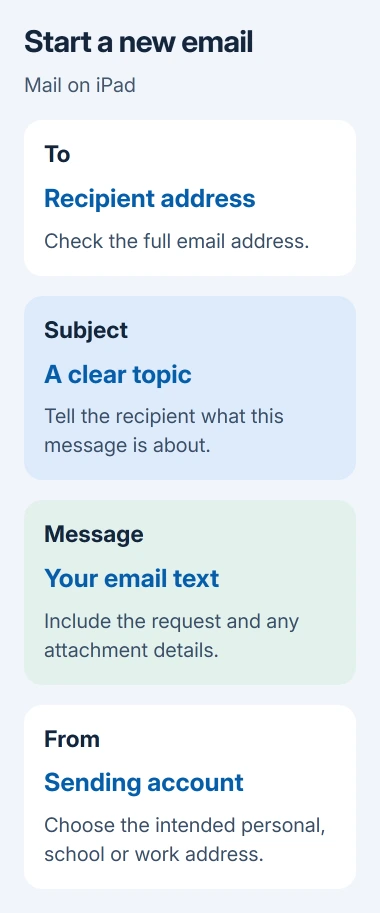
Apple's iPad sending instructions cover recipients, the sending account and scheduled delivery. The same basic message fields apply whether your mailbox is iCloud, Gmail or another supported provider.
Writing a new message doesn't require changes to your account settings. Keep your working inbox connected while you compose.
Add recipients and choose the sender
Tap To, then enter the recipient's email address. Mail suggests matching contacts as you type. Tap the intended result, checking the full address when a contact has both personal and work entries.
When you're emailing someone new, type their complete address carefully. A correct-looking display name doesn't tell you whether the message is going to the intended mailbox.
Tap Cc/Bcc to show the additional recipient fields. Cc sends a visible copy. Bcc sends a copy without showing those recipients' addresses to the other recipients.
Use To for the person you want to answer and Cc for people who need to see the conversation. I'd use Bcc for an announcement to unrelated people who shouldn't receive each other's email addresses.
When more than one account is connected, tap Cc/Bcc, From, then tap From and choose the sending account. Check the address shown there before moving on, especially when the iPad handles school, work and personal mail.
If the account you need isn't offered, it isn't set up to send in Mail. Add that account through the setup guide rather than typing its address into the message text.
Write the subject and message
Enter a short, useful subject that tells the recipient what the message is about. For example, use Tuesday appointment confirmation rather than a blank subject or a vague greeting.
Tap the message area and type your email. Include enough context that the recipient can answer without guessing which booking, document or conversation you mean. The subject and the message are separate fields.
For formatted text, use Text Format in the controls near the keyboard. Mail offers font styles, bold and italic text, and lists. Plain paragraphs are usually enough for an ordinary message.
Keep an attachment's explanation in the message itself. Name the attached file and explain the task so the recipient knows which item to open and how to respond.
Before sending, read the addresses, subject and message together. Check that any date or request matches the file you're attaching. That final read is particularly useful when you're reusing text from another email.
Attach a file or photo before sending
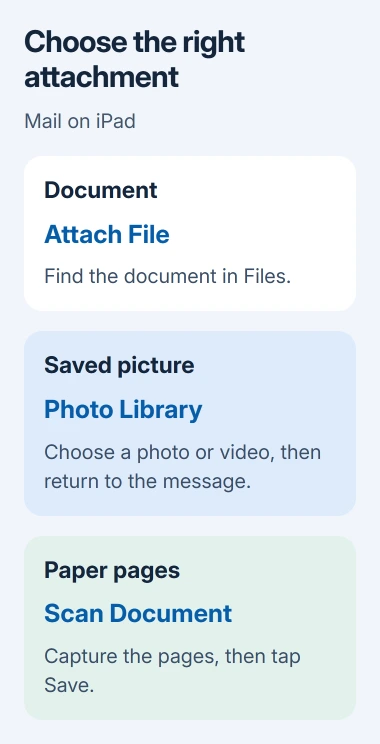
Tap in your message where you want the attachment to appear. Open the attachment controls near the keyboard, then choose Attach File for a document or Photo Library for an existing picture or video.
With Attach File, find the item in Files and tap it. With Photo Library, select the picture or video, then return to the message. Check that the intended item appears in the draft before sending.
The attachment instructions also offer Take Photo or Video. After taking the photo or video, choose Use Photo or Use Video, or Retake when the result isn't usable.
For paper, select Scan Document from the attachment controls. Position the page in view, capture additional pages as needed, and tap Save. Mail attaches the scanned document as a PDF.
If an attachment exceeds your account's size limit, follow any Mail Drop prompt offered on screen. Don't assume every provider has the same limit or that reducing the message text will make a large video fit.
Send now, schedule it, or keep a draft
Tap Send when the message is ready. If you still have a last detail to check, save the draft instead: tap Close, then Save Draft. That keeps the unfinished message available without sending it.
To reopen a saved message, touch and hold Compose, then select the draft. For several accounts, show the mailbox sidebar, choose Edit, and enable All Drafts to bring their drafts into one mailbox view.
For scheduled delivery, touch and hold Send and choose a time. Tap Send Later for additional scheduling choices. Unlike a draft, a scheduled message has a time you've chosen for it to be sent.
If you're continuing a conversation, use Reply on the original message rather than starting a fresh one. A new email is the right choice for a separate subject or a different group of recipients.
Check an email that doesn't leave
After a sending error, open the mailbox list and select Outbox. Open the waiting message, check its recipient address, and tap Send again once internet access is working. A message sitting there hasn't finished sending.
For an iCloud address with wider sending or receiving trouble, the iCloud Mail repair guide takes you through checks for that account. Writing another copy won't repair an account connection.
If Mail asks for a password or keeps refusing to send, ask the team managing your mailbox to check the account's sending access. Include the exact error, the sending address and whether other mail still arrives.
Keep a copy of important unsent text while the account is being repaired. Removing the account is a separate repair step and can remove downloaded mail from the iPad.
The Short Version
Open Mail, choose Compose, add the recipient and message, and check From. Attach any files, then tap Send. Save Draft keeps unfinished work; holding Send offers scheduled delivery. Check Outbox after a sending error.
Checked November 11, 2026.