
Open the Chromebook's Launcher, search for Camera, and select Photo in the app. Frame the picture in the live preview, then select Take photo. The small image at the lower right opens the picture you just saved.
New camera photos are in Files > My files > Camera. That's different from a screenshot, which captures the display rather than the person or object in front of the lens.
Start Camera and choose Photo
Select Launcher, type Camera, and open the Camera app. Check that you can see a live preview before taking the picture. If your Chromebook has a physical camera shutter, open it.
Google's Camera instructions show the modes along the bottom. Choose Photo, frame your subject, then select the Take photo shutter control.
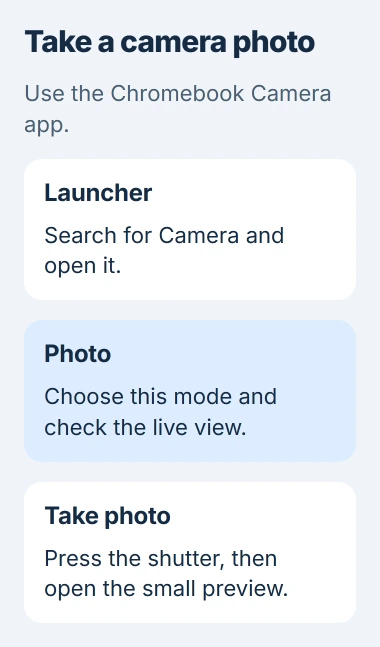
Check the mode name before pressing the shutter. Video records movement and sound; Scan is intended for documents or QR codes. A normal camera picture doesn't require Screen capture or a browser extension.
After taking the photo, select its small preview at the lower right. Open the saved picture and check that it shows the face, object or page you wanted. Seeing a live preview doesn't mean you've saved a photo.
For an image of an error message or a website already on the display, use the Chromebook screenshot controls. Pointing the camera at the screen is a different task and usually makes the text harder to read.
Select the lens you want before taking more pictures
If the preview shows the wrong view, select Switch camera. This appears when you have an external camera connected or more than one built-in lens. Choose the view you want before pressing the shutter.
A Chromebook with one built-in webcam may have no other camera to switch to. A missing switch doesn't mean a second camera is hidden in Settings.
For a USB webcam, plug it in, return to Camera and check the view. Make sure the preview switches to the camera you want before taking another photo, especially if the two cameras face different directions.
On a convertible Chromebook in tablet mode, either volume button can take a photo. Select Photo first, then use the volume button as the shutter while holding the device steady.
If you can't get a preview from any camera, try the Chromebook camera-access checks. Those cover privacy controls, permissions and a camera the Chromebook can't detect.
Use the timer and framing controls
Select Timer if you need time to sit back or move your hand away from the trackpad. Choose an available delay, frame the shot and start the timer. Hold your position until it takes the photo.
Turn on Grid to show guides over the preview. They help you keep a horizon or document straight while framing the shot, without having to draw guides onto the picture yourself.
Select Mirroring to flip the view left to right. If the direction matters, check lettering or another familiar detail in the saved picture, especially for a badge or printed sign.
Open Camera settings to change the timer length, grid size or camera resolution. Resolution changes the picture's dimensions. Move the laptop or subject to change what fits in the frame.
I'd fix the light and framing before raising resolution. Face a light source and move the subject into view. More pixels won't bring back a face hidden in shadow or part of an object outside the picture.
Find the saved photo and give it a useful name
In Camera, select the most recent photo at the lower right to open it. To browse the full set, open Files, expand My files, then choose Camera.
Older Camera photos may be in Downloads instead. If the Camera folder doesn't contain an older picture, check Downloads before assuming it was deleted.
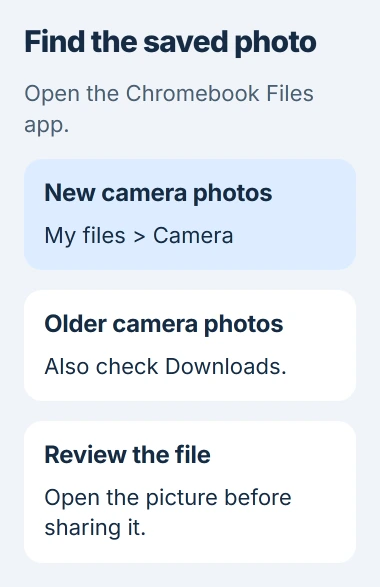
Check the thumbnail and date to find the photo you just took. With several similar shots, it's easy to pick the wrong file when uploading one to a form.
In the photo viewer, select the filename at the upper left, enter a useful name and press Enter. A name such as Plant-label helps you pick the right file from several similar camera shots.
To keep an important photo elsewhere, use Files to copy it onto external storage or into Google Drive. Open the copy in its new location before deleting the local one so you know the transfer finished.
Crop, brighten or resize the picture you saved
Open the photo and choose Crop & rotate at the top. Remove parts you don't need or rotate a sideways picture. Keep the details the person receiving it needs to see.
Choose Lighting filters to adjust brightness or contrast. If a shot is badly blurred, take it again while holding the device still. A brightness adjustment won't restore letters blurred by movement.
Use Rescale to change the picture's width and height. If a form has a size requirement, check whether it means image dimensions or file size. Those measure different things.
The Undo and Redo controls help compare edits. Keep a separate original when the photo is important, particularly before making a tight crop that discards details around the subject.
For a printed page, consider Scan > Document instead of Photo. Frame all its edges against a contrasting background, capture it, then choose Save as photo or Save as PDF for a single page.
Handle missing controls or blocked camera access
Some tools depend on your camera. Pan, tilt and zoom appear only if the camera supports them, so you may not see every tool shown in a guide.
If your school or workplace manages the Chromebook and blocks Camera, ask its administrator for access. Installing another camera app won't necessarily get around that restriction.
If a camera feature is missing, find your model before contacting the manufacturer. The Chromebook identification guide shows which label or sign-in details help support identify it.
Tell support whether Camera opens, whether you see a live preview and whether you can open a saved photo. These are three separate checks. Knowing the last one that worked helps them focus on the step that failed.
The Short Version
Open Launcher > Camera, choose Photo and press Take photo. Review the small preview, then find new pictures in My files > Camera. Use the timer, lens switch and simple editing controls as needed; screenshots use a separate capture tool.
Checked November 5, 2026.

Isaac Smith is the founder and editor of PC Glance, a website that covers computers, laptops, and technology. He is a tech enthusiast and a computer geek who loves to share his insights and help his readers make smart choices when buying tech gadgets or laptops. He is always curious and updated about the latest tech trends.