
Fake AirPods can look convincing. Check the iPhone's verification warning and the hardware's model numbers before trusting the box. Compare the earbuds, case, serial details, and purchase record with the generation being sold.
A coverage result checks the serial number you entered, not the headphones in your hand. Treat it as one check. Take a warning or model mismatch back to the seller before paying or letting the return period expire.
1. Check what the iPhone actually reports
Read the iPhone's screen carefully when you pair an unfamiliar set. A Cannot Verify AirPods alert means the headphones couldn't be verified as genuine and may not behave as expected. Don't dismiss that message as a normal setup step.
Apple's verification warning instructions say to contact the place of purchase for more information. You can still connect them as standard non-Apple headphones through Bluetooth settings.
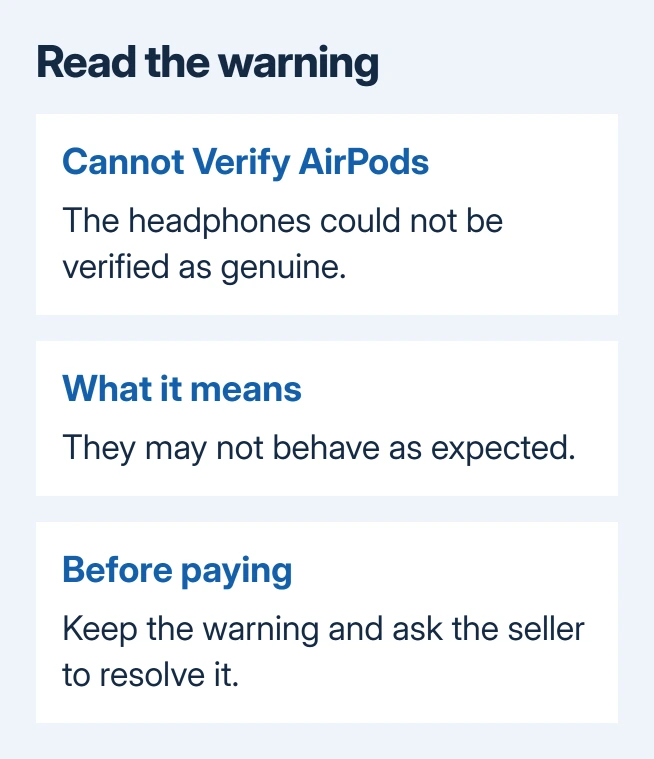
Connecting this way doesn't confirm they're genuine. Save a picture of the warning if they were sold as genuine, and ask the seller to resolve it. That gives you a clearer record than describing how they sounded.
With no warning, continue to the model check. Even if the name looks right and Bluetooth connects, you still need to check the model, case, purchase history, and claimed features.
I'd pause a private purchase at a verification warning rather than let the seller hurry the rest of the checks. A low price doesn't make an unexplained warning less relevant.
2. Match the model number to the claimed generation
On your iPhone or iPad, go to Settings > Bluetooth, then open the AirPods' information button. Their name can also appear near the top of Settings while they're connected. Read Model Number, rather than the editable name.
Before iOS 14 or iPadOS 14, find connected AirPods under Settings > General > About, then their name. That path is for older software; on current versions, use the Bluetooth information screen.
The official model list identifies the generation from its model number. For AirPods and AirPods Pro, the printed model number starts with A on the underside of each earbud. AirPods Max has it behind the left ear cushion.
Compare the printed numbers with the seller's description and the generation in Settings. Don't expect the left and right earbuds to use the same model number; the official list can include several numbers for one generation.
For example, AirPods 4 and the noise-canceling version of AirPods 4 have different entries. If the seller promised noise cancellation but supplied ordinary AirPods 4, the listing is wrong even if the earbuds are genuine.
Likewise, AirPods Pro 2 has separate USB-C and Lightning entries. A listing that gives the right family name but the wrong charging case needs a closer look. Record the numbers before asking the seller which version they're supplying.
3. Identify the case separately from the earbuds
Scroll through the case section of the model list and compare the charging connector, light location, and other listed features. Use the exact generation's description, because those details change between models.
A setup button isn't a universal authenticity test. Some newer cases use a different pairing control from older cases. A genuine model can look wrong when you're comparing it with instructions for another generation.
Ask whether this is an original set or one assembled with replacement parts. A case that differs from the retail box could be a replacement. Get that history before deciding that a mismatch means the AirPods are fake.
Keep the check specific: which case model, which earbuds, and which charging connection? A seller should be able to explain a replacement case without changing the claimed AirPods generation halfway through the conversation.
For a set that looks mismatched and also refuses to connect, use the AirPods case and pairing checks once you know which earbuds and case you have. Repeated resets won't answer whether the listing described the right model.
4. Read the correct serial number and check coverage
Open the connected AirPods' information in Settings to find the serial number. For most earbud models, the main serial is also inside the charging case lid. For AirPods Max, remove the left magnetic ear cushion to see its serial.
Some generations also print an individual serial on each earbud. Those don't always need to match the case's main serial. Use the main serial identified in the serial-number instructions for service and coverage.
Visit Check Coverage, enter that serial, and complete the onscreen verification. Read the product and coverage details it shows, then compare that with the set and purchase details.
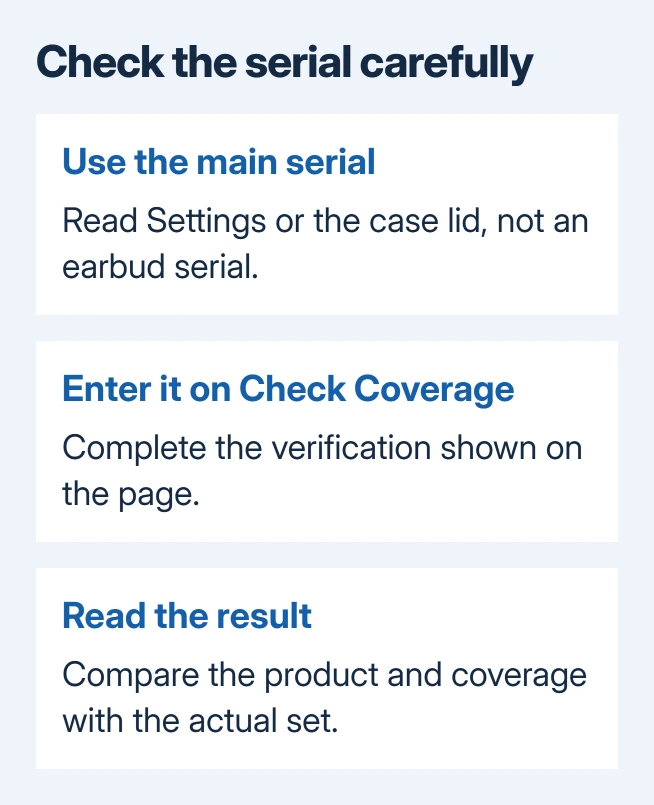
If the number isn't recognized, check each character against Settings or the hardware. Tiny printing is easy to misread. When the product details conflict with the listing, keep the result and request an explanation from the seller.
Even when the number is recognized, you still need to check the headphones themselves. Don't pay extra for a screenshot of coverage supplied by the seller when you haven't checked the device's own details yourself.
5. Check claimed features without treating faults as fakes
Test the features your model is supposed to have. A noise-canceling model should offer its supported listening modes on a compatible device. Don't reject ordinary AirPods for missing a feature their model never included.
Sound, microphone, or connection trouble can happen with damaged genuine AirPods too. Check condition as well as whether they're genuine. The AirPods microphone checks address call quality once you've checked the model and purchase details.
For a purchase already made, keep the listing, receipt, model numbers, coverage result, and any warning together. Ask the retailer for a return or a clear explanation of the mismatch while its return process is still available.
If the seller can't explain it, open Apple Support's AirPods page and ask about the model or serial discrepancy and a service assessment. Include what the phone reports; a photo of the box doesn't show what's happening with the headphones.
The Short Version
Read any verification warning, match the earbuds and case to the exact model, then check the main serial and purchase details. Coverage, packaging, and working Bluetooth belong in the same assessment; none replaces checking the actual set.
Checked November 9, 2026.

Isaac Smith is the founder and editor of PC Glance, a website that covers computers, laptops, and technology. He is a tech enthusiast and a computer geek who loves to share his insights and help his readers make smart choices when buying tech gadgets or laptops. He is always curious and updated about the latest tech trends.