Microsoft 365 work and school accounts can use Microsoft Authenticator to confirm sign-ins on your phone.
Add the account from its Security info page, scan the setup QR code inside Authenticator, and finish the test request before closing the browser.
Installing the app alone doesn't register it with your organization. Setup must connect the right work account to your phone, and your administrator decides which verification methods are available.
In this guide
Start with the work account's Security info page
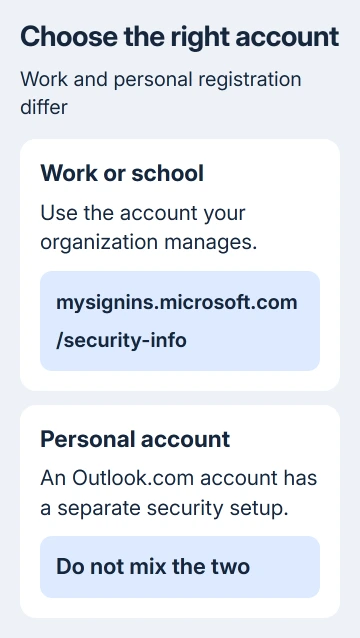
Keep your computer's browser open while setting up the phone. Sign in to mysignins.microsoft.com/security-info using your Microsoft 365 organization address. Check that the page shows the right account before adding anything.
A personal Outlook.com account uses a different security page. Even when the same person owns both accounts, setting up one doesn't register the other. Choose the work account if the sign-in request came from your organization.
Some organizations start registration during sign-in with a prompt asking for more information. Continue that prompt if it came from the sign-in you just started. It leads through the methods your administrator requires.
I'd keep the computer and phone beside each other until the test is complete. Scanning a code from another screen is simpler than switching repeatedly between a browser and the camera on one phone.
If the password fails before you reach Security info, use the work-account password reset steps. Setting up Authenticator won't fix a password that the sign-in page won't accept.
Install the genuine app and begin registration
Install Microsoft Authenticator from the App Store on iPhone or Google Play on Android, checking the publisher. Open it and allow notifications when requested so it can show the setup approval.
On the computer's Security info page, select Add sign-in method. Choose Microsoft Authenticator, then Add. If it's already installed on your phone, continue with Next to reach the QR code.
Microsoft's account-registration instructions describe this QR route.
Some older account pages instead show Additional security verification, with Authenticator app > Configure.
Follow the setup option your account actually shows. An organization's account page can require more than one method, so reaching a phone-number step doesn't necessarily mean the Authenticator portion failed.
Don't scan a QR code sent in an unsolicited message. The correct code is generated inside the security setup you've opened for your own account. Keep that registration page private.
Scan with Authenticator's own account camera
In Authenticator, select Add account, using the plus button or the app's account menu. Choose Work or school account, then Scan a QR code. Point this scanner at the code on your computer.
Allow camera access when prompted. On iPhone the request refers to the camera; Android can describe taking pictures and recording video. This permission lets the app read the setup code.
A normal Camera app isn't the same as Authenticator's account scanner. If the phone opens a web link instead of adding a work-account entry, return to Work or school account > Scan a QR code inside Authenticator.
Check that the new entry shows the intended account. With several organizations in the app, check more than its display name; read the email address or account details before continuing.
For an unreadable camera scan, select Can't scan the image or Can't scan the QR image on the computer. In the phone's setup, choose Enter code manually and enter the displayed code and URL as requested.
Entering these details lets you add the same account without using the camera. Use the details from the current setup page rather than an old screenshot, then return to the browser to finish its remaining steps.
Complete the test and check the saved method
On the computer, select Next after scanning. The setup sends a test notification to Authenticator. Open the notification on your phone and approve the request you just started.
If a number-matching prompt appears, enter the number shown by that sign-in screen. Unlock Authenticator if requested.
A changing six-digit account code is a different type of verification, so don't substitute it for a number-matching request.
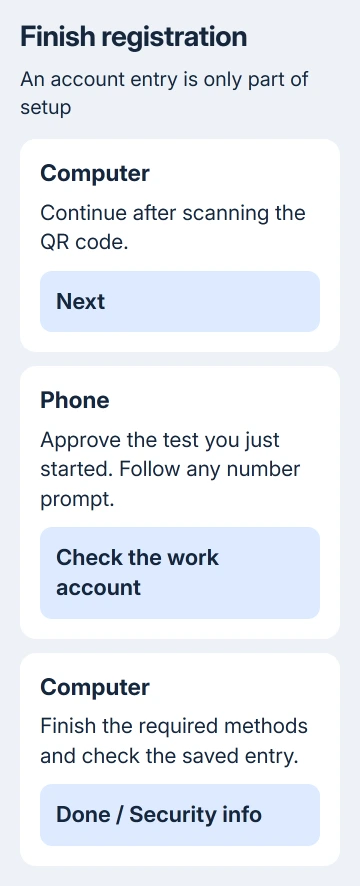
Return to the computer and continue after the successful test. Finish any additional method your organization requires, then select Done when offered. Check Security info for the saved Authenticator entry.
The account appearing in your phone app doesn't mean setup is finished. The browser needs to accept the test and save your registration. If it still waits for approval, keep that page open while checking the phone's notification.
For a missing test request, check that the phone can connect to the internet and that app notifications are allowed. Reopen Authenticator and look at the intended work account before starting the whole setup again.
Know when direct sign-in is a separate option
Authenticator may also offer Work or school account > Sign in. Signing in this way depends on your administrator enabling phone sign-in; it isn't available for every organization or region.
Enter your work sign-in details only when following that supported route. A Temporary Access Pass, if your administrator issued one, can also be used to sign in during setup. It isn't a code you can generate yourself.
If an error sends you to aka.ms/mfasetup, you need to finish registration in the browser. Return to Security info instead of repeatedly adding the same account through the phone's Sign in option.
If you see a location restriction or registration-policy message, send the exact text to your organization's IT desk. Ask whether Authenticator registration and the sign-in route you're using are permitted for this account and location.
Handle an old phone or a registration block
When another verification method still works, use it to reach Security info and register the replacement phone. Complete the new phone's test before removing the method tied to the old device.
If every sign-in demands approval from a phone you no longer have, contact your organization's administrator. Ask for an MFA registration reset or an approved Temporary Access Pass, according to its account-recovery process.
Deleting and reinstalling Authenticator won't remove a registration saved by your organization. Tell IT whether the old phone is missing, damaged, or simply replaced to help them pick a suitable recovery route.
Only approve requests you started. The home-computer security checks cover the other basic protections around sign-in, including updates and recognizing unexpected account prompts.
For a setup that remains stuck, give IT the account address, phone operating system, failed screen, and error text. Don't send a QR code or verification code as part of that report.
The Short Version
Use Security info for your organization account, add Microsoft Authenticator, and scan its code from Work or school account inside the app. Finish the test in the browser.
Ask your administrator for registration help if the old phone or an organization policy blocks access.
Checked November 15, 2026.