An Acer portable monitor needs video and enough power. A compatible USB-C connection carries both through one cable; HDMI needs separate power. Read the full model label first because the sockets differ between PM161Q versions.
A lit screen displaying No Signal is receiving power, but it isn't getting a picture from the laptop. A charging-only USB-C port or cable can't carry that picture.
In this guide
Match the model and the two connection jobs
Read the label on the monitor and note its full model suffix. PM161Q J and PM161Q A are different versions, even though their shorter names look nearly identical. Use the manual for the label on your own screen.
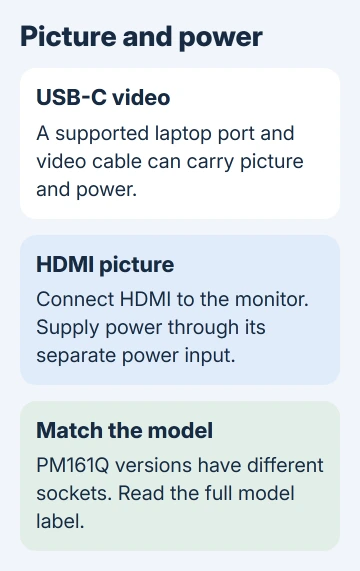
Check both devices' sockets. USB-C describes a plug shape, which doesn't confirm video support. Look for DisplayPort over USB-C or Thunderbolt video in your laptop's specifications before choosing this connection.
The monitor needs a cable that supports video too. A USB-C cable that charges a phone successfully can still be unsuitable for this job. Try the monitor's supplied signal cable before buying an adapter or changing display settings.
For HDMI, check the monitor end carefully. The PM161Q J uses mini HDMI, which is smaller than the full-size HDMI socket found on many laptops. A full-size plug shouldn't be forced into that opening.
I'd start with a direct cable between the laptop and monitor. A dock adds another device whose video support, power supply, and cable would also need checking if the picture doesn't appear.
Connect through USB-C when the laptop supports video
Open the stand and place the monitor on a stable surface. Connect the video-capable USB-C cable to the monitor's USB-C input and the laptop's video-capable USB-C output. Wake the laptop and turn the monitor on.
With a compatible PM161Q J connection, the laptop supplies the signal and power through that cable. Acer's PM161Q J setup guide describes this single-cable arrangement.
Wait for the display to appear in the operating system. A desktop picture means both the video connection and the monitor are working. With Duplicate selected, both screens may initially display an identical desktop.
If the display only shows its own menu or No Signal, confirm the laptop port's video support. Another ordinary charging cable won't tell you whether that laptop port can send video. Check the laptop's specifications for that answer.
A USB-A port with an ordinary USB-A-to-USB-C charging cable isn't an equivalent display connection. If the laptop lacks USB-C video but has HDMI, use the HDMI method for a monitor version with that input.
Use HDMI with a separate power connection
For a PM161Q J, use a suitable HDMI-to-mini-HDMI cable. Plug the HDMI end into your laptop's output and the mini HDMI end into the monitor's input. Then connect the monitor's USB-C power input to the power supply specified for that model.
HDMI carries the picture in this arrangement. It doesn't replace the monitor's separate power supply. If neither the light nor menu appears, fix the power connection before checking Windows or macOS detection.
The PM161Q J manual specifies operation with a 5V, 3A supply or its listed USB Power Delivery range. Match the manual and the adapter's output rating. Don't assume an old low-power phone charger will meet the screen's needs.
Other PM161Q versions can use a different power socket, including micro-USB. Follow the model's own port labels and supplied-cable instructions. Don't assume the connections for one model suffix apply to every PM1 screen.
When the picture appears, leave the connections in place and move to the computer's display settings. If No Signal remains, select HDMI in the monitor's input menu if that model offers an input choice, and check the laptop's output.
Choose Extend or Duplicate in Windows
Press Windows + P. Select Extend for extra workspace or Duplicate for identical content across both displays. Choose the mode you need before moving your windows around.
On Windows 11, open Settings > System > Display. Windows 10 uses the same main path. Select Identify to show the screen numbers, then position the display rectangles in the same order as your physical screens.
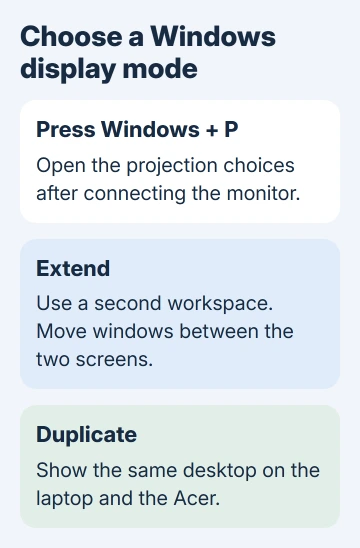
Select the portable monitor before changing its resolution or scaling. Use its recommended resolution when offered. Scaling adjusts how large the words and buttons appear. It won't make the screen bigger or let a charging cable carry video.
If Windows hasn't listed the screen, open Multiple displays and select Detect. The Windows display instructions explain these controls. Detection won't turn a charging-only port into a video output.
When the Acer is detected but stays dark, try Duplicate briefly. Both displays should then have visible content, so you won't have to hunt for a window sitting outside the laptop's desktop.
Set up the Acer in macOS
On macOS 13 and newer, open Apple menu > System Settings > Displays. Select the Acer and choose how to use it, such as an extended display or mirroring. Arrange the displays to match their positions on the desk.
For Monterey 12 and older Mac software, open System Preferences > Displays. Confirm the external screen is detected, then choose an extended or mirrored desktop using that version's controls.
The Mac model also limits how many external displays can be connected. If another external screen or dock is already attached, check the Mac's display specifications before treating the Acer as faulty.
Deal with a missing or unstable picture
A visible monitor menu with no computer picture points toward the input, cable, or laptop output. The Acer No Signal checks help compare another source and cable when the basic connection is correct.
If the screen loses its picture after changing brightness, check the model's power instructions. A connection that powers the screen at one setting may not have enough spare power for the way you're trying to use it.
For a working picture that flickers or disappears, the external-monitor blackout checks help separate a cable problem from a computer-side display problem. Note whether the monitor's own menu disappears too.
If a compatible direct connection still fails, ask Acer Support to check the full monitor model, laptop model, cable type, and power-adapter output. Include whether the screen has a power light, shows its menu, or reports No Signal.
The Short Version
Use video-capable USB-C for a compatible one-cable setup. With HDMI, provide separate monitor power. Match the full Acer model, then choose Extend or Duplicate after the laptop detects the screen.
Checked November 16, 2026.