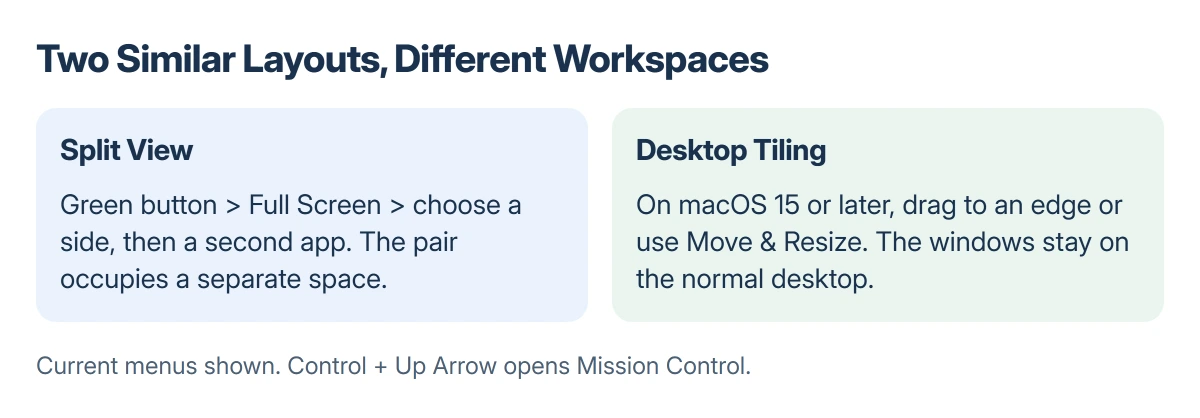
Mac split screen offers two useful layouts. Split View puts two apps in a dedicated full-screen space; desktop tiling arranges windows side by side while keeping the desktop available.
For Split View in current macOS, hover over the green window button and choose Full Screen, then Left of Screen or Right of Screen. Select the second app to fill the other half.
In this guide
Choose the layout before moving the windows
Open the two apps and the documents you need. Choose Split View for a focused pair, or desktop tiling when other windows and the desktop need to stay within reach.
Hover over the green button to see the layout choices. Clicking it immediately can open full screen instead of showing the arrangement you wanted.
Status: Apple's current Mac Split View and window-tiling guides checked 22 October 2026. Menu wording follows those guides; no windows were moved or tested.
Apple documents the separate full-screen space in its Split View guide. Keep that behavior in mind when returning to desktop windows.
Put two apps in Split View
Hold the pointer over the green button at the upper-left of the first app's window. Choose Full Screen, then Left of Screen or Right of Screen.
Select the second app in the empty half. Both apps now occupy the same dedicated space, separate from ordinary desktop windows.
On macOS Sonoma 14, the green-button menu instead names Tile Window to Left of Screen and Tile Window to Right of Screen directly. Apple's Sonoma guide confirms those older labels.
Drag the central separator left or right to give one side more room. Apple says double-clicking the separator restores the original sizes.
To swap sides, use a window's title bar or toolbar to drag it to the other half. If those controls are hidden, bring the pointer up to the screen edge to reveal them.
For a different second app, open the green-button menu in the window being replaced and choose Replace Tiled Window, then select its replacement.
Some apps or windows do not support Split View. If the option is missing for one, try another supported app before treating it as a wider Mac problem.
Tile windows while keeping the desktop
Desktop tiling needs Sequoia 15 or a later macOS release. Drag a window toward the left or right edge and release when the placement area is highlighted. Place the other window in the opposite half.
Alternatively, hover over the green button and choose a layout under Move & Resize. Fill & Arrange provides arrangements for multiple windows in Apple's current tiling controls.
Apple's window-tiling instructions also allow Option while dragging. It highlights a placement area without requiring the window to reach the screen edge.
These controls belong to macOS. On a Windows PC, use Windows Snap and its keyboard shortcuts instead of looking for a Mac green button.
Leave Split View without losing the other app
In the app being returned to the desktop, hover over the green button and choose Move Window to Desktop. Its partner remains full screen in the dedicated space.
Open Mission Control with Control + Up Arrow and select the remaining app in the Spaces bar. It is still running in full screen after its partner returns to the desktop.
For Split View on another display, Apple states that Displays have separate Spaces must be enabled in System Settings > Desktop & Dock.
If Safari keeps supplying separate windows when tabs were intended, fix Safari's window-versus-tab behavior before arranging the workspace.
If only one app refuses the layout, check its window support or ask its developer. Unrelated display changes cannot add a layout the app does not support.
The Short Version
Split View: green-button menu, Full Screen, choose a side, then select the second app. It creates a separate space.
Desktop tiles: drag to an edge or use Move & Resize. To leave Split View, choose Move Window to Desktop and find the remaining app in Mission Control.
Where to Next
Try switching between the arranged apps and your other work. Use desktop tiling if returning to the desktop frequently makes a separate Split View space inconvenient.