The Epson Connect Printer Setup Utility registers a compatible printer for Email Print and other cloud services. Join your router's network first, then run the Windows or Mac utility and choose Printer Registration.
Installing a normal printer driver alone doesn't complete that cloud registration.
In this guide
Check that Epson Connect is the service you need
Email Print gives your printer an email address. Send a document or photo to that address and the printer can receive it through the internet. That's useful when the sending device isn't on your home network.
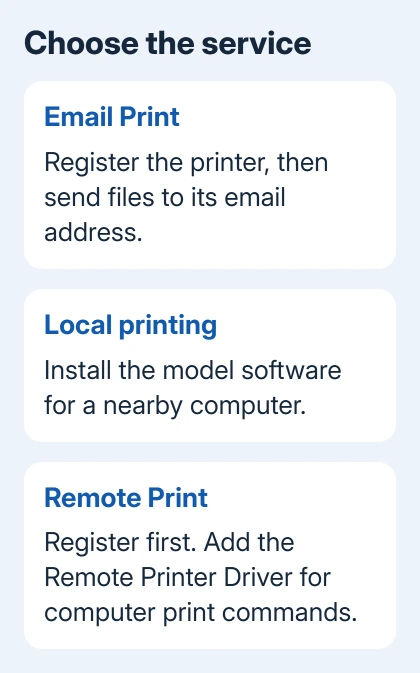
For ordinary printing from a nearby computer, start with connecting an Epson printer to your computer. That covers the model's installer and local USB or network connection.
The Connect utility links a supported printer to your account. Epson's download page lists it for Email Print, Remote Print and Scan to Cloud.
Remote Print also needs its own driver; Email Print and Scan to Cloud don't require that extra driver.
I'd settle that choice before downloading anything. An email address for the printer means Email Print. A printer selected inside a distant computer's Print window means Remote Print, which has another setup stage after registration.
1. Put the printer online before opening the utility
Turn on the printer and finish initial setup, including ink and paper preparation. Follow your model's manual to join an internet-connected network. A USB connection to a computer doesn't give this service the network connection it needs.
Wi-Fi Direct and Ad Hoc connections aren't supported for Epson Connect services. A phone or laptop can communicate with a printer through Wi-Fi Direct while the printer still lacks the internet connection needed to register.
Use the model's Start Here sheet to join your router. The support site's model page keeps it under Manuals and Warranty > Start Here. Ethernet is another option on models that have an Ethernet port.
When the network connection won't finish, use the printer's report rather than repeating cloud registration. The Epson Wi-Fi connection checks explain how to read that report and deal with the router connection first.
Load plain paper before registration. A successful setup can print an information sheet, so an empty tray can leave you waiting for a page the printer can't produce.
2. Download the utility for Windows or Mac
Open the official Epson Connect downloads page. Find Epson Connect Printer Setup Utility, then choose the Windows or Macintosh download for the computer doing the registration.
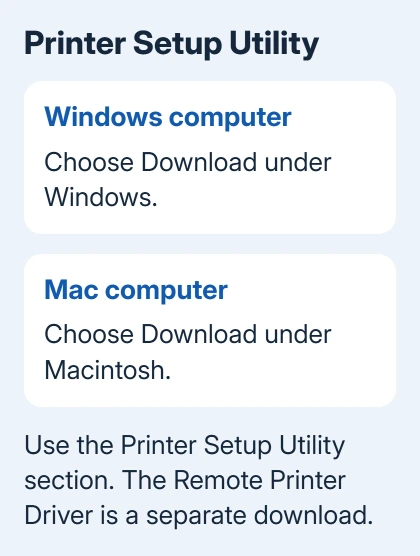
Keep the utility and Epson Remote Printer Driver separate when reading the page. The second download isn't a substitute for registering the printer. Pick it later if you want remote printing from a computer's normal Print command.
Check the operating systems listed beside each download. The utility and Remote Printer Driver don't necessarily support the same macOS releases. Check that list before installing on a newly updated Mac.
You don't need a phone to run the desktop utility. Use the Windows PC or Mac where you downloaded it, and keep the printer on while the utility finds and registers it.
3. Register from Windows
Run the downloaded installer. The Windows setup instructions use this sequence:
- Accept the End-User License Agreement and click Next.
- Click Install, then Finish.
- Select your printer from the product list and click Next.
- Select Printer Registration, then Next.
- Choose Agree, click Next, then confirm the registration message with OK.
Check the selected model before continuing, especially in an office with several printers. This is the printer that will be linked to the account, rather than simply the default printer selected in Windows.
The account screen comes next. Some versions show Create an Epson Connect Account or I already have an account. Newer registration screens use Epson Global ID, with Login or Create Account and email verification.
Follow the options on your account screen, using the account section that follows. Don't restart the installer just because its account wording differs from an older setup illustration.
4. Register from a Mac
Open the downloaded installer, click Continue, accept the license, then choose Install and Close. The Mac installer ends with Close; the Windows installer uses Finish.
Select the printer when the setup window opens. If that window doesn't appear, look in Applications > Epson Software and open Epson Connect Printer Setup yourself.
Choose Printer Registration > Next, confirm Register a printer to Epson Connect with OK, then accept the terms and continue. The Mac registration instructions show the older account form.
At that form, a new account ends with Finish. An existing account uses I already have an account, followed by the Add a new printer form and Add. A newer Global ID screen follows the next section instead.
5. Finish the account screen and confirm registration
On a Global ID screen, choose Login for an existing account. Enter its email address and password, then enter the emailed two-step verification code and select Verify when requested.
For a new Global ID, choose Create Account. Enter your email address, password and country or region, select Send Verification Email, then enter the received code on the email-verification screen.
The current computer registration guide describes a printed setup information sheet and a notification email when registration succeeds. Keep the sheet so you can use the printer's assigned details.
If registration fails, supported control panels show Settings > General Settings > Web Service Settings > Epson Connect Services. The menu path varies by model. Registration: Unregistered means the account registration hasn't finished.
Connection: Disconnected points to printer communication instead. On a Network Status Sheet, the Epson Connect section can also show HTTPS and XMPP connection status. Use the model manual to print that sheet and keep it for support.
When it still fails, open the Epson Connect portal's service status and FAQ linked from the registration guide. Ask the model's support team about failed Epson Connect registration, giving the exact message and status-sheet results.
The Short Version
Connect the printer to an internet-connected network, install Epson Connect Printer Setup Utility, and choose Printer Registration. Finish your version's account screen, then check for the setup sheet and registration email.
Checked November 10, 2026.
 If you have any business, I can build it online