Windows changes monitor resolution in Settings > System > Display. Select the screen, open Display resolution, and start with Recommended. For text that's too small, increase Scale instead of reducing resolution.
On a Mac, use System Settings > Displays and select the monitor first. That screen can show size previews rather than a plain list of pixel counts.
In this guide
Choose the display and the kind of change you need
Resolution sets the picture's pixel dimensions, such as 1920 by 1080. Scaling makes text, controls and apps larger or smaller. Those settings solve different problems even though both can make things look larger.
For sharper text with larger buttons, keep the monitor at its recommended resolution and increase scaling. Lowering resolution usually makes everything larger at the cost of sharpness on a flat-panel screen.
A black frame that remains at the native resolution needs the desktop-fit checks for picture size and graphics scaling.
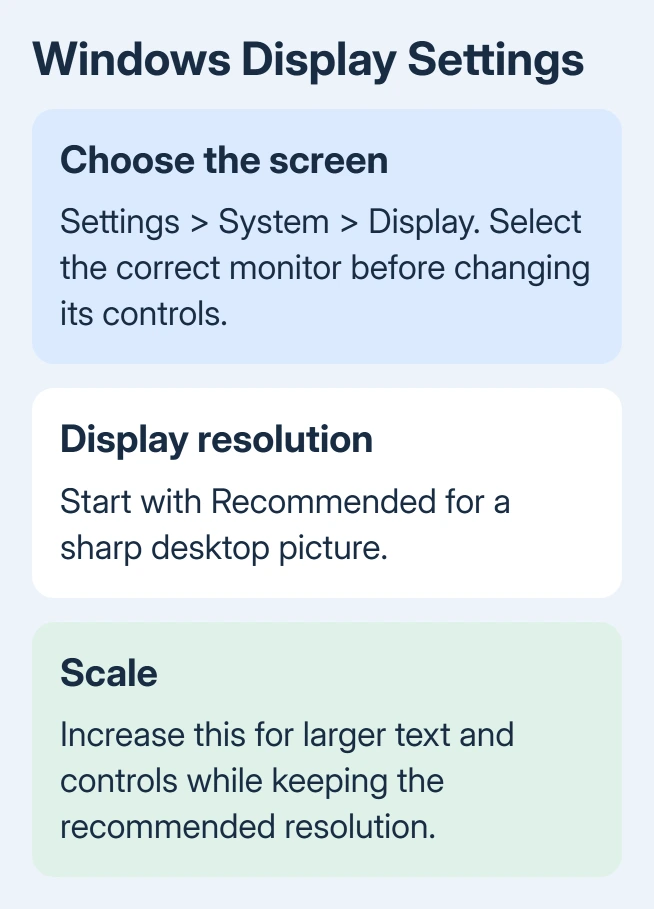
With multiple monitors, identify the screen before making changes. A laptop panel and an external monitor can need different resolution and scaling settings. Changing one screen's settings won't necessarily change the other.
The monitor's own brightness and picture controls are another set of settings. Look for the resolution list in Windows or macOS. The brightness menu opened with the monitor's physical buttons isn't the one you need.
Write down the current resolution before trying a different one. That gives you a clear setting to return to if the new picture looks stretched or the workspace becomes uncomfortable.
Change the resolution in Windows 11
Use the desktop's Display settings shortcut or open Settings directly. Both take you to the same controls, so you don't need the graphics-card app for a routine resolution change.
- Open the desktop shortcut menu by right-clicking empty space, then select Display settings.
- With several screens connected, select the monitor rectangle you want to change. Use Identify if you don't know which rectangle matches the physical screen.
- Scroll to Scale & layout.
- Open Display resolution and choose the resolution you want. Start with Recommended for ordinary desktop use.
- When the confirmation appears, choose Keep changes only if the picture is readable and correctly sized. Choose Revert if it looks wrong.
The screen can briefly go dark while switching modes. If the new mode gives no usable picture, leave the confirmation alone so Windows can return to the previous setting instead of accepting it blindly.
Microsoft's resolution and layout instructions recommend the marked resolution. Lower modes can produce softer text, black edges, a smaller centered picture or stretching.
Check a normal document or browser page after the change. Check that the desktop fits the display and you can read the text comfortably. A bigger number in the menu doesn't always give you the result you need.
Use the equivalent controls in Windows 10
Windows 10 uses Settings > System > Display too. Right-click the desktop and select Display settings, or open Settings from Start and choose System.
Select the correct monitor at the top when more than one is connected. Scroll to Scale and layout, then use Display resolution to select a mode. Confirm the change if you can read the screen and it looks right.
For larger text and apps, use Change the size of text, apps, and other items in the same area. That's the scaling control. It saves you from making a sharp monitor look blurry just to enlarge the interface.
The menu steps still apply to Windows 10, though its standard free support ended October 14, 2025. Changing resolution doesn't change which updates or support your computer gets.
If the change affects the wrong monitor, return to the display rectangles and select the intended one. Our two-monitor Windows setup covers identifying, extending and arranging screens when their positions are confusing.
Set the resolution on a Mac
With Ventura or a newer macOS release, open Apple menu > System Settings > Displays. Choose the external monitor if several displays appear, then select the size or resolution you want.
The Mac may show thumbnails ranging from larger text to more space. Move the pointer over a thumbnail to see its resolution information. Click the preview that gives you the workspace size you need.
To see a list instead, Control-click the thumbnail view and choose Show List. The Advanced controls can also offer Show resolutions as list. Depending on the display, Show all resolutions may reveal more choices.
On macOS Monterey and older, open System Preferences > Displays and use the available default or scaled options. The arrangement differs from newer System Settings, so don't expect the same thumbnail layout on every Mac.
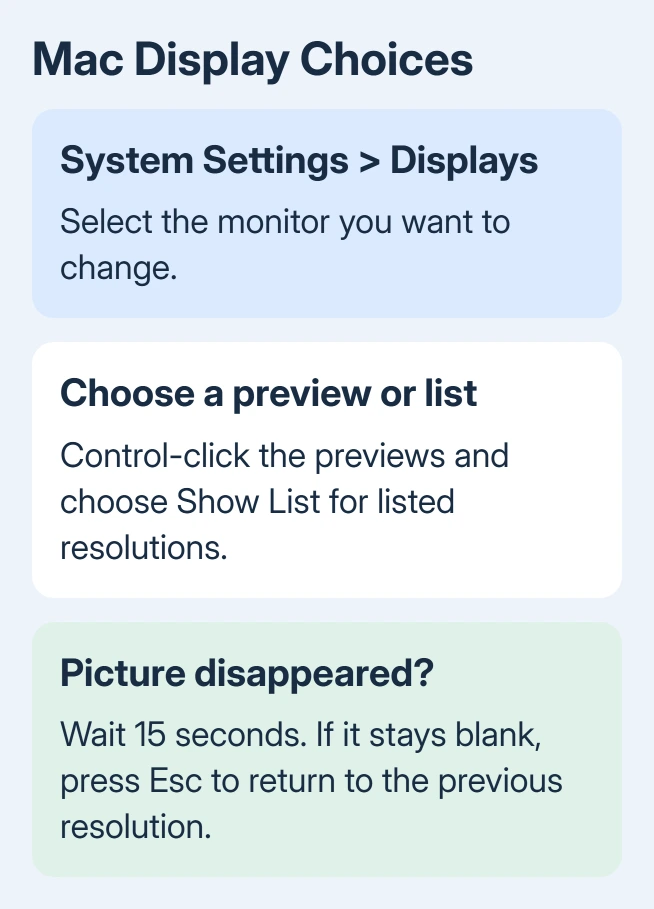
For an external display, selecting the monitor first matters just as much as it does in Windows. A setting that makes text comfortable on your MacBook may not suit a large desktop screen.
Apple's display resolution steps say to wait 15 seconds if a resolution change leaves no picture. If it doesn't return automatically, press Esc to revert.
If the picture still doesn't return, use that page's safe-mode recovery steps, choose Default in Displays, then restart normally. Don't keep choosing more resolutions while you can't see the results.
When the resolution you want isn't listed
Check your monitor's supported resolutions before looking for a particular one. A 1920 by 1080 panel doesn't become a native 4K display through a Windows setting. The monitor, graphics hardware and connection all affect the available modes.
If a supported native resolution has disappeared, use the missing native resolution checks. Solve that connection or driver problem before trying custom resolutions.
I'd connect the screen directly before spending money on a replacement. A dock or adapter can limit what the computer offers, and using a supported cable directly helps you see whether the extra hardware is limiting resolution.
Resolution and refresh rate are also separate. Resolution sets the picture's dimensions; refresh rate sets how often the image updates. Choosing a pixel count doesn't automatically select the panel's highest advertised refresh rate.
If the list stays limited, give the manufacturer your monitor model, graphics hardware and available modes. Ask them to confirm the supported resolution through your exact port, cable and adapter.
The Short Version
Select the monitor in Windows Display settings, then change Display resolution. Prefer Recommended; use Scale for larger text. On a Mac, choose the monitor in Displays and select a size. Revert any unusable result.
Checked November 12, 2026.
 If you have any business, I can build it online