A cracked MacBook Air screen needs a physical repair matched to the exact model. Check Apple menu > About This Mac before buying parts or getting a quote. The year alone isn't enough: 2020 has two different Air models.
For a first repair, I'd get a written quote before ordering a screen. Self Service Repair is available for certain models and in certain locations, but it involves internal cables and the model's required finishing steps.
In this guide
Match the replacement to the exact MacBook Air
Write down the model name, chip or processor, year, and screen size. A 2020 Intel MacBook Air and a 2020 M1 MacBook Air aren't the same computer. A 13-inch and a 15-inch Air also need different parts.
If the screen is unreadable, check the serial number on the underside or original packaging and use the MacBook Air model list. Give the serial number privately to the repair provider rather than posting it publicly.
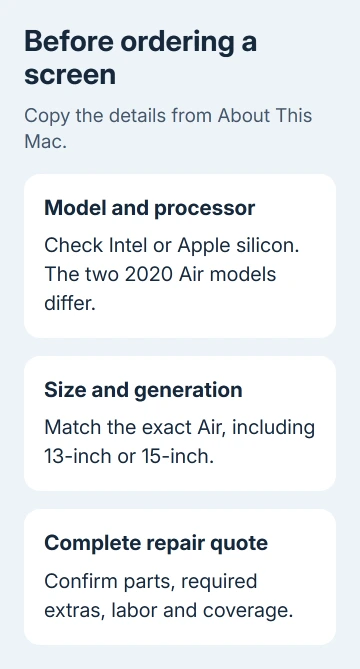
Ask the seller to confirm which exact model the screen fits. A listing saying only MacBook Air screen leaves too much unanswered. Check the size, body color, generation, and supplied components against what your repair needs.
Describe the damage accurately: cracked glass and missing picture areas differ from a screen going black after sign-in. If the screen isn't cracked but flickers, use the Mac display checks before authorizing parts.
If you meant changing the picture rather than replacing broken hardware, use the MacBook background instructions. Changing wallpaper, scaling, or brightness can't mend damaged glass or a broken panel.
Decide between a service appointment and self repair
Apple and its authorized service providers can inspect the Mac and quote a repair. Ask whether the estimate includes the full display assembly, associated parts, labor, taxes, and any additional damage.
There isn't one reliable replacement price for every Air. The model, country, service provider, and coverage change the estimate. Ask for the amount you're approving and what happens if inspection reveals damage beyond the screen.
Review the warranty and any AppleCare plan before paying for parts. Describe accidental damage and ask what coverage applies. Ask what you'll pay rather than assuming a cracked screen gets a free replacement.
Apple says its Self Service Repair program is intended for people experienced in electronics repair. It provides supported repair manuals, genuine parts, and tools, with availability depending on the product and location.
For an older Intel Air, don't borrow an M1 or M2 procedure. Find the service route and parts for that exact Intel model. Newer Apple silicon models have different internal layouts and software steps to finish the repair.
Back up and prepare the Mac for service
Make a current backup before handing over the computer or opening it. Your files can still be affected during a screen repair. The technician might need to erase or replace the startup disk during the work.
If an external display lets you use the Mac, use it to complete the backup and preparation. Copy any files you'll need during the repair to another location too. Ask the provider what to do if you can't use either display.
Before service, turn off Find My Mac as directed in the preparation instructions. A damaged screen can prevent this step. Tell the repair provider what you can access and ask how to prepare that model.
If an Intel model has firmware-password protection, turn that off as directed for service. Apple silicon doesn't have this step. Tell the technician about any setting you couldn't change.
Take the power cable and accessories relevant to the problem. Keep your purchase receipt available and know the Mac login details if you need to demonstrate the problem. For mail-in service, use the provider's packaging instructions.
Read the complete manual before ordering DIY parts
Open the repair manual for the identified model and read its safety, preparation, tools, and display sections. The manual's introduction has the repair manual ID you'll need to buy parts through Self Service Repair.
Read all the steps needed before screen removal, not just the hinge instructions. For example, the M2 MacBook Air (2022) display procedure starts after removal of the bottom case, display hinge covers, and both speakers with their antennas.
The M2 procedure disconnects display and camera cables and deals with the lid angle sensor, the part that helps detect the lid's position. A replacement display on that model also requires a replacement lid angle sensor.
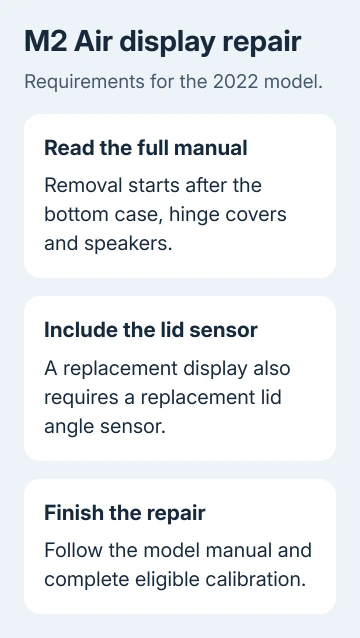
That changes the parts order. Don't assume a display is the complete shopping list, or that a used assembly includes everything required. Confirm the package contents before removing the existing screen.
Follow the illustrated screw order and torque settings when reassembling. Align the display before fully tightening the hinges. Keep the full model manual open for these steps during the job.
If the tools or required handling are unfamiliar, choose a technician. A short generic screen-swap video doesn't replace the preparation, connector handling, sensor requirement, and alignment instructions for your model.
Finish the repair software and check the display
For eligible repairs, Repair Assistant downloads calibration information, the data needed to finish setting up the replacement part. It needs internet and an Apple silicon Mac running macOS Tahoe 26 or later. It doesn't run on Intel Macs.
After reassembly, open System Settings > General > About > Parts & Service. You'll see that section only when the Mac detects a repaired part that supports this process. Choose Restart & Finish Repair if that button is offered.
Install an update if the utility requests one, then follow its instructions after the Mac restarts. The display can light up while still needing calibration. Follow your model's manual to finish setting up the replacement.
Check the whole picture, brightness control, and camera. Close the lid and open it again to check that behavior too. Report crooked alignment, warnings, missing picture areas, or an unfinished-repair message to the installer.
If Repair Assistant reports a locked part, you may need the account information linked to that part. Have the installer or seller resolve it. For a professional repair, return to that service location before buying another screen.
The Short Version
Identify the exact Air, get a complete quote, and back up. DIY work needs the model's full manual and required associated parts. Finish calibration, then check the picture, camera, brightness, and lid behavior.
Checked November 12, 2026.
 If you have any business, I can build it online