A paper-size mismatch can make Excel 2010's Fit to Page enlarge a printout. Match Letter or A4 in Excel and Printer Properties, then check the preview.
Older Toshiba eBridge drivers had a reported problem with Same as Original. Check whether the preview is wrong or only the printed page is wrong. Keep the job paused while you compare them.
In this guide
1. Give Excel and the printer the same paper size
Open the workbook in Excel 2010 for Windows and select the affected sheet. Choose Page Layout > Size and select the loaded paper. Letter and A4 are different sizes, even when the report looks similar on screen.
Open File > Print, select the intended printer, then open Printer Properties. Find its paper-size or output-paper setting and choose that same named size. Driver layouts vary; use the paper control rather than guessing a tray name.
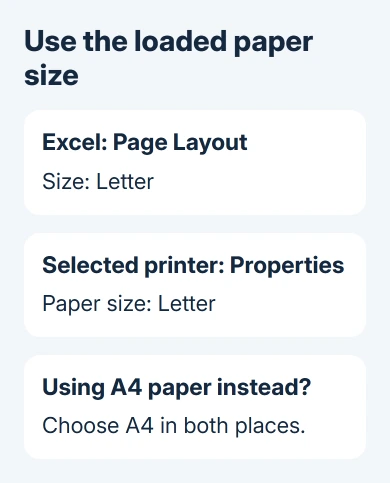
On the older Toshiba setup discussed in the thread, the suggested workaround was to choose a specific paper size instead of Same as Original. That choice applies to those drivers; your printer might not have it.
Microsoft's worksheet scaling guidance explains that mismatched paper sizes can make the printed result differ from Print Preview. Matching them removes that extra change in scale.
Close the properties dialog with OK and inspect the preview for this printer. Check its page count and the size of the first few columns. Don't send the whole workbook when the preview already shows an unreasonable number of pages.
If the preview looks right, compare one printed page with it. If it's still wrong, leave those paper sizes matched and check Excel's scaling next. Changing one setting at a time helps you see which one fixed the printout.
2. Set the width without squeezing every row onto one page
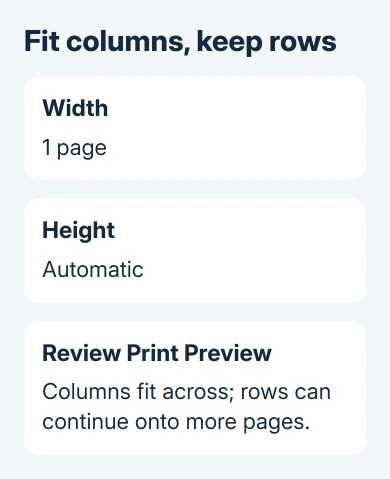
Choose Page Layout and find Scale to Fit. For a wide report that should continue down several sheets of paper, set Width to 1 page and Height to Automatic. The columns fit across one page while rows can continue.
For a short table that really must occupy one sheet, set both to 1 page. That choice can make a long report's text extremely small. It doesn't mean Excel has removed rows; it has reduced everything to fit the requested space.
Another route to these controls is the Page Setup dialog launcher on Page Layout. Open the Page tab and select Fit to. Set the page width and height to suit this report, replacing any settings left from an earlier job.
Try reading a heading and a typical row in the preview. If they are too small, choose Page Layout > Orientation > Landscape, or allow more pages across. I'd keep the text readable rather than force a large table onto one sheet.
If the wrong cells are included, correct the saved print area before continuing. Scaling the right-sized paper won't help a worksheet that is trying to print an unwanted range.
Manual page breaks are a separate layout tool. Fit to scaling can override them, so don't keep inserting breaks while asking Excel to fit a fixed page count. Use the page-break guide when exact row boundaries matter more.
3. Compare the preview with one printed page
Return to File > Print after the changes. Confirm the printer name again, especially if several office printers have similar names. Their drivers can report different paper choices even when they share a tray size.
Look at the preview's last page as well as its first. An oversized job can start with a plausible heading and still spread the remaining columns across many pages. Note the total count before sending any paper.
Print only page 1 using the page-range boxes. Compare its column widths, margins, and last visible column with the preview. A matching sample means you can review the rest of the job before printing all pages.
A correct preview with an enlarged sample points toward the printer's settings or driver. Recheck its paper size and its own scaling option. Excel and the driver shouldn't be making competing fit decisions.
For a wrong preview, try the same small range in a new workbook with the same printer. If only the original fails, check its page setup or range. If both fail, the printer setup or Excel installation needs attention.
I'd compare those results before switching repeatedly between Fit to and a guessed percentage. It shows whether the wrong layout exists before the job reaches the printer, and gives the person maintaining it a concrete example.
4. Update the driver when the paper choices don't fix it
An owner reported similar problems before updating Canon and HP drivers. The original Toshiba and Lexmark problem had no confirmed fix, so a driver update isn't certain to solve every case.
Ask your printer administrator for a driver that supports your printer model on the installed Windows release. Give them the model, current driver name, chosen paper size, and a screenshot of the wrong preview or a sample printout.
For a shared office printer, have the administrator update its queue rather than removing it yourself. A queue can contain tray and finishing choices that other staff need. Retest the same one-page sample after their change.
If another installed printer handles the workbook correctly, include that comparison. If the page layout changes between printers despite matching paper and worksheet settings, ask the printer maker or administrator to check the driver.
When every printer fails, send IT the small test workbook and the Excel build shown in File > Help. Ask them to compare it in their supported Excel version, so a legacy fault doesn't keep being treated as a paper-loading problem.
The Short Version
Match paper size in Excel and Printer Properties first. For long reports, set Width to 1 page and Height to Automatic. Check the page count and print one sample. A correct preview with wrong paper output needs a driver check.
Checked November 16, 2026.
 If you have any business, I can build it online