Word's page border starts at Design > Page Borders in the desktop app. Choose how the border looks, select the section you want it on, and select OK. A border around one paragraph uses a different control on the Home tab.
For a border on just one page, pay attention to sections. Word applies page borders by section, so an ordinary page break doesn't separate the border formatting.
In this guide
Choose the page border in desktop Word
Use the installed Windows or Mac version of Word to open your document. Select Design > Page Borders for the Borders and Shading dialog. Switch to its Page Border tab if needed.
Under Setting, choose the type of border you want. Box gives the page a surrounding border. Style, Color and Width control the line's appearance; Art offers decorative designs when you want one instead.
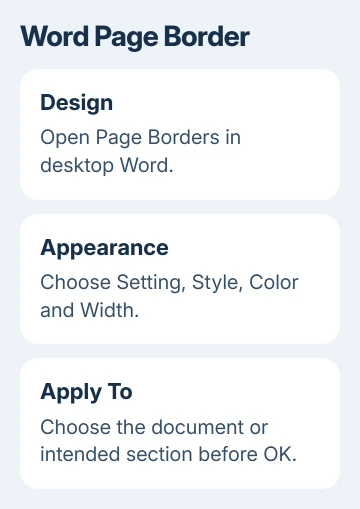
Microsoft says page borders apply by section in its page-border instructions. Check Apply to before confirming, because that choice decides where the border appears.
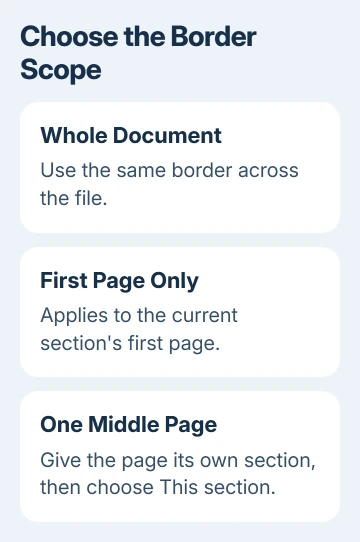
For the same border throughout the document, choose Whole document when offered. Review the preview and select OK. Check the first page and another page to make sure the border appears where you want it.
I'd get a plain border onto the right pages before trying decorative art. It's easier to spot a section mistake when the design itself is simple.
Put the border on the first page only
Return to Design > Page Borders. Choose your border, then set Apply to to This section - First page only. Select OK and inspect the first and second pages.
When the document has one section, this puts the border on its first page. If the document already has several sections, it means the first page of the current section, which might be halfway through the file.
Click in the section that needs a border, then open Page Borders. Otherwise, you can end up applying the right setting to the wrong part of your document.
The first-page border choice is separate from a first-page header or footer setting. For a cover without a visible page number, use the Word page-number controls rather than removing the border.
After applying it, scroll through the document or use the page thumbnails. The preview shows the border design, but checking the document itself confirms which pages received it.
Give a middle page its own section
For one bordered page between ordinary pages, first save a copy of the document. Section changes can also affect headers, numbering and orientation, so keep a version you can return to while adjusting the layout.
Turn on formatting marks with Home > Show/Hide, the paragraph-mark button. This reveals existing page and section breaks, helping you avoid inserting a new break where one already does the job.
Place the insertion point before the content that should start the bordered page. Open Layout > Breaks > Next Page under section breaks. The new section starts on the next page.
After the target page's final content, insert another Next Page section break. The content you want to frame now has its own section. Check that it fits on the one page you want bordered.
If an ordinary page break already marks a boundary, replace it carefully instead of stacking two breaks. Extra breaks can create an unwanted blank page and make the page range harder to understand.
Click inside the target section, return to Design > Page Borders, and choose This section under Apply to. Finish with OK, then inspect the pages immediately before and after it.
The border follows its section. If added text pushes that section onto two pages, both can receive the border. Check the layout after editing, or choose the section's first-page-only option if that suits the document.
For a wide table on that page, the one-page landscape procedure explains orientation and its section boundaries. Plan the border and orientation together, using those section breaks for both changes.
Adjust the gap or remove an unwanted side
In Design > Page Borders, select Options to adjust the distance between the border and the page edge. Under Measure from, choose Edge of page or Text to set where Word measures that gap from.
Choose the spacing you want, confirm the Options dialog, then confirm Borders and Shading. Check that the border isn't crowding a header, footer or paragraph on the actual page.
To omit one side, select that side in the dialog's Preview area. This switches that edge off and keeps the others. Check the preview before choosing OK to make sure you've kept the sides you want.
To remove a page border completely, choose where to remove it in Apply to, select None under Setting, and confirm. If a line remains under a paragraph, it may be a paragraph border rather than the page border you just removed.
Use the right control for a paragraph or browser document
For a border around a word or paragraph, select that text and use Home > Borders. Its Borders and Shading dialog lets you choose Text or Paragraph. Those change the selected content rather than framing the page.
The browser version of Word has no desktop border editor. Open your document in the installed Windows or Mac app to use these settings and section breaks, then save your changes.
The Windows and Mac desktop versions share the Design route in the current instructions. Older versions can use different ribbon labels, so check the app version before following a menu path intended for another release.
Check the border before printing
Open File > Print and inspect the preview. If the border looks correct on screen but loses an edge on paper, check the printer's minimum printable margins. A border too close to the sheet's edge can fall outside that area.
Return to Page Borders > Options and move it farther from the page edge. If needed, adjust Layout > Margins > Custom Margins, then check again. Print one page before sending the whole document.
If an edge still gets cut off, ask the printer maker for your model's minimum printable margins. Give the paper size, missing edge and print-preview result to help them tell whether the layout or the printer's limits are causing it.
The Short Version
Use Design > Page Borders and check Apply to before confirming. Give a middle page its own section when it needs a separate border. Use Options for spacing, None for removal, and the print preview before producing the final copy.
Checked November 12, 2026.