A Brother GTX needs the right garment-printer driver and a working USB or LAN connection. For a GTX-422 using USB, disconnect its cable before starting the matching installer. Connect it when setup directs you.
A printer missing from Windows needs different checks from one missing only in Graphics Lab. Also check whether the selected printer name includes FileOutput. That option creates a print file rather than sending the job to your printer.
In this guide
1. Match the GTX model and connection
Read the printer's model label first. The original GTX (GTX-422), GTXpro (GTX-423) and other GTX machines have separate support packages. A Brother office-printer installer isn't the package for these garment printers.
Check how the printer connects to the computer. Follow the USB path for a cable directly between them. Follow the network path for Ethernet through your network. Don't search for a wireless office-printer setup wizard on a GTX-422.
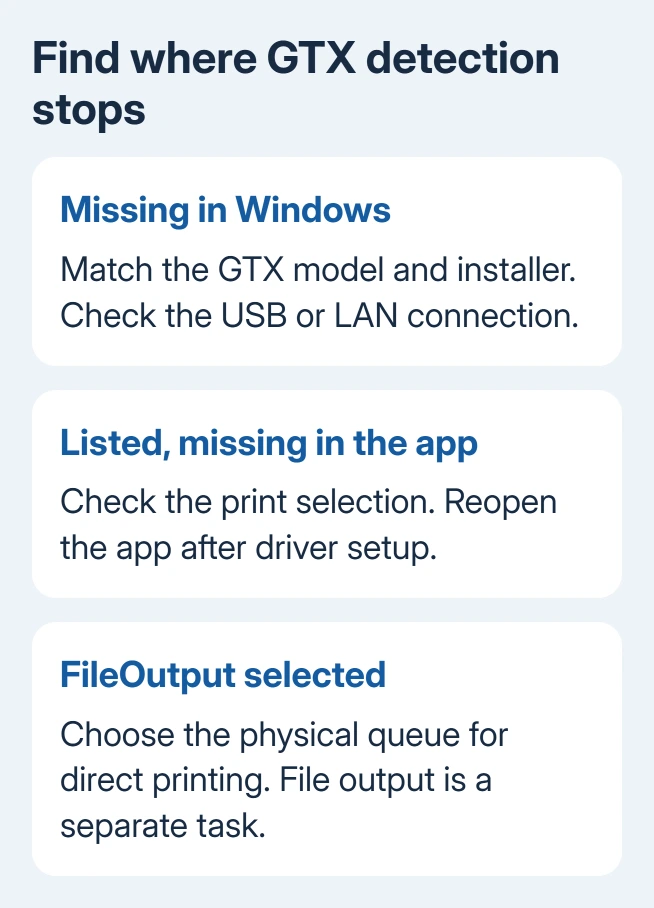
Open Windows Settings > Bluetooth & devices > Printers & scanners on Windows 11, or Settings > Devices > Printers & scanners on Windows 10. Look for the actual GTX printer and note its full name.
If Windows lists it but Graphics Lab doesn't, go to section 4 to check the app's printer selection. If neither lists it, start with installation and the connection. Record any message on the printer's own display as well.
2. Install the exact model's package
For the original GTX-422, open the GTX support downloads. Find the Windows package labeled GTX (GTX-422) Driver, GTX Graphics Lab & Device Core Windows. Check the operating-system requirements before downloading.
The current package lists Windows 11, 64-bit. Don't assume Windows 10 or another GTX model is supported because an earlier installer worked there. Ask garment-printer support for the appropriate package if yours differs.
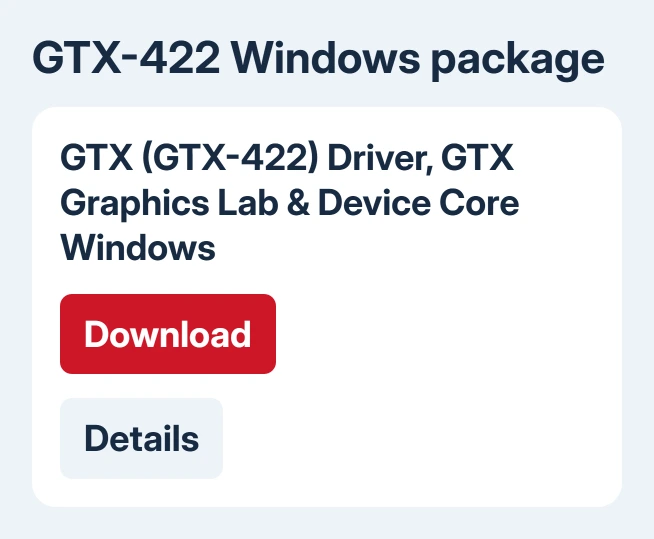
Brother's current instructions say to remove the previously installed GTX driver and Graphics Lab before installing this package. Finish or cancel pending print jobs first, then disconnect the USB cable between the printer and PC.
Extract the downloaded ZIP file. Open its extracted folder and run setup.exe, following the installer prompts. Keep the GTX-422 disconnected at the beginning of installation; use the connection timing the installer requests.
Restart if setup asks. Reopen Printers & scanners and check whether the correct printer now appears. Downloading the package doesn't install the driver or connect the printer; setup needs to finish first.
For a Mac, use the separate macOS package and its listed requirements. The GTX-422 macOS package lists Sonoma and Sequoia. Check compatibility with support before using it on a different macOS release.
3. Check USB detection before changing software again
Switch the GTX on, then read any warning on its display. Connect the correct USB data cable securely at both ends. For this check, leave out the dock or hub and use a computer port directly.
Try another computer USB port, then a known-working cable of the type specified for your GTX model. I'd try that before another software removal, especially when the connection stopped working after the computer or printer was moved.
Watch whether the GTX entry appears in Windows after connection. If the printer appears with one cable but disappears with another, check the cable connection first. Keep the working cable connected while checking the app.
The Windows printer installation steps explain where installed printers appear. Check that list to see whether Windows can find the printer, even if your print app can't.
The original GTX setup guide installs its driver before making the USB connection. Use your model's connection order instead of repeatedly reconnecting the cable during an unfinished installation.
For a different Brother office printer, use the general Brother connection guide. Its wireless and iPrint&Scan routes don't replace the GTX garment-printer driver.
4. Select the physical printer in the print dialog
Open the print dialog in the application that sends your job and read the selected printer's full name. A GTX driver can offer both a physical-printer entry and a FileOutput entry.
To print directly, select the entry for your connected GTX model. A FileOutput entry can be available even when the computer isn't communicating with the printer.
If Windows lists the actual printer but an app that was open during setup doesn't, close and reopen the app. Check its printer list again after Windows has finished installing the driver.
If the printer is listed but won't print, open its queue, the list of waiting jobs, in Printers & scanners. Note whether the job waits, reports an error or leaves the queue.
Tell support what happens to the job. They'll need different checks than they would for a printer missing from Windows.
For a physical error, use the printer error-state checks to check the machine separately from its Windows queue. A warning on the GTX needs attention there, rather than another Graphics Lab installation.
5. For LAN, check the IP address and printer port
On an original GTX-422 connected through Ethernet, confirm the printer's address using Confirm network setting > IP Address on its menu. Use that current address when checking the Windows printer port.
The GTX-422 setup manual describes assigning an address through Brother GTX-4 Tools > GTX-4 Maintenance > Set an IP Address. Its procedure starts with the USB connection already configured.
Let your network administrator supply any static address, subnet mask and gateway. An address copied from a different machine can create a second connection problem rather than fix this one.
On Windows 11, open Printers & scanners > Add device. If discovery fails, choose Add manually, then Add a local printer or network printer with manual settings. Windows 10 offers The printer that I want isn't listed.
Select Create a new port > Standard TCP/IP Port, then enter the GTX IP address. Clear Query the printer and automatically select the driver to use. Under Device Type, choose Custom > Settings.
Choose LPR for the protocol and set the queue name to BINARY_P1.
Continue to driver selection, using Have Disk to locate the matching GTX driver files from the extracted package if needed. Finish the printer wizard, then select the new physical queue in your print application.
Those port settings come from the GTX-422 manual. Use your model's own setup instructions for another GTX. Compare the required protocol and queue name with the port Windows actually created.
If detection still fails, give Brother garment-printer support the GTX model, OS, driver and Graphics Lab versions. Say whether you use USB or LAN and whether Windows lists the printer. For LAN, include the IP address and port settings.
The Short Version
Use your GTX model's driver and cable connection order. Check Windows detection before Graphics Lab, select the physical queue for direct printing, and verify the IP and port settings for LAN. Give support those results if it stays missing.
Checked November 13, 2026.
 If you have any business, I can build it online