

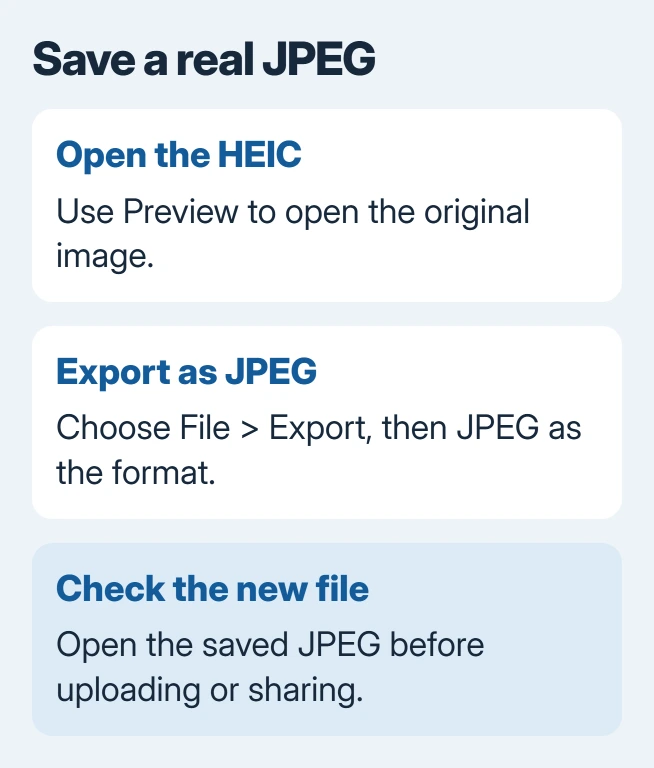
Converting HEIC to JPG on a Mac takes a JPEG export in Preview. Open the image, choose File > Export, and change Format to JPEG. Save a separate copy so the original HEIC remains available.
Renaming the extension does not convert the picture. The recipient needs the exported JPEG file, which can use either a .jpg or .jpeg extension.
Export one image from Preview
In Finder, Control-click the HEIC file and choose Open With > Preview. Then choose File > Export from Preview's menu bar. Use Export, rather than the separate command for exporting a PDF.
Apple documents selecting JPEG in the Format menu in its Preview conversion instructions. Adjust the Quality slider, choose a destination and click Save.
Status: Preview and Finder image conversion checked against Apple's guidance on November 2, 2026. No personal images were opened or converted.
Choose a recognizable filename and keep the output in a different folder if several versions would be confusing. Open that saved copy to check the picture before uploading it or attaching it to an email.
The quality control trades image detail against file size. Inspect small text and fine edges after lowering it; a smaller file that is hard to read does not meet the purpose of the conversion.
Convert a group of HEIC files together
Open the wanted images together in one Preview window and select their thumbnails in its sidebar. Apply the export procedure to that selection and choose JPEG as the output format.
Apple says selecting multiple sidebar images enables batch conversion. Select only the pictures intended for sharing, then save the results into a separate destination so they are easy to check.
Review the exported files rather than assuming the first selected image represents the entire batch. Confirm that every expected picture exists and that none was saved in the original format by mistake.
Use Finder's Convert Image action for a quick copy
Control-click the file in Finder and open Quick Actions. Choose Convert Image; on layouts that group extra actions, open More to find it. Select JPEG and the image size offered by the conversion dialog.
Apple states that this Finder action converts HEIC photos to JPEG or PNG. Available actions depend on the selected file and enabled Finder extensions.
Use Preview's export route if Convert Image is missing. There is no need to repair Finder just to produce one compatible copy.
Image dimensions and image format are separate choices. For unwanted edges around the subject, crop the picture in Preview before making the final JPEG.
Check a file that still will not open or upload
A website may require both a supported format and a maximum file size. Check its stated requirements, then confirm that the file selected for upload is the exported JPEG, rather than the HEIC beside it.
Apple's HEIF compatibility guidance identifies macOS High Sierra 10.13 as the starting point for built-in HEIF support. An older Mac system may need a compatible update or a JPEG supplied by the sender.
For a new camera picture made directly on the Mac, Photo Booth can export JPEG. That avoids a conversion step for those captures, but does not alter existing iPhone photos.
If Preview cannot open one HEIC while others work, obtain another copy from its source. If all HEIC images fail on a supported macOS release, report the error and system version to Apple Support before changing the originals.
The Short Version
Export from Preview with JPEG selected, then share the new file. Use the sidebar selection for a batch, or Finder's Convert Image action for a quick conversion. Keep the source until the output has been checked.

Isaac Smith is the founder and editor of PC Glance, a website that covers computers, laptops, and technology. He is a tech enthusiast and a computer geek who loves to share his insights and help his readers make smart choices when buying tech gadgets or laptops. He is always curious and updated about the latest tech trends.