Custom SkinPacks for Windows 11 come from individual package pages, and the right download depends on your Windows build and the tools that package uses. Check those requirements before installing anything.
A standard Windows theme changes fewer parts of the desktop than a SkinPack that patches appearance resources or uses extra apps. For wallpaper, colors and sounds, start with Windows' own Themes settings.
For a more extensive redesign, choose a package that lists your system as supported and follow that package's instructions.
In this guide
Check which kind of desktop change you want
Open Settings > Personalization > Themes to see the standard theme choices. A Windows theme can combine backgrounds, colors, sounds and mouse-cursor choices but it won't necessarily change how every app window looks.
Select a built-in theme to see whether that already gives you the change you need. Browse themes opens the Microsoft Store for additional choices. Apply the downloaded theme from Themes settings afterward.
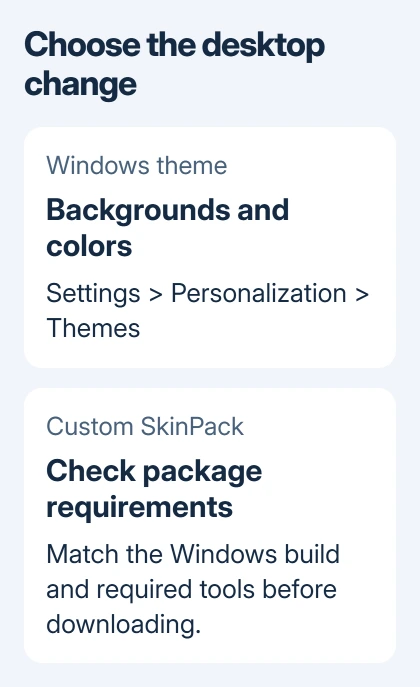
SkinPacks can change more, using extra tools or modifying files that control Windows' appearance. The package page needs to explain which method it uses. Similar preview pictures don't mean two downloads install the same way.
Some packages offer a WindowBlinds version or a portable version. The maker's FAQ suggests these options if you don't want to modify Windows system files. Check which extra tools the package needs before choosing.
If an update leaves every folder ignoring Open, check WindowBlinds and startup conflicts before installing another skin.
I'd try a standard theme first if you just want a different look for your desktop. Extra skinning tools make sense only when their particular window or icon changes are the part you actually want.
Match the package to your Windows version
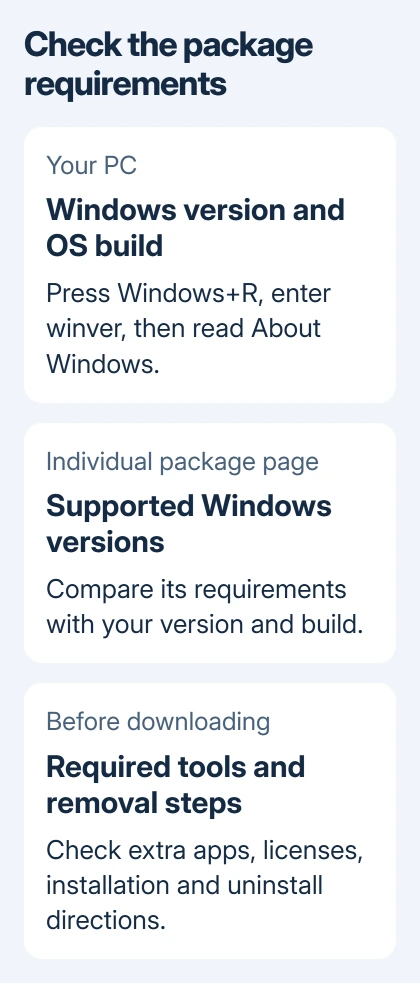
Press Windows+R, type winver, and press Enter. Record the Windows version, then the OS build listed in About Windows. Those are the details to compare with a package's compatibility list.
Open the maker's Best Windows 11 SkinPacks collection, then open the individual package you want. Read its supported Windows versions, required tools, installation directions and uninstall directions before choosing a download.
A package named Windows 11 SkinPack can be intended to make an older Windows version look like Windows 11. Its name alone doesn't tell you that it's made to run on a computer that already runs Windows 11.
Look at the supported operating system, rather than the preview's appearance. If the page doesn't name your build or directs you to an unavailable dependency, ask the package developer before making system changes.
Check whether the preview needs separately licensed software. A package download may not include every app responsible for the taskbar, Start menu or window appearance shown in its pictures.
Prepare a restore point before advanced changes
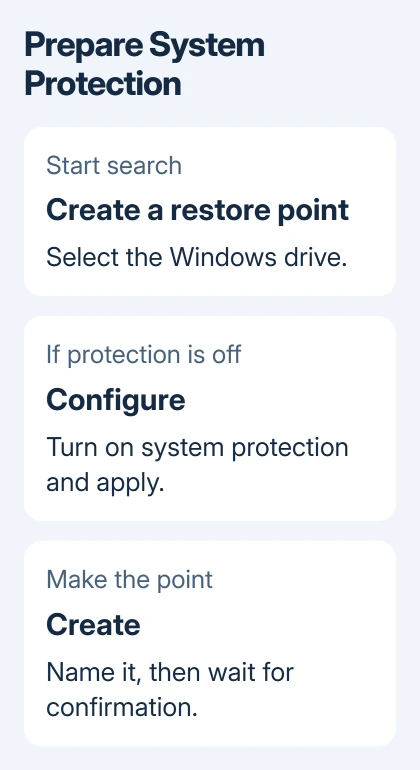
Before installing a package that changes Windows appearance files, create a restore point. Find Create a restore point through Start search, then open it. The System Protection tab shows protection for your drives.
If protection is off for the Windows drive, select that drive, choose Configure, enable Turn on system protection, choose disk-space usage, and apply the setting. Then select Create and give the point a clear name.
Microsoft documents the System Protection controls. Wait for confirmation that the restore point is ready before installing the package.
A restore point lets you undo changes to system settings and related parts of Windows. It doesn't back up your documents, so keep important personal files backed up separately before an advanced installation.
Record the current Windows theme and the package's uninstall route while the desktop is working. Keeping that information handy makes it easier to remove the right package if a restart fails.
Download and follow the individual package instructions
Download through the official product page whose requirements you reviewed. Keep its instructions available, including any extraction password, required app version or installation order listed for that particular package.
There isn't one reliable installer sequence for every SkinPack. Some rely on an appearance app; others change Windows appearance files. Follow the exact package's current directions and stop when they don't match the options on your screen.
The SkinPacks help page says to keep security protections enabled. If Windows Security or your browser blocks the file, stop and send the developer the package URL, file version and detection name.
Don't disable antivirus protection or add an exclusion to make the installer run. A package being listed in the collection doesn't explain why security software flagged the file you downloaded.
After installation, complete a restart if the package requests one. Check the desktop, taskbar and a few everyday apps against what the package claims to change, rather than expecting every window to match its preview.
Save a normal Windows theme separately
For built-in personalization, return to Settings > Personalization > Themes. Adjust Background, Color, Sounds and Mouse cursor, then choose Save and name the theme.
A saved Windows theme lets you reapply those choices later. Right-click a saved theme and choose Save theme for sharing when you want a .deskthemepack file to transfer those theme settings.
That shared file doesn't back up your SkinPack installer or its extra apps. Keep the package's original download details separately if its license allows you to reinstall it.
If the desktop becomes hard to read, use a built-in theme while checking the customization. A good preview isn't useful when everyday labels and controls are difficult to distinguish at your normal display scale.
Remove an incompatible package before trying another
Follow the uninstall instructions for your exact package. Remove its extra customization tools only when those instructions tell you to, then return to Personalization > Themes and choose a standard Windows theme.
Windows updates can change compatibility with third-party appearance tools. Check the package's current build support after a major update instead of repeatedly applying an old patcher to new system files.
For a black desktop or broken Explorer after removal, give the package developer the Windows build, package version and what still opens. Use the Windows black-screen recovery steps when the desktop won't load.
If Windows recovery is needed, the System Restore guide explains returning to an earlier restore point. Keep the package removed until its developer confirms a version for your build.
The Short Version
Match the build from winver against the SkinPack's requirements before downloading, including its required tools. Create a restore point for advanced changes, keep security on, and follow that package's install and uninstall instructions.
Checked November 15, 2026.