Missing black ink on an Epson printer often comes from black nozzles that aren't delivering ink, even with ink left in the tank or cartridge. Print a nozzle check and look at its black section before running a cleaning cycle.
If that black pattern is complete but documents lose their black text, check the document and print settings instead. A pattern with gaps calls for ink and print-head checks. With a complete pattern, return to the computer settings.
In this guide
1. Print a nozzle check and inspect the black section
Load plain paper and open the Epson maintenance controls. A nozzle check prints a small pattern from the printer's ink channels, so you can compare the black output with the color sections.
In Windows 11, open Settings > Bluetooth & devices > Printers & scanners, select the Epson, then Printing preferences > Maintenance. Use the Epson driver's maintenance tools if the simplified Windows dialog doesn't show them.
In Windows 10, open Control Panel > Hardware and Sound > Devices and Printers. Right-click the Epson, select Printing preferences, then open Maintenance.
On a Mac, open System Settings > Printers & Scanners, select the printer, then Options & Supplies > Utility > Open Printer Utility. Older macOS versions start in System Preferences.
Select Nozzle Check, follow the prompts, and wait for the page. Many Epson models also offer the check on the printer itself, but the control-panel route varies by model.
The ET-2760 panel instructions give its OK and Start sequence, followed by the model-specific Power and Help cleaning controls.
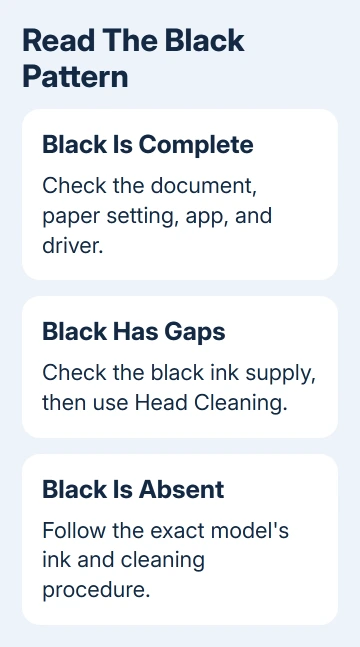
Look for gaps, faint lines, or an entirely absent black section. Compare it with the example shown by the utility. A nearly empty black pattern is different from black text that is present but a little soft.
If black is broken or absent, continue with the supplies. If black is complete, skip the cleaning steps and check the document. If every section is missing, our blank-page guide covers that broader symptom.
2. Check the black supply for your printer type
On an EcoTank, look through the black tank's window instead of trusting only the software ink estimate. Refill a low tank using the ink bottle specified for the exact model and follow its refill instructions.
Even a full tank can have a blocked nozzle or trouble getting ink to the head after the tank ran empty. Tell support if printing stopped after ink stopped being visible in the tank window.
On a cartridge-based Epson, read the ink-status screen and any cartridge error. If the printer doesn't recognize the black cartridge, fit or replace it correctly before trying a cleaning cycle.
If this started immediately after replacement, follow the cartridge installation instructions for your model. Check that the cartridge is seated and that any specified removable packing has been removed.
Leave cartridge labels, seals, and parts that the instructions don't tell you to remove in place. Cartridge designs differ, and removing the wrong seal can cause a leak rather than restore printing.
If the display reports a color cartridge that's empty or unrecognized as well, resolve that warning. Selecting black printing doesn't make every Epson model ignore an unavailable color supply.
Once you've cleared the ink warning, check the black pattern again. The next repair depends on whether ink is missing from the pattern, not simply on whether the tank looks full.
3. Use normal Head Cleaning for a broken pattern
In the Epson driver's Maintenance tab or Mac printer utility, choose Head Cleaning or Print Head Cleaning. Some versions show a Maintenance button before the individual tools.
Epson says to check the nozzles and clean the head when the printed pattern has gaps. Let the cleaning finish, then print another check to see whether black has returned.
Do not switch the printer off during the cleaning cycle. Wait for the utility or printer display to say it has finished before starting another job.
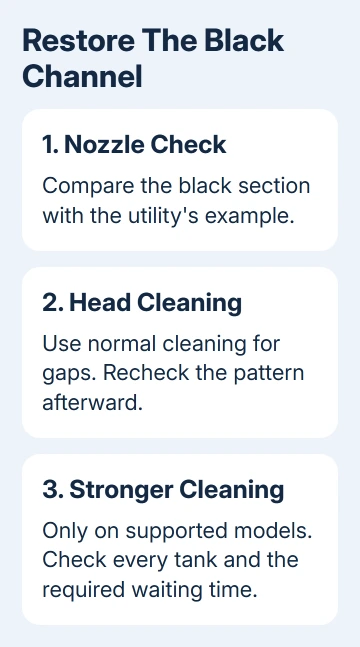
Compare the two patterns. If more black lines appear, ink is getting through again. If the same section is still missing, you'll need the next maintenance step. Stop once the black section is complete; extra cleaning then just uses ink.
Follow your model's limit for repeated cycles. The current general instructions allow up to three normal cleanings before a rest or stronger cleaning. The recovery steps include a 12-hour wait.
I'd keep the printed patterns in order. They make it easier to judge whether cleaning helped and show a technician how the output changed during maintenance.
For models without Power Cleaning, use the rest and normal-cleaning sequence in the manual. Don't borrow an EcoTank power-cleaning command for a cartridge printer that doesn't offer it.
4. Use Power Cleaning only when your Epson supports it
Power Cleaning, called Power Ink Flushing on some models, pushes more ink through the system to clean it. It's mainly an EcoTank feature and isn't available on every Expression or WorkForce printer.
Check the exact model's maintenance instructions before starting. Epson's current general guidance calls for every EcoTank tank to be at least one-third full and for at least 12 hours after the last normal Head Cleaning.
This uses a large amount of ink. Check all tanks, including color, even though black is the missing output, and follow any waste-ink or maintenance-box warning before proceeding.
Open Power Cleaning in the Epson maintenance utility if the model provides it, then follow its prompts. Afterward, the current general procedure calls for at least 12 hours before printing another nozzle check.
If your printer's own manual gives a different sequence, follow that model's instructions. The ET-2800's support material, for example, directs owners with long-unused printers toward its Power Cleaning procedure.
If the black section still doesn't return after the supported sequence, stop repeating ink flushes. The ink delivery system or print head may need service.
5. Fix missing document text when the pattern is good
Open a simple document with ordinary black text and print one page on plain paper. Confirm that print preview actually shows that text and that the selected device is the intended Epson.
Select the correct Paper Type or Media Type for the paper loaded. Photo and plain-paper settings change how the printer produces the image, so compare ordinary text with a plain-paper setting first.
Try the same document from another app. If one app loses the text while another prints it, check the affected app's print options or export a fresh PDF rather than cleaning a working print head.
On a multifunction Epson, try a black-and-white copy of a clear printed original. If the copy has good black text but computer jobs fail, check the driver and document settings.
Our Epson color printing guide covers the reverse case, where black prints but colors don't. Keep that separate from an absent black section on the nozzle page.
If several apps fail despite a complete pattern, install the exact model's supported driver. On a Mac, the printing troubleshooting steps also cover queue and driver checks.
For persistent missing black on the pattern, contact Epson support for your model. Send pattern photos and your ink type. Say whether the tank ran empty and which cleaning cycles you've tried. Ask about print-head or ink-delivery service.
The Short Version
Use the printed black pattern to choose between supply repairs, cleaning, and software checks. Use stronger cleaning with the model's ink and waiting requirements. A complete black pattern calls for document or driver checks instead.
Checked November 12, 2026.