For a family tree format in Microsoft Word, use a SmartArt hierarchy for a small tree or a labeled table for a more complicated family record. Plan the generations first, then add the names so the chart has room to grow.
A hierarchy shows how one generation follows another, but it doesn't automatically understand marriages, adoption, or relatives with more than one relationship. Decide what your page needs to explain before choosing its shape.
In this guide
Plan the generations before opening SmartArt
Write a short list of the people the tree needs to include. Start with one person or couple, then list the next generation in family groups. Check names and relationships against your records before arranging them on the page.
Choose whether the oldest generation will sit at the top, with descendants progressing downward, or whether the page will work as a labeled record. Keep that choice consistent. Switching direction halfway makes a family harder to follow.
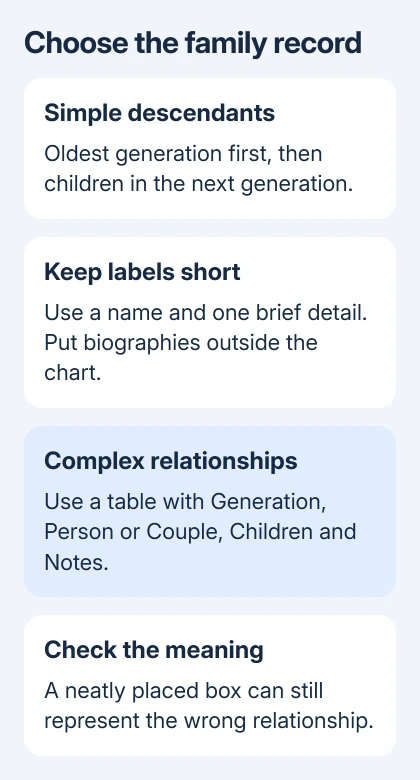
For a first draft, limit each box to a name and one short detail, such as a birth year. Put long biographies and research notes elsewhere in the document. A box that contains a paragraph can force every other name to shrink.
Keep unknown details unknown. A blank date or a note that a relationship needs checking is more useful than a guessed year that later gets copied into another family record.
I'd start with the relatives who must appear on this particular page. A chart for a school assignment and a record of several generations need different amounts of room, even when they describe the same family.
Create a simple hierarchy in desktop Word
In the Windows desktop app, create a new document. Choose Layout > Orientation > Landscape if the tree will spread across the page. Set the paper size for the page you intend to print before making the chart.
Choose Insert > SmartArt, open Hierarchy, and select a layout. A simple hierarchy is easier to read than an elaborate design with pictures and long labels. Use its preview to judge how many names can fit comfortably.
Microsoft explains how to create and expand a hierarchy. Word arranges the boxes, but you'll need to check that they show the family relationships correctly.
Click a [Text] placeholder in the Text pane and type a name. If the pane isn't visible, open it using the control at the side of the selected graphic. Enter the main names before spending time on colors or fonts.
These ribbon steps follow Word for Windows: Microsoft 365, Word 2024, and Word 2021. If your Mac's SmartArt commands differ, use the table method rather than guessing which command adds a generation.
Word for the web doesn't have the same SmartArt creation tools as desktop Word. Use a table in the browser. Opening a document that contains SmartArt doesn't mean the browser can create or edit every part of it.
Add relatives at the correct level
Select the existing box nearest to the new relative. Open the graphic's design tab, labeled SmartArt Design or Design under SmartArt Tools, then open Add Shape. The new box's position depends on which box you selected.
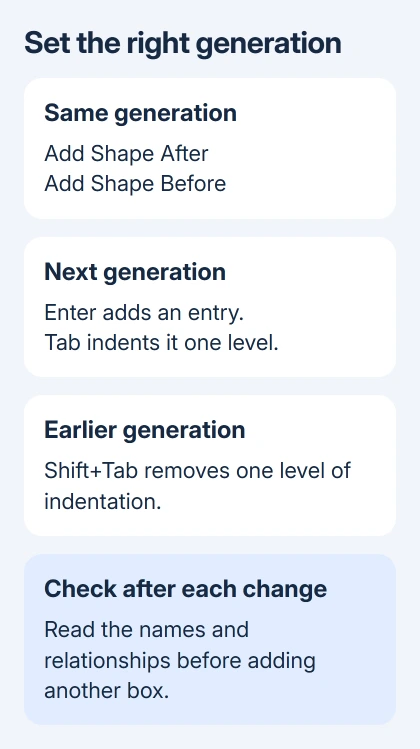
Add Shape After and Add Shape Before insert another box at the same level. Use those for entries in the same generation. For a descendant, use the Text pane to indent the new entry, as described next.
Change a generation through the Text pane
The Text pane lets you add entries and change their level without dragging boxes. Indenting a name changes its relationship in the graphic, so check the surrounding relatives after moving it.
A tidy box can still represent the wrong relationship. Check who appears as the parent of each group, especially when several relatives have similar names. Keep the structure correct before formatting the names.
Place the cursor at the start of an entry in the Text pane. Enter adds an entry, Tab indents it, and Shift+Tab moves it back a level. Use equal indentation for relatives who belong in the same generation.
To remove a box, select its edge and press Delete. Clicking inside its text and deleting the letters only empties the box. Save a working copy before making a large structural change.
Use a table when a tree misrepresents the family
A basic hierarchy doesn't automatically connect two top-level boxes as parents of the same child. Don't force a marriage or a shared parent into a layout that makes one person appear to descend from the other.
For those families, make a labeled record instead: Generation, Person or Couple, Children, and Notes. Each row can describe the relationship in words, including details that a simple diagram would hide.
Choose Insert > Table and select four columns with enough rows for your groups. This method works in Windows desktop Word and Word for the web. In Mac Word, use the Insert > Table command to set the row and column count.
Enter one family group per row. Keep both members of a couple in the same cell if that suits the record, then name their children in the adjacent cell. Use Notes for a distinction that matters, such as an adopted relationship.
Call this a family record when you share it, since it isn't a connected tree. It often explains a complicated family more clearly than a diagram with extra lines that readers have to work out.
For a chart mixed with pictures, grouping shapes and pictures in Word helps keep related objects together. A table record avoids having to position every name separately.
Make the printout readable and keep an editable copy
Once the relationships are correct, choose a consistent font and trim each box to the details it needs. Keep the same name and date format throughout. Readability matters more than squeezing every relative into one sheet.
Open File > Print and inspect the page preview. Check the outermost names, long surnames, and the last generation. A label that reads clearly while zoomed in can become too small when the whole chart is printed.
If the tree is crowded, divide it into branches with clear titles. Name the starting person or couple on each page so a loose printout still makes sense. Keep every important relationship clear when dividing the chart.
For an unexpected extra sheet, remove unwanted blank pages in Word after checking what caused it. Deleting breaks blindly can also change the orientation of pages you intended to keep wide.
Save the editable .docx separately from any copy you export for sharing. Ask a relative to check the names and relationships before circulating it. They may notice a family error that Word's spelling checker can't recognize.
If desktop SmartArt controls stay missing, select the graphic again and search Word Help for SmartArt. Give support your Word version to help them distinguish unavailable tools from a ribbon tab that isn't showing.
The Short Version
Plan the generations, then use desktop SmartArt for a small tree or a labeled table for complicated relationships. Check each generation and the print preview before sharing the editable file or an exported copy.
Checked November 13, 2026.