
Keep the HP printer switched on and wait for its cartridge holder to stop before fitting a replacement. Remove the shipping tape, fit the cartridge into its matching slot and finish alignment before checking print quality.
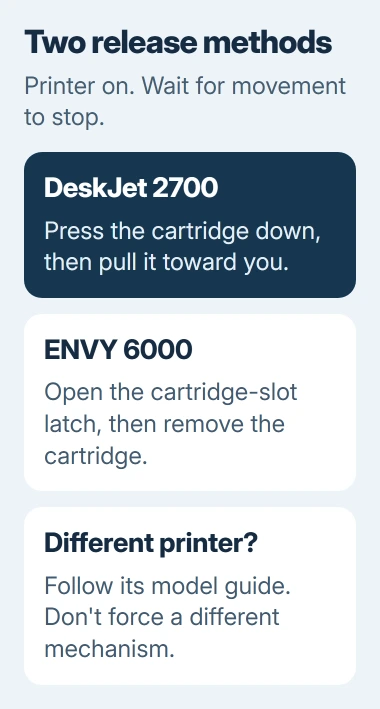
The way you release the old cartridge depends on your model. Press down on a DeskJet 2700 cartridge to release it; an ENVY 6000 uses a latch. Check which your printer has before trying to pull anything out.
Check cartridge compatibility before opening the packaging
Read your printer's full model name, then check which cartridge number it uses in your country. Keep the replacement wrapped until it's time to fit it. That protects its printing surface while you prepare the printer.
On an ENVY 6000, look inside the access door for the cartridge number, or check the printer's supplies information. Match that number to the new cartridge's packaging before taking the old one out.
A cartridge can look right but be the wrong type, especially if its number is for another country. If the box doesn't list your printer, check with the seller or HP before opening it.
These steps are for a printer you've already set up. For first-time setup, follow the instructions that came with it, including any requirement to use the cartridges supplied in the box.
If you're deciding whether replacement is needed, check the printer's estimated ink information. A low-ink notice helps you plan; it doesn't always mean the cartridge must be removed immediately.
1. Open the access door and wait for the carriage
HP says to leave the printer switched on while replacing a cartridge. Load plain paper and open its cartridge access door. Check your model's guide to find that door; it's separate from the scanner lid and paper tray.
For a DeskJet 2700, wait for the carriage, the moving holder for the cartridges, to reach the center. Keep your hands out until it has stopped moving. Don't drag the holder across by hand.
The HP cartridge replacement procedure uses this position for the DeskJet 2700, 4100 and related listed models. With the printer on, you can reach the cartridges without forcing the holder.
If you can't reach the holder, read any error on the printer before trying to remove a cartridge. Clear any paper blocking it and check that you've opened the access section fully before fitting the replacement.
Leave the old cartridge in place while you check how it releases. Look for a small latch over its slot, or check whether your model uses the press-down method in the next section.
2. Release the old cartridge using your model's method
On the DeskJet 2700, press the cartridge gently downward to release it, then pull it toward you. Remove only the cartridge you're replacing and keep the other one in its own slot.
On the ENVY 6000, open the latch over the cartridge slot, then remove the cartridge. Its replacement instructions are on printed pages 59 and 60 of the user guide.
If your printer has separate color cartridges or a different lever holding them in, follow its own replacement instructions. These two-cartridge methods don't apply to every OfficeJet or ink-tank printer.
Set the old cartridge somewhere it won't stain your desk, apart from the new one so you don't mix them up. Once you've finished, follow the recycling instructions supplied with the replacement.
3. Remove the tape and seat the new cartridge
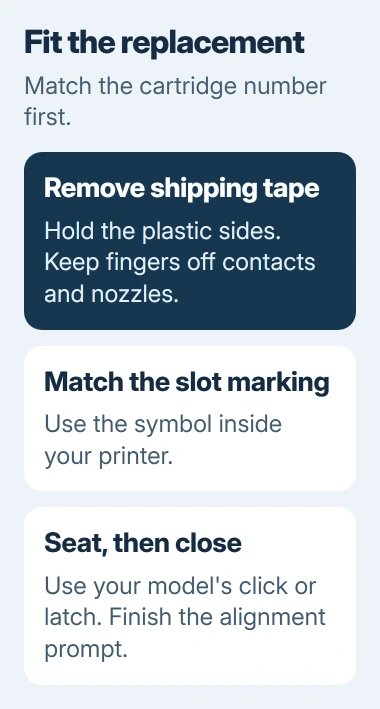
Take the replacement out of its packaging and hold it by the plastic sides. Pull off the protective plastic tape using its tab. Remove that shipping tape, leaving the cartridge's normal label in place.
Keep your fingers off the copper-colored electrical contacts and the ink nozzles. These connect the cartridge to the printer and let ink out. Fingerprints or rough handling can cause problems as you fit it.
Match the cartridge to the symbol or color marking on its slot. Follow the markings inside your printer, since black and color cartridges don't always go on the same sides in every HP model.
On a DeskJet 2700, slide the cartridge into the slot at a slight upward angle, then push it upward until it clicks. The DeskJet user guide shows this on printed pages 56 and 57.
On an ENVY 6000, slide the cartridge into its slot and close the cartridge latch until it clicks. Repeat the appropriate process only if the other cartridge also needs replacing, then close the access door.
If it won't fit with normal pressure, take it out and check the cartridge number and which way it's facing. Pushing harder won't make the wrong cartridge fit.
4. Complete alignment and check an ordinary page
Follow any alignment prompt from the printer or its software. If it prints an alignment sheet, keep it and finish the instructions on the sheet or screen. The printed sheet doesn't always mean alignment is finished.
For a DeskJet 2700 using the full Windows printer software, open Print & Scan > Maintain Your Printer. On Device Services, choose Align Cartridges and follow the prompts after the alignment page prints.
Those controls are from its user guide. Another HP app or printer may put alignment somewhere else, so use the directions for your installed software.
Print a small page with black text and some color. Look for missing colors, broken characters or the same error returning. If the printer accepts the cartridge but the page looks wrong, check print quality before refitting it.
When the printer rejects the new cartridge
Read the exact message and note which cartridge it names. Once the access door is open and the carriage is still, check that the tape is removed and that cartridge sits fully in its marked slot.
The DeskJet 2700 can enter single-cartridge mode when only one cartridge is detected. If both are fitted, tape over the contacts or poor seating can explain why it sees only one. Check those before buying another replacement.
If the cartridge error remains, use your model's contact-cleaning instructions or contact support. Give them the printer model, cartridge number and message. Don't follow a cleaning method intended for a different cartridge design.
If the new cartridge works but the page has gaps, use the printhead cleaning checks for help deciding when a cleaning cycle will help. Taking an accepted cartridge out again won't fix print quality.
The Short Version
Confirm the cartridge number, open the powered-on printer and wait for the carriage. Use the correct release method, remove the tape, seat the cartridge and complete alignment. Handle a remaining error by its exact message.
Checked November 5, 2026.

Isaac Smith is the founder and editor of PC Glance, a website that covers computers, laptops, and technology. He is a tech enthusiast and a computer geek who loves to share his insights and help his readers make smart choices when buying tech gadgets or laptops. He is always curious and updated about the latest tech trends.