

Select the cells you want to organize, choose Home > Format as Table, and confirm the range and header option. Excel turns that selection into a table with named columns and filtering controls, rather than simply coloring the cells.
Check which cells are selected before you confirm. Include every record and its headings, but leave surrounding notes and unrelated totals outside the table.
Prepare one list before creating the table
Put one record on each row and one kind of information in each column. For example, a small order list could have Item, Quantity, and Price headings, with each order on its own row.
Use clear headings that describe what's in each column. Keep your worksheet title, notes, and separate summary calculations outside the selection. Excel may otherwise treat them as headings or records when you create the table.
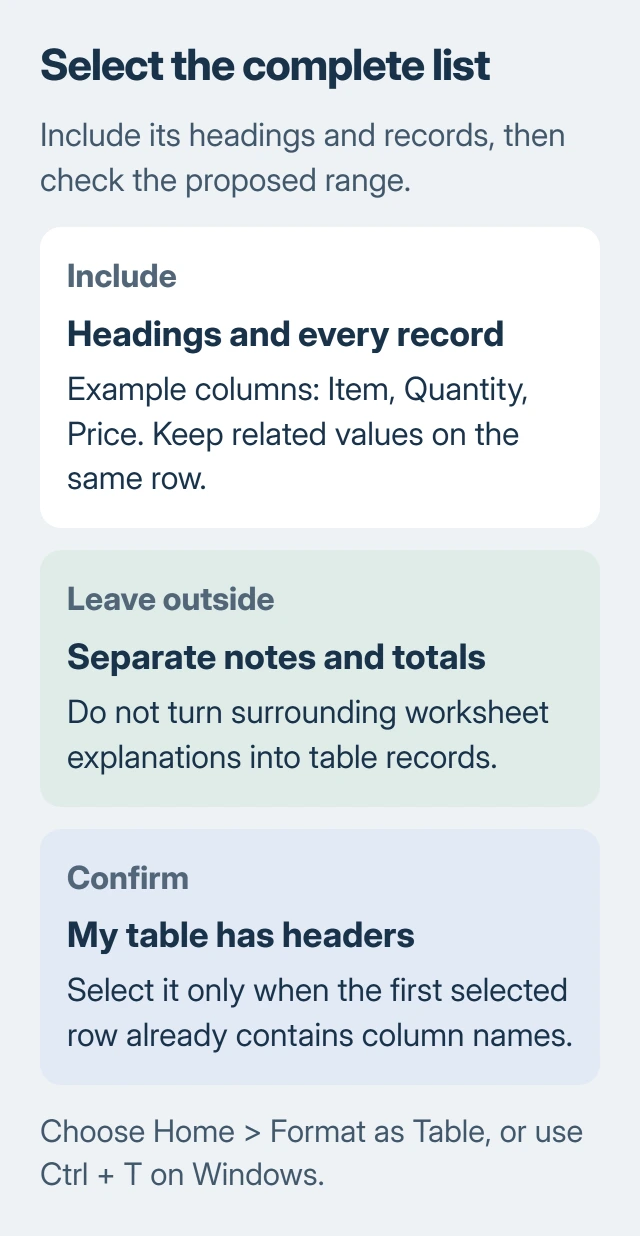
Select one cell in your list, or highlight the whole block yourself. Selecting the full range helps when gaps make it hard to tell where the list ends. Check the first and last columns as well as the final record.
In a range such as A1:C8, letters stand for columns and numbers stand for rows. This selects A1 through C8, with the first row available for your column headings.
Save a second copy of an important or shared workbook before you rearrange it. You'll have the original to return to if the changes affect formulas or other work.
Create the table and confirm its headings
In the Windows desktop app, choose Home > Format as Table and pick a style. Read the suggested range in the next box. Change it if Excel selected too much or missed a record.
Microsoft says to confirm the cell range in its table creation instructions. The preview's colored bands don't tell you whether you've included the right cells.
Select My table has headers if the first selected row already contains your column names. Leave it unchecked if that row contains data and Excel needs to add headings. Then choose OK.
On Windows, Ctrl + T opens Create Table for your selected cells. Check the range and header option before confirming, just as you would when using the menu.
If Column1, Column2, or similar names appear, replace them with useful headings. If Excel used a row of data as the header by mistake, use Undo and create the table again with the correct header option.
Check that Excel created a table
Select any data cell in the result. Windows Excel should show the Table Design tab; Mac uses Table. This extra tab appears when you're working in a table, rather than an ordinary group of cells.
Look for the filter controls in the column headings. Open one and check its choices. They should belong to that column: item names under Item, for example, without quantities mixed in.
Use a filter to show a small part of your list, then clear it to bring every record back. Filtering hides rows that don't match your choice; it doesn't delete them.
The table overview explains headers, filters, calculated columns, and the optional Total Row. These built-in tools make a table work differently from cells you've simply colored in.
To change the appearance, use the Excel table formatting choices. Changing the style and removing the table itself use different commands; pick the command for the change you need.
Add new records without leaving them outside
Enter your next record directly after the table's final row. Excel can expand the table to include it. Check that the new cells are part of the table; being next to it doesn't mean they've been included.
To set the range yourself in desktop Windows Excel, click inside the table and choose Table Design > Resize Table. Select all the cells it should now cover, including headers and existing records, then confirm.
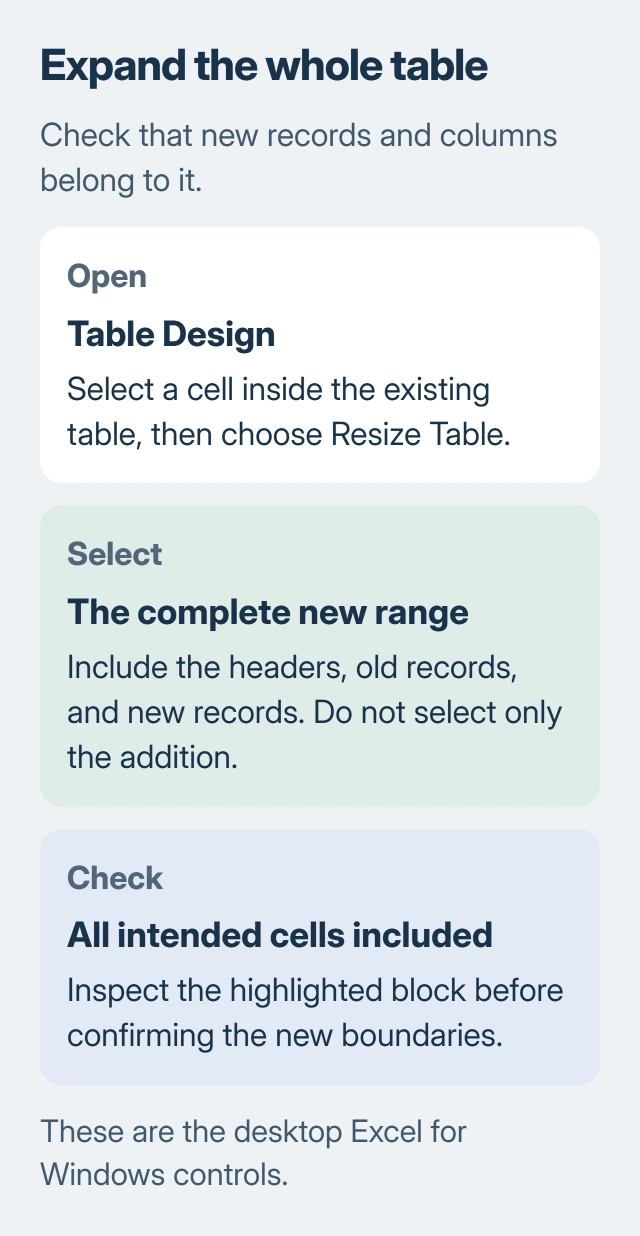
When pasting records, start in the leftmost cell of the first row after the table. If you're pasting extra columns, they may stay outside it. Use the resize procedure to include those columns.
Don't select only the new records in Resize Table. It asks for the table's whole range. Check the entire highlighted block before confirming, especially if a note sits close to the edge.
A table can also supply a growing list of choices for a drop-down elsewhere in your workbook. The Excel drop-down list guide explains how to select that list without including its heading among the choices.
Use formulas and a Total Row when they help
To create a calculated column, enter a formula in one of its data cells. Excel can copy it to the remaining records automatically. Check several results before treating the whole column as finished.
Table formulas may use column names instead of cell addresses such as B2. Those names refer to parts of the table. Check that the heading in your formula matches the column you meant to use: Quantity, Price, or another one.
For a summary, turn on Total Row in the table's design options. Open the total cell's menu and choose a calculation, such as Sum or Average. You may want different calculations for prices and quantities.
The built-in Total Row uses the SUBTOTAL function for its calculations and normally ignores rows hidden by a filter. Clear the filter and check again if you need a total for the whole list.
If all you need is organized records, leave formulas and totals until later. I'd check the table's boundaries and headings first; a polished total is still wrong if half the records were left outside it.
Follow the Mac or browser controls when they differ
On Mac, select the data and choose Home > Format as Table, pick a style, and confirm the range and headers. Look for the Table tab afterward rather than expecting the Windows tab name.
In the browser version, select your cells and use Insert > Table, or the table-format command on Home. Check the heading option before confirming. A keyboard shortcut may act on Chrome rather than Excel.
If workbook protection stops you creating a table, ask the owner to send a copy you can edit. If records or formulas still don't work correctly, contact Microsoft support with a copy that leaves out private data.
The Short Version
Select the complete list, create the table, and confirm whether its first row contains headings. Check Table Design or Table afterward, then resize the full range when new records or columns aren't included.
Checked November 6, 2026.

Isaac Smith is the founder and editor of PC Glance, a website that covers computers, laptops, and technology. He is a tech enthusiast and a computer geek who loves to share his insights and help his readers make smart choices when buying tech gadgets or laptops. He is always curious and updated about the latest tech trends.