
A new PC can reach the BIOS startup settings even when memory settings, a faulty installer or hardware trouble stops Windows from installing. Start with the motherboard's defaults, then make a fresh installer USB.
Before changing parts, note what happens: does setup restart normally, freeze, show a blue-screen error or suddenly lose power? Each needs different checks.
1. Separate a setup restart from a crash
Windows installation includes restarts. If the PC restarts and returns to the first language-selection screen, it may simply have booted from the installer USB again instead of continuing from its internal drive.
Open the motherboard's one-time boot menu and look for Windows Boot Manager on the drive where setup copied Windows. Select it to continue. Use the key named by your motherboard manual; it isn't the same on every brand.
If Windows Boot Manager isn't listed, or setup stopped before it could copy files, try the next checks. Leave the partitions alone; returning to the USB menu after a restart isn't a reason to delete them.
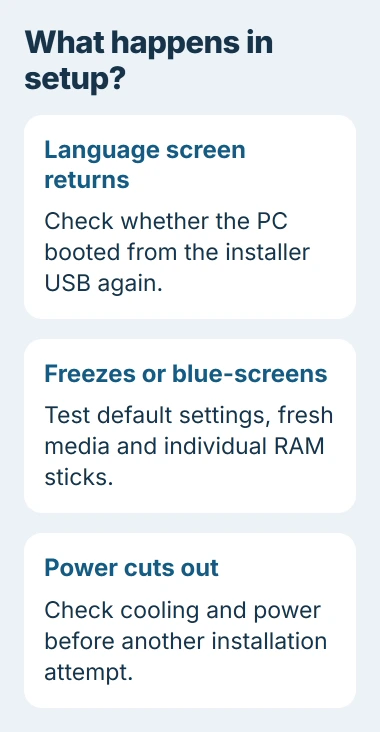
For a blue screen, a frozen installer or sudden power loss, write down any stop code and the step where it fails. Note whether it happens at the same point on every attempt.
For the message The computer restarted unexpectedly, follow its own setup-error checks. For random crashes while copying files or starting Windows for the first time, keep checking the hardware and installer here.
2. Test with default memory and CPU settings
Use the startup key in your board's manual to open BIOS or UEFI setup. Photograph any settings you've changed, then choose Load Optimized Defaults or the equivalent option. Save and restart.
Turn off XMP, EXPO or other profiles that run memory faster for this test. Remove manual CPU speed increases and undervolts too. An undervolt lowers the processor's voltage; setting it too low can make the PC unstable.
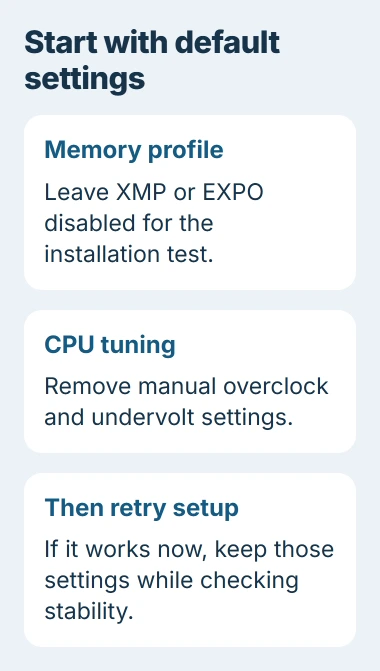
Your RAM may need an overclock profile to reach its advertised speed. A slower default speed is expected during these checks. First get Windows to install reliably, then work on performance.
If you can't load the defaults, follow your motherboard manual's CMOS-reset steps to reset those settings. Follow that board's power-off instructions, and don't guess which pins to connect.
I'd leave performance profiles off until Windows is installed and the PC runs reliably. If setup works with the defaults but crashes when you enable the memory profile, work on those memory settings next.
3. Create a fresh Windows installer USB
Use another Windows computer to create a fresh installer. Open the Windows 11 download page and find Create Windows 11 Installation Media, then select its Download Now button.
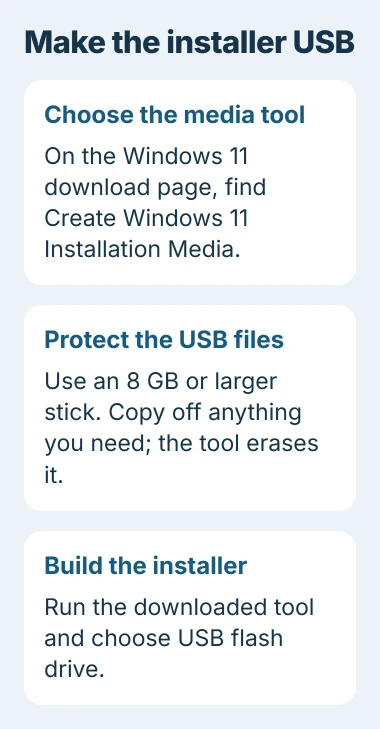
Use a USB stick with a capacity of at least 8 GB. Creating the installer erases the stick, so copy any files you want to keep to another drive first.
Run the downloaded tool, accept the terms and choose your language and edition. Select USB flash drive, check that you've chosen the intended stick, and let the tool finish before removing it.
Microsoft's installation-media instructions cover these steps. Simply copying the ISO download onto a USB stick doesn't create the bootable installer that this tool makes.
If the first stick keeps failing, try another one. Plug it directly into a rear USB port on the motherboard and disconnect USB accessories you don't need for the next installation attempt.
If setup finishes with the fresh stick, the old installer or its USB connection may have been the problem. If it crashes the same way again, check the memory next instead of downloading Windows yet again.
4. Try one memory module in the recommended slot
Shut the PC down, switch the power supply off and unplug its power cord before touching internal parts. Follow the motherboard manual for removing and seating memory; the notch must line up and the retaining latch must close correctly.
Find the slot your manual recommends for a single module, or one stick of RAM. Many boards use A2, but check yours instead of choosing whichever slot is closest to the processor.
Remove the other sticks and retry setup with just one, keeping the firmware at its defaults. If setup crashes, try the next stick in that same recommended slot. That lets you compare sticks without also changing slots.
Corsair's memory troubleshooting procedure recommends testing sticks separately. If one keeps failing where another works, tell support which one; that helps more than reporting a crash with the whole kit installed.
If each stick works alone but the kit fails, check the manual's slot layout and supported memory. The settings, motherboard or memory controller (the part of the processor that handles RAM) could be involved, rather than a broken stick.
5. Test memory without needing Windows installed
MemTest86 starts from USB, so it can check memory even when Windows setup won't finish. Use another working computer to prepare its USB, then start the new PC from that drive through the boot menu.
Follow the boot-disk instructions: unzip the download and open the included imageUSB tool. Check which USB drive you've selected, because the tool erases it when writing the test software.
Run the test with default memory settings. If it reports errors, save the report and retest one stick at a time as described in the previous section. Note which stick and slot each result came from so you can compare them.
Memory errors can come from the sticks, motherboard, processor or settings. If every stick fails, send support all the results. If the memory test passes, you still need to check cooling and power.
6. Check cooling, power and board compatibility
If the PC shuts off completely or its temperature rises quickly in the BIOS, stop trying to install Windows. Use the assembly manuals to check how the cooler is mounted, the fan or pump connections, and the processor power connector.
If it still crashes, check your CPU against the motherboard's support list and the BIOS version it needs. Use the PC assembly guide to go back through the parts and connections.
Don't start a routine BIOS update while the PC is losing power. Ask the board maker about its supported recovery or flashback method for restoring the BIOS, or have a shop test the PC with parts known to work.
Send support your board model, BIOS version, CPU, RAM kit part number, power supply and test results. If it crashes at default settings with a fresh installer and one tested stick, ask for component testing or warranty help.
The Short Version
Separate crashes from a return to the USB installer. Test default settings, fresh media and individual RAM modules. If the PC still fails, check cooling, power and board compatibility with the manufacturer.
Checked November 4, 2026.

Isaac Smith is the founder and editor of PC Glance, a website that covers computers, laptops, and technology. He is a tech enthusiast and a computer geek who loves to share his insights and help his readers make smart choices when buying tech gadgets or laptops. He is always curious and updated about the latest tech trends.