PowerPoint records your voice with each slide, saving the result in the deck or exporting it as a video. Open desktop PowerPoint, choose Record, and check the microphone first. Turn the camera on if you want your face included.
Recording the slide show is different from inserting an existing movie or filming the whole desktop. Recording one slide at a time lets you replace one bad explanation without recording the whole presentation again.
In this guide
Prepare the slides and a short audio test
Use desktop PowerPoint on Windows or Mac for these steps. If you started in a browser, open the deck in the desktop app for the recording controls described here.
Save a copy of the presentation that you can edit before recording. Finish the slide order, add your talking points to Notes, and decide whether the audience needs a video file or a PowerPoint file that plays your narration.
For an unfinished deck, the PowerPoint starter steps cover slide layouts and speaker notes. Recording goes more smoothly once the slides already show the material you want to explain.
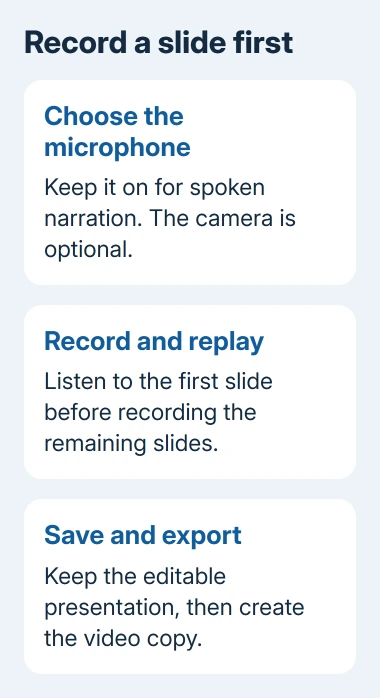
Connect your microphone or headset before opening the recording controls. Your laptop's built-in microphone will work, but check that PowerPoint hasn't selected a disconnected headset or another microphone you didn't intend to use.
I'd record and replay the first slide before committing to the whole deck. It takes much less time than discovering at the end that the microphone was muted or the camera covered an important label.
Record in current Windows PowerPoint
In newer Windows PowerPoint, choose Record near the top-right of the app, or use the Record tab. Depending on the version, the Slide Show tab also has a recording control. That opens the screen where you'll record your presentation.
- Choose the slide where you want to begin.
- Check the microphone control and turn it on for narration.
- Use the camera control to include or hide your video.
- Open the device options if you need a different microphone or camera.
- Select the recording button and wait through the countdown before speaking.
Explain the slide, then advance when you're ready. Wait for the transition to finish before speaking again. PowerPoint doesn't capture narration during transitions, so talking while a slide moves can lose part of a sentence.
Use Pause for a break and Stop when you've finished. The recording indicator shows whether recording is active. Seeing yourself in the camera preview doesn't mean you're recording yet.
Microsoft says its presentation-recording instructions cover both versions of the recording screen. The button names depend on your PowerPoint edition, so match the controls you actually see.
Use Record Slide Show in older Windows editions
For Slide Show > Record Slide Show, choose to start from the beginning or the current slide. Older dialogs let you select slide timings and narrations before choosing Start Recording.
In editions with a separate Recording tab, you can enable it through File > Options > Customize Ribbon. Check Recording in the list of main tabs and choose OK. That makes your edition's recording tools visible on the ribbon.
Keep narration enabled when you want spoken explanations, and record timings when the slides should advance with your speech. Timings control how long each slide stays on screen; they don't record your voice by themselves.
After recording, slides can show an audio symbol or a recorded camera image. Play the slide before deleting either one as an unwanted object. They can be part of the narration you've just recorded.
Follow the Mac recording controls
In current Mac PowerPoint, use Record near the top-right, or choose Record > From Beginning or From Current Slide. Set the microphone and camera controls to record just your voice or include your video too.
Select the recording button, wait for the countdown, then explain the slide. Continue through the deck and stop when finished. If your edition has Slide Show > Record Slide Show instead, start there.
If macOS asks to use your microphone or camera, allow the one you need for your recording. If microphone access was denied, open System Settings > Privacy & Security > Microphone, enable PowerPoint, and reopen the app if prompted.
Recording tools vary between Mac editions. If a feature is missing, ask your administrator to check your app version and updates. A Mac doesn't use the Windows Options dialog to turn on ribbon tabs.
Replay the slide and replace a mistake
Replay the recorded slide. Listen for the opening words and clear speech, and check that the camera image doesn't cover important content. Once that looks and sounds right, continue recording the remaining slides.
Recordings belong to individual slides. Return to the slide that needs another take and record that slide again. Keep a finished introduction even when the explanation on slide six needs replacing.
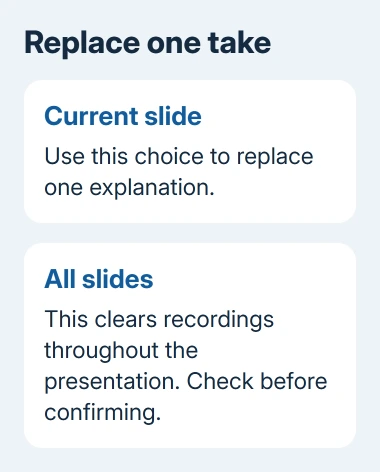
Read each Delete or Clear option carefully: it can affect just this slide or every slide. Choose the current slide when you want one retake. Clearing the whole presentation removes useful recordings too.
If the recording is silent, check mute and the selected input before doing another take. On Windows 11, microphone permissions are in Settings > Privacy & security > Microphone; Windows 10 uses Settings > Privacy > Microphone.
Allow microphone access for desktop apps, then reopen PowerPoint if needed. If the microphone works in another app, check PowerPoint's selected microphone and permissions before blaming a disconnected or faulty microphone.
Export a video when the viewer needs a movie file
Save the PowerPoint file first to keep your slides and recordings available for editing. On the newer Windows recording screen, use Export > Export Video. Current Mac recording tools offer Record > Export to video.
For classic Windows export, choose File > Export > Create a Video. Select quality and Use Recorded Timings and Narrations. Choose Create Video, enter a filename, then save in a suitable video format.
Without recorded timings, each slide can stay on screen for a default time instead of matching your explanation. Check that the export uses the recording you've made. Wait for export to finish before copying or uploading the movie.
An exported video won't let viewers click between slides. Keep a PowerPoint copy if they need to navigate the presentation themselves. Check existing media too, especially a separate embedded video.
Open the exported video and check its beginning, middle, and end. If export fails or recording controls are missing, tell Support or IT your app version, operating system, export format, and whether the recording plays inside PowerPoint.
The Short Version
Open Record, choose the microphone, and replay one slide before recording the rest. Pause between slides so transitions don't cut off speech. Retake slides as needed, save the deck, and export with recorded narration and timings.
Checked November 10, 2026.