
CapCut on PC records a voiceover through the microphone button near the timeline. Open the video project, choose the intended microphone in the recording panel, and make a short sample before narrating the whole video.
The useful check is playback: the recording should contain clear speech at the right point in the video. A microphone name in a menu does not establish that CapCut captured it.
Open the recorder inside the video project
Create or open a project in CapCut Desktop, import the video if needed, and place it on the timeline. Position the playhead where the narration should begin.
Click the microphone control near the timeline, just beneath the preview area. CapCut's desktop audio-recording guide identifies this button and the red recording control it opens.
Status: CapCut's desktop recorder documentation and Windows 11 input controls checked November 2, 2026. No CapCut project or microphone was operated.
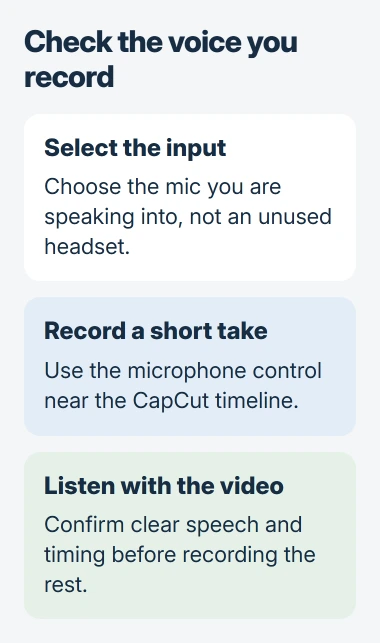
Select the microphone in that panel before recording. A USB mic, headset and laptop microphone can be separate choices. For an original Blue Yeti, the USB input and gain setup explains its physical controls.
These instructions use the installed desktop editor. CapCut's browser and phone editors have different controls; a browser microphone permission is not a prerequisite for the Windows desktop application.
Record a sample, then build the narration
Press the red Record control, wait for any countdown, and speak a short passage. Press the control again to stop. CapCut describes the countdown and input choices in its audio recording and editing instructions.
Play the recorded audio with the video. Confirm the voice starts at the intended moment and remains understandable against the original sound. Wear headphones for further takes so playback does not enter the microphone.
Select the recorded audio to trim its start or ending and adjust its level. Re-record a distorted sentence instead of assuming noise reduction will repair it. Keep the narration audible without covering dialogue the viewer needs.
Record the remaining passages after the sample works. Short sections are easier to replace when a line changes or a noise interrupts the recording.
Fix a silent recording at the input or permission layer
Microsoft says a headset's physical Mute button must be inactive for speech to reach the PC. Check that control and the cable connection before changing CapCut's effects.
Open Settings > Privacy & security > Microphone in Windows 11. Enable Microphone access and the app-access controls needed by CapCut.
Microsoft states that desktop programs need the Let desktop apps access your microphone switch enabled. Then check that CapCut selected the intended input.
Microsoft documents a separate recording test in Settings > System > Sound. Under Input, open the chosen microphone's properties, select Start test, speak, then stop and play the sample.
The Windows recording-test walkthrough helps compare that result with CapCut. If Windows records but CapCut stays silent, reselect the input in CapCut and reopen its recording panel.
If neither records, resolve the Windows input or hardware problem first. If only CapCut fails after input and access checks, contact CapCut support with its version, the microphone model and the successful Windows-test result.
Export the video and listen once more
Choose Export after checking the finished timeline. Save the video to a known folder, open that exported file, and listen through the sections containing narration.
I'd check the saved video before sharing it; an audible editor preview does not prove the export contains narration. Report a silent export to CapCut with its output settings and the working timeline result.
The Short Version
Use CapCut Desktop's microphone control to select an input and record a sample. Check speech against the video. For silence, compare Windows microphone access and its recording test; finish by listening to the exported video.

Isaac Smith is the founder and editor of PC Glance, a website that covers computers, laptops, and technology. He is a tech enthusiast and a computer geek who loves to share his insights and help his readers make smart choices when buying tech gadgets or laptops. He is always curious and updated about the latest tech trends.