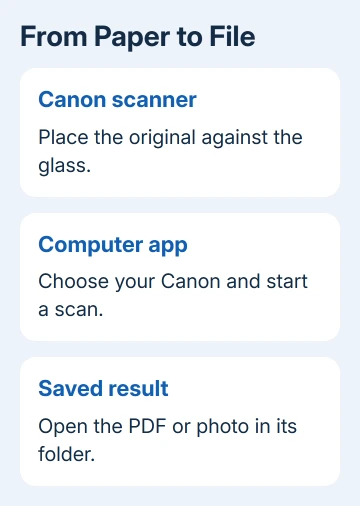
A Canon all-in-one scans through its scanning app instead of the ordinary Print window. Open IJ Scan Utility on Windows or the scanning app supplied for your Mac, choose Document or Photo, and save the result where you can find it.
The right app depends on the printer model. A printer without a scanner can't scan, and a working print connection doesn't always mean the computer has the scanning software installed.
In this guide
Match the scanning app to your Canon model
Read the printer label for its exact model, then check for a scanning glass or an automatic feeder. PIXMA and MAXIFY all-in-ones can scan; a dedicated photo printer might only print.
On Windows, search Start for IJ Scan Utility. On a Mac, check Applications > Canon Utilities for the scanning utility installed for that model. It might be IJ Scan Utility, IJ Scan Utility2, or IJ Scan Utility Lite.
Start with a single document or photo. A Canon office laser model can use different software, such as MF Scan Utility. Use your model's scanner instructions if its app doesn't have the IJ Scan Utility buttons described here.
If the utility is missing, open Canon's setup page and enter your product name. Follow its computer setup instructions and install the scanning software offered for your operating system.
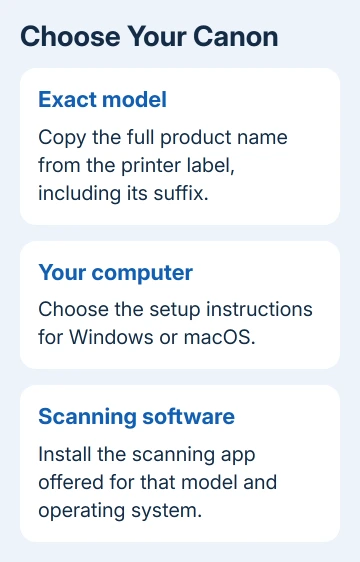
Choose the exact model, including its suffix. Installing software for a similar-looking printer can leave printing available while the scanner still isn't found. Restart the computer if the installer asks, then open the scanning app again.
Connect the scanner before loading the original
Turn the printer on and clear any error shown on its display. For USB, connect the printer to the computer with its data cable. For network scanning, put the computer and Canon on your chosen home or office network.
A guest Wi-Fi connection can prevent the computer from reaching your printer. If the scanner doesn't appear, check the network name on both devices. Our Canon Wi-Fi setup guide covers joining the router.
In IJ Scan Utility, check the Scanner selector when that field appears. Choose your Canon, not an old scanner still on the list. Network entries can differ from USB entries, so select the connection you're actually using.
Don't start by pressing the printer's Scan button. That button can need a destination computer registered first. I'd start your first scan from the computer, where you can choose both the scanner and how to save the file.
If the utility still reports that it can't communicate, check the connection before changing image quality. Changing resolution or PDF settings won't help the app find a missing scanner.
Put the page or photo on the scanner glass
Open the lid and lay the original face-down against the scanning glass. Align it with the position mark shown on the scanner. Gently close the lid without moving the original.
Use the glass for a photograph, a single sheet, or a book if your model supports scanning it. Check the manual for placement limits. Don't force the lid flat over an object that doesn't fit.
A feeder is useful for ordinary loose documents, but its loading direction depends on the model. Follow the picture on the feeder or its manual. The glass and feeder don't necessarily take the printed side in the same direction.
For a first attempt, I'd use one ordinary page on the glass. If the scan comes out blank, check which side faced the glass and whether the app scanned the glass or an empty feeder.
If the saved image contains dirt marks in the same position on different pages, inspect the glass. Follow the printer's cleaning instructions before scanning an important original again.
Choose Document or Photo, then check the save settings
Open Settings… in IJ Scan Utility before starting. Select the settings for the button you're going to use, such as Document Scan or Photo Scan. Choose the paper size, file format, and destination folder offered there.
For paperwork you plan to read or share, select PDF. Choose a suitable photo format, such as JPEG, for an ordinary image file. The exact available formats depend on the utility and scan type.
Canon says to click Document or Photo once settings are ready in its scanning procedure. Those buttons let you choose a document or image rather than rely on Auto to recognize it.
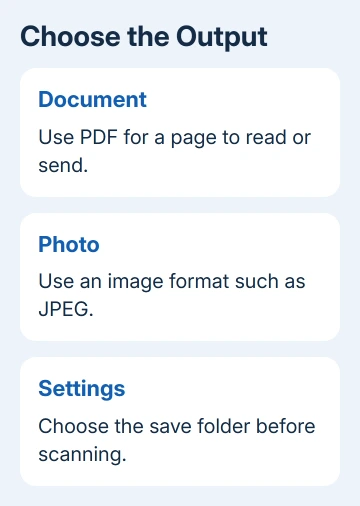
Click OK, then click Document or Photo in the main utility window. Wait for scanning to finish before lifting the original. If an application opens afterward, check whether the file was also saved in your chosen folder.
Some models offer Auto to detect the original type. Not every model supports it, and it can misread pale photos, thin paper, or unclear text. Choose Document or Photo when Auto gets the type wrong.
On IJ Scan Utility Lite for Mac, open its settings and choose the scan type there. Choose the source to scan from and the save options your model offers. Confirm them, then start that scan from the main window.
Inspect the file that scanning produced
Open the folder you chose for saving and find your new scan. Check the whole page, including its edges, then zoom in on small text. A scan that looks fine as a thumbnail can still have a clipped signature or unreadable account number.
If it's blank, check the page's position and whether you chose the glass or feeder. If it's cropped, match the paper size and scan area to the original. For a sideways page, rotate the result in your document or image app before sharing it.
For several pages in one file, use the Canon multipage PDF procedure. Its feeder and manual two-sided scanning instructions are for the TR4520, so don't use its loading direction for every Canon.
Windows also has a scanning app for compatible scanners. The Windows scanner instructions explain selecting the scanner, source, and save location when that route is supported.
If neither app finds the scanner with its correct software installed, ask Canon support to check your model and operating system. Give them the connection type and error message, and say whether printing still works.
The Short Version
Use your Canon model's scanning utility. Connect it, position the original, set the file type and save folder, then choose Document or Photo. Inspect the resulting page for clipped edges and readable text before sharing it.
Checked November 12, 2026.