A MacBook can cast to an AirPlay TV through Control Center > Screen Mirroring. A TV with Google Cast instead needs Chrome's Cast menu. Check your TV's features first; AirPlay and Google Cast have separate device lists.
An HDMI connection is the fallback when the TV has neither feature or wireless sharing isn't reliable. Choose the route that matches your TV, then decide whether you want a video, one browser tab or the whole Mac screen.
In this guide
Match the TV to the right sharing method
Check the TV's settings or model manual for AirPlay, Apple AirPlay and HomeKit, or Google Cast. An Apple TV box adds AirPlay to a TV. A Chromecast device or Google TV Streamer adds Google Cast through an HDMI input.
A smart TV doesn't automatically support both systems. Features vary by model and year, even within one brand. If the manual names neither system, try the cable connection instead of installing random mirroring software.

Connect your MacBook and the TV or streaming box to the same home network. Check the network on both devices. A TV connected to a guest network can be separated from the Mac despite both reaching the internet.
If your streaming box plugs into HDMI, set the TV to that HDMI input. Its home screen should be visible before you try to share. Otherwise, a working connection can appear to produce no picture.
Show the Mac screen with AirPlay
Turn AirPlay on in the TV or receiver's settings. On macOS Big Sur and later, click Control Center in the Mac's menu bar, open Screen Mirroring, then select your TV or Apple TV.
Enter the four-digit code shown on the TV if the Mac requests it. That code approves this connection. It isn't the Mac login password or the password for your Wi-Fi network.
On current macOS versions, you can choose what to share after connecting. Mirror the Mac screen, extend the desktop, or share a window when that option appears. Apple's AirPlay instructions describe these choices.
Mirroring puts the same desktop on the Mac and TV. Extending creates extra desktop space, so a window can sit on the TV while something else remains on the laptop. If you extend the desktop, move the window you want to show onto the TV.
On macOS Catalina and earlier, use the AirPlay button in the menu bar and select the Apple TV. Those versions don't have Control Center. To disconnect, choose Turn AirPlay Off.
To finish on a current Mac, reopen Screen Mirroring and use the receiver's stop or disconnect control. Recent sharing interfaces also offer a Stop button. Before closing the laptop, confirm that the TV no longer displays the Mac.
Send only a video when the app supports it
Open the video on the Mac and look for an AirPlay control in its playback controls. Choose the receiving TV or Apple TV box. This sends the video without mirroring everything on your desktop.
Use this route when the movie is all the TV needs. It keeps unrelated windows out of the shared picture and lets the playback controls handle the stream. Support for sending a particular video depends on both the content and the app.
Stop the stream from the same playback control and choose the Mac again. If an app reports that the video format can't be streamed, follow that message's fixes rather than repeating receiver discovery.
Cast a Chrome tab to a Google Cast TV
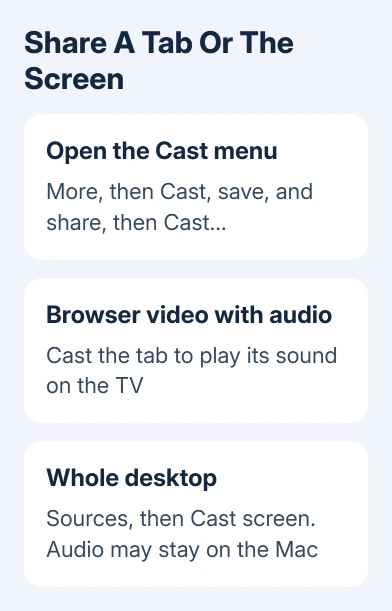
Open the page in Chrome. Click the three-dot More menu, then Cast, save, and share > Cast…. Select the Chromecast, Google TV Streamer or Google Cast TV from the receiver list.
A display indicator appears on the tab when casting starts. Tab audio plays through the TV, while sounds from other tabs and apps stay on the Mac. This makes a tab the useful choice for a browser video with sound.
On supported video sites, the player's own Cast control can send the content directly. Use that when available. There is no need to share the whole desktop just to play one video.
For the desktop, choose Sources > Cast screen in the Cast menu, then select the receiver. Follow any screen-selection prompt. Desktop audio can stay on the Mac; cast the tab to get browser sound on the TV.
From macOS Sequoia 15 onward, allow Chrome under System Settings > Privacy & Security > Local Network for receiver discovery. Retry casting and accept any screen-sharing permission macOS requests.
To stop, open the Cast control next to Chrome's address bar, then choose Stop casting. Switching to another tab on your laptop doesn't stop the cast; use Stop casting when you're finished.
Connect with HDMI when wireless isn't suitable
Connect a MacBook with an HDMI port directly using an HDMI cable. For a USB-C or Thunderbolt port, use a compatible HDMI adapter. Older Mini DisplayPort or Thunderbolt 2 Macs need the matching adapter for that connector.
Use the TV remote to choose the HDMI socket containing your cable. On a recent Mac, open System Settings > Displays to adjust the attached TV. For older Macs, the display controls are in System Preferences > Displays.
For sound, open System Settings > Sound > Output and select the TV or HDMI device. The older equivalent is System Preferences > Sound > Output. If the desktop appears but the TV is silent, check this sound setting separately.
I'd use HDMI for a presentation where a missed wireless connection would be disruptive. Check the adapter's supported resolution rather than assuming every USB-C adapter can deliver the TV's highest refresh rate.
When the TV still doesn't appear
Confirm that the receiver supports the method you're trying, then restart the Mac and receiver. For Roku, the Mac-to-Roku setup covers the receiver's AirPlay switch and compatible models.
If the receiver still doesn't appear, ask its maker about AirPlay or Cast discovery for that model. Give your macOS version and the HDMI result. That helps distinguish trouble finding the receiver from a TV input problem.
The Short Version
Choose AirPlay through Screen Mirroring, Google Cast through Chrome, or HDMI when wireless isn't supported. Choose tab casting to hear the browser's sound through your TV. Select the TV separately in Sound settings when using HDMI.
Checked November 10, 2026.