
Vita3K adds games through its File menu: choose Install Package (.pkg) for a package, or Install Archive (.zip / .vpk / .vci) for a supported archive. After installation, select the game from the emulator's game list to launch it.
Start with a backup made from your own game and console. Its file extension matters, but so does how you made the backup. A .vpk file isn't automatically a game backup Vita3K can use.
Check the file and the emulator before installing
Find the game file in Windows File Explorer and check its complete extension. In Windows 11, use View > Show > File name extensions when the ending is hidden.
Keep the original backup somewhere safe while preparing the copy you'll install. If you're working from an extracted folder, keep its structure intact instead of renaming files inside it to match an unrelated guide.
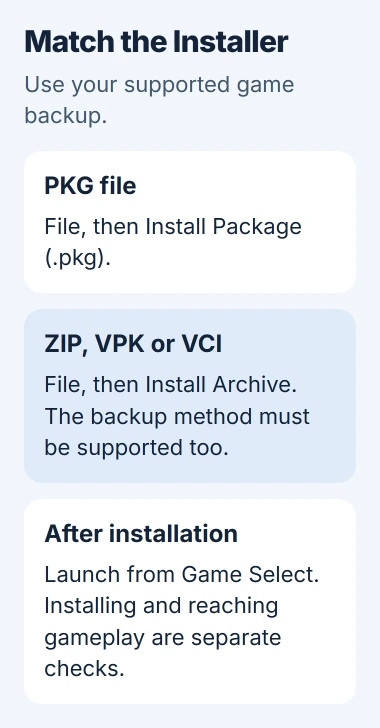
Vita3K says to use separate installers for packages and archives in its installation FAQ. Vitamin dumps aren't supported, even though those game backups can use the .vpk extension.
If another tool created the backup, check how it made that copy. You may need to make a rejected game backup again from your console. Changing the file extension won't change what's inside it.
Use the PC specification lookup if you need the computer's hardware details. They help with compatibility reports and support. A successful installation doesn't tell you how well the game will run.
Finish the firmware setup before launching a game
Open Help > Welcome in Vita3K and find Download Firmware and Download Firmware Font Package. The system software and fonts are separate parts of setup.
Download both packages using those controls, then use File > Install Firmware to install them. Finish the firmware prompts before trying the game again.
Missing system fonts can leave a game running without visible text. If the package won't install or the game closes before reaching its menu, you'll need to check more than the fonts.
The official quickstart describes system modules and the separate font package. Follow the current Welcome controls; the main firmware download doesn't replace the font package.
If the emulator itself won't open and reports a missing Visual C++ runtime, use the MSVCP140 runtime repair guide. That startup problem happens before game installation.
The supported Visual C++ downloads explain how to match the runtime to the app's processor type. Use that runtime package rather than a loose DLL file.
Use the menu that matches the game file
For a .pkg file, choose File > Install Package (.pkg), select that package and confirm the selection. Read any installation or license message before proceeding to another file.
For .zip, .vpk or .vci, choose File > Install Archive (.zip / .vpk / .vci) and select the supported backup. The archive route also accepts dragging the file onto the Vita3K window.
Install one game first and wait for it to finish. Check whether the installer reports success, an unsupported format or another error. Selecting the same file again won't fix the problem in that message.
If the installer asks for details that came with your backup, use the matching information from your own game. Save the exact prompt for support if it doesn't fit the backup method you followed.
A VCI file is a cartridge image made from a physical game cartridge. It isn't a format you can substitute for every digital game package.
A game folder you've manually decrypted, removing its file protection, needs a separate placement method. Don't use those folder-copy instructions for NoNpDrm, PKG or VCI files; they don't cover those formats.
Launch from the game list and compare the result
After installation succeeds, return to the Game Select screen, find the title and launch it. The game list confirms installation; whether it plays correctly is a separate check.
Note what happens: nothing opens, a black window appears, the title screen loads, or gameplay starts and then fails. Knowing where it stops helps support compare your result with the game's compatibility reports.
For an installation that never adds the title, return to the file format and dump method. For a title that installs but freezes at startup, check firmware setup and the current reports for that exact game.
I'd keep the first test simple, with one installed game and the normal settings. Changing several graphics and module options at once makes it hard to tell which change helped or caused trouble.
If the game runs but doesn't respond to the expected controller button, check the emulator's controls separately. Treat that as a control problem rather than repeating the installation.
Read compatibility reports with their dates in mind
Open the project's compatibility page before spending time rebuilding a game that installs correctly. Read its notice as well as the entry for your game.
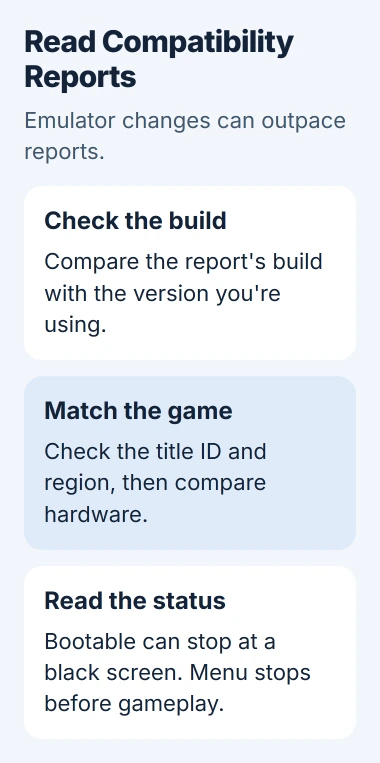
The page currently warns that its list doesn't reflect all the emulator's changes. An old report describes an older result. Check its build, hardware and latest comments before expecting the same result on your PC.
The status labels describe how far a game gets. Bootable can mean a black screen with a frame counter; Menu means it reaches menus without gameplay. Neither means you can play through to the end.
Match the game's title ID, region and emulator build when comparing reports. Check the edition as well as the title, since names can overlap. A report from a different build may describe how the game used to behave.
If a particular game still fails, search the project's compatibility reports before adding one. Include where it fails and your system details; saying only that the emulator doesn't work won't explain the problem.
Keep installed data separate from the program folder
Use Vita3K's Open control to find the storage it uses for the virtual Vita. Normal and portable installations keep data in different places, so use this control to find installed files instead of guessing the path.
Don't delete storage or move folders around to make a title appear in the list. Keep your installed games and saves safe before changing the storage path or replacing an installation you've already used.
If you still need help, send the emulator build, Windows version, CPU, GPU, title ID, dump method and exact error. Check any requested log for personal paths before attaching it through the project's support process.
The Short Version
Finish firmware setup, choose the package or archive installer and launch from Game Select. Check installation errors separately from game compatibility, and preserve your data while comparing current reports.
Checked November 5, 2026.

Isaac Smith is the founder and editor of PC Glance, a website that covers computers, laptops, and technology. He is a tech enthusiast and a computer geek who loves to share his insights and help his readers make smart choices when buying tech gadgets or laptops. He is always curious and updated about the latest tech trends.