Setting up an Android tablet starts with charging it, choosing a language and connecting to Wi-Fi. Then decide whether to copy an old device or start fresh, sign in to your Google Account and set a screen lock.
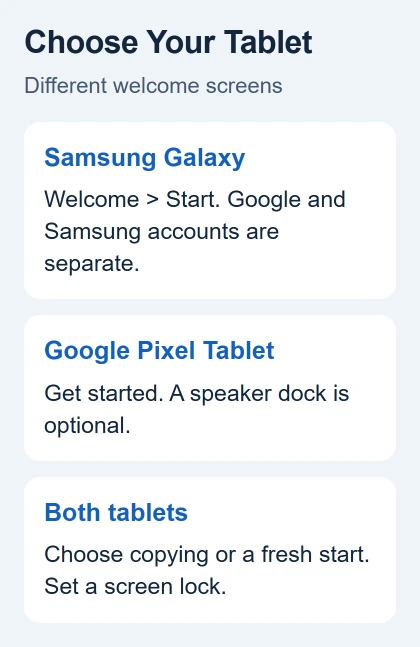
Galaxy and Pixel tablets use different welcome screens, so follow the section for yours.
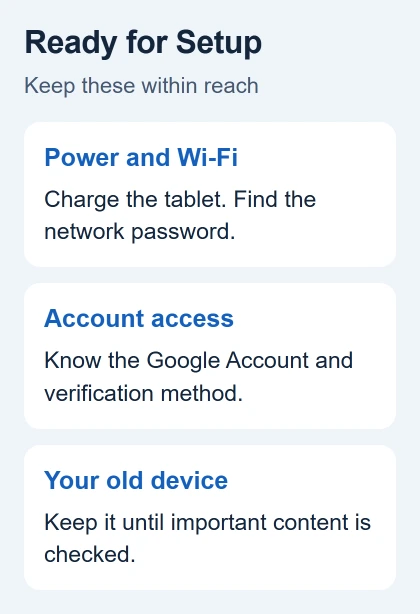
Keep the old device and your account verification method nearby. Your Google Account gives you access to the Play Store. A Samsung account adds separate Galaxy services.
In this guide
Get the tablet and account details ready
Connect the tablet to a suitable charger before starting. Find the Wi-Fi network name and password, and check that you know which Google Account you want on the tablet. Keep access to any phone used for sign-in verification.
For a new tablet replacing an older device, decide whether you want its apps and data copied. Don't erase the old device yet. You'll need it to approve a transfer or confirm that important content has arrived.
A Wi-Fi-only tablet doesn't need a SIM to get through an ordinary home setup. A Galaxy LTE or 5G model can offer physical SIM or eSIM steps as well.
If you want cellular service, follow your carrier's activation steps for that model.
On a previously owned tablet, a request for an earlier owner's Google Account is different from creating your own account.
Ask the seller to finish handing over the tablet. Repeated resets won't help you get past a request for their account details.
Start a Samsung Galaxy tablet
Hold the tablet's Side button through startup. At Welcome, select the main language and tap Start. Review the agreements and diagnostic-data choices before confirming the options you accept.
The exact order can vary by model and whether it has cellular service. If you're offered a transfer choice, select Galaxy or Android device or iPhone or iPad to match the source. Continue through the prompts for that device.
Select the home Wi-Fi network, then type its password. For a hidden network, use Add network and enter its details. Let the tablet finish connecting before continuing with account or app-transfer steps.
Cellular models may ask you to set up an eSIM or activate a physical SIM. Use the offered Skip choice when you plan to arrange that later. If activation fails, give the carrier the tablet model and the activation message.
After the connection stage, Galaxy setup can offer another opportunity to copy data. Choose Don't copy for a clean start.
If you're copying data, keep following the transfer prompts. Choosing your old device earlier doesn't mean the copy has finished.
Complete the Galaxy account and lock screens
Sign in to or create your Google Account when asked. Use the account that should own the Play Store purchases and synced Google services on this tablet. An employer or school can require extra account checks.
Choose a screen lock and complete its setup. If you choose fingerprint or face recognition, you'll also need the standard lock the tablet requests.
Remember that PIN, pattern or password. Fingerprint or face recognition won't replace it in every situation.
Next, sign in to or create a Samsung account when prompted. It provides separate Galaxy features, including syncing with compatible Galaxy devices and finding a missing tablet. It's separate from the Google Account you just set up.
Finish any display choices, such as Light or Dark mode, then continue to the Home screen. The Galaxy setup instructions describe this flow and the transfer options for supported tablets.
I'd keep account decisions simple on the first run: use the accounts you intend to keep, then add extra services later. Signing into an unrelated account just to get past a screen can make your new tablet harder to organize.
Set up a Google Pixel Tablet
Hold the power button near the rear camera to turn the Pixel Tablet on. At the welcome screen, tap Get started. A Charging Speaker Dock isn't required for the tablet's basic setup.
Choose the network you use for Wi-Fi and type its password. The Pixel setup screen also offers Set up offline. You can choose that option on Pixel Tablet, but don't assume every Android tablet offers setup without an internet connection.
At the apps-and-data prompt, tap Next to copy from another device or Don't copy to start fresh. If you don't have the old device, use Can't use other device?, then OK, and follow the available recovery choices.
Enter your Google Account credentials and complete 2-Step Verification if required. Review the Google services settings, including location and usage data.
At the backup prompt, choose the data to save and Turn on backup, or select Don't back up.
Continue through the legal terms and warranty screens. Set a PIN or password, confirm it, and add a fingerprint if wanted. Screen lock options offers other available lock choices.
Keep a PIN, password or another available standard lock you can use even after adding your fingerprint.
Google says the assistant and gesture screens are optional in its Pixel Tablet setup guide. Follow the options actually displayed; some features depend on country or language.
Finish the transfer before clearing the old device
On Galaxy tablets, Smart Switch provides supported transfer choices, including wireless and USB cable methods. Pick the method for your source device and follow the transfer screen.
Charge the devices enough for a cable transfer first, since the transfer cable uses the port.
On Pixel Tablet, complete the remaining Copy Apps & Data prompts when offered. Reaching the Home screen doesn't by itself tell you that every app has finished installing or every account has finished syncing.
Open the apps you rely on and check a few important files or photos. Sign in where an app asks for its own account. Keep the old device available until you finish checking the content that matters to you.
The Android backup explanation helps distinguish saved account data from files or app content that need separate attention. Don't assume that every item visible on the old device belongs to the same backup.
For a Pixel Tablet with a Charging Speaker Dock, set up Hub Mode when prompted after the tablet setup. Review what can appear or respond while it's locked and docked, especially when other people in the home will use it.
Verify the setup or identify the blocked stage
Load a webpage to check Wi-Fi, then check which account the Play Store is using. Confirm that you can lock and unlock the tablet. These checks cover connection, account access and the lock you'll use every day.
The basic tablet controls explain Home, Back, recent apps and typing once setup is finished. Learn those before changing lots of unfamiliar settings.
If you get stuck during setup, write down the exact screen and message. An incorrect Wi-Fi password, Google verification request, failed cellular activation and data-copy error need different next steps.
Return to the matching stage instead of wiping the tablet straight away.
For a Galaxy tablet, contact Samsung Support with its model and setup screen; ask the carrier about SIM activation errors.
For Pixel Tablet, use Get support in Pixel Tablet Help and include whether the failure happens before sign-in or during copying.
The Short Version
Charge the tablet, join Wi-Fi and decide whether to copy an old device. Complete the Google Account and screen lock, then the Galaxy-specific Samsung account or optional Pixel features.
Check your apps and files before erasing the old device.
Checked November 10, 2026.