
Find your AirPods' primary serial number in Bluetooth settings or inside the charging-case lid, then enter it on Apple's Check Coverage page to check service coverage.
The A-number identifies the hardware model. It isn't the service serial.
Find the number on a paired iPhone, iPad or Mac
Open Settings > Bluetooth on your iPhone or iPad. Find your AirPods and tap More Info, the information button next to their name. Read the Serial Number field in the device information.
If several pairs are listed, check that you're opening the pair you need. The AirPods naming controls can help distinguish household pairs, but their chosen name doesn't identify the hardware model.
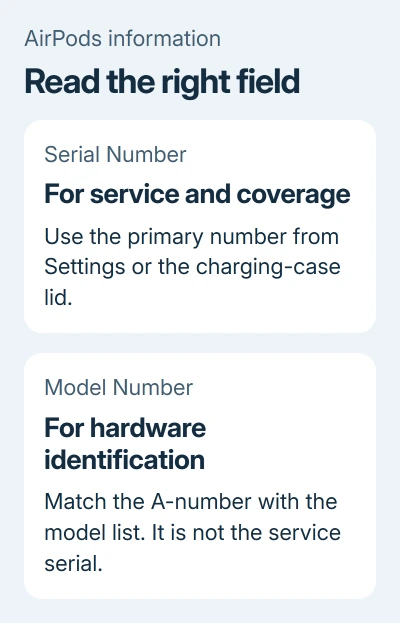
On a Mac, open Apple menu > System Settings > Bluetooth. Select your AirPods and open More Info to view their serial number. If the AirPods aren't listed, pair them first or use the physical number instead.
For iOS 13 or iPadOS 13 and earlier, the older route is Settings > General > About. Scroll to the AirPods name and tap it. Use this route on older software instead of looking in Bluetooth settings.
Apple lists these routes in its serial-number instructions. Copy the complete value rather than the firmware version or an A-number from the same screen.
Read the case, AirPods Max or original packaging
For AirPods and AirPods Pro with a charging case, open the lid and look at its underside. The primary serial number is printed there. Use bright light to read the small lettering without taking the case apart.
For AirPods Max, remove the left magnetic ear cushion to see the serial number. Look under the cushion on these over-ear headphones, rather than looking for a charging-case number.
The original box has a serial number next to its barcode. An original receipt or invoice can also include it. These are useful when the AirPods won't connect or their printed number has become hard to read.
I'd compare the case number with Settings before starting a service request. It's easy to pick up the wrong box when you keep several pairs together.
Some models also have separate serial numbers printed on each earbud. Use the primary case number for service, and tell support if you're reading a number from an individual earbud.
Enter the serial number on Check Coverage
Open Check Coverage and use the option to enter a serial number. Choose your country or region first if asked. Type the full primary number, complete the verification step and submit the number.
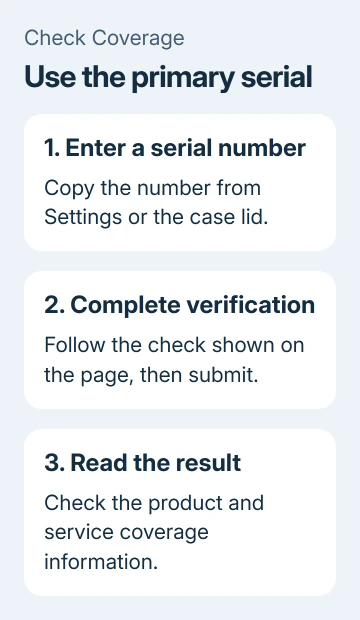
Read the product and coverage information returned for that number. Keep the receipt available when arranging service, particularly when the displayed purchase or coverage date doesn't match your purchase records.
Check Coverage shows service information for the number you entered. When buying used, check the AirPods and their model information too; the lookup can't inspect the earbuds or case.
If the page rejects the entry, compare it character by character with Settings or the printed number. Check that you didn't copy the model number, leave out a character or include spaces from a handwritten note.
If the website won't load, that isn't a rejected serial number. Reopen the official page in your browser and retry later if the service is unavailable.
Use the model number to identify the generation
For generation or replacement-part questions, read Model Number in the AirPods information and compare it with the AirPods identification list. That list matches A-numbers to the relevant models.
Check the charging case separately when choosing a replacement. Its model can differ from the earbud model, and the case's serial number serves a different purpose from either model code.
Avoid choosing reset instructions solely from the serial lookup result. The AirPods reset procedure differs between cases with a setup button, newer buttonless cases and AirPods Max.
Correct an inaccurate purchase date through support
An estimated purchase date can be wrong. The coverage-record guidance explains that service coverage depends on the purchase information on file, and a correction may require the original receipt.
Contact Apple Support with the primary serial number and purchase proof. Ask them to explain the coverage result or correct the purchase date using your receipt, rather than a date chosen to match an expected warranty period.
If the printed number still doesn't match the number on your paired device, tell support exactly where each came from. If support requests an assessment, take both earbuds together with their case.
The Short Version
Find the primary serial in Bluetooth settings or on the hardware. Use Check Coverage for service information, and the A-number to identify the model. Ask support to correct a wrong purchase date using your original receipt.
Checked November 7, 2026.

Isaac Smith is the founder and editor of PC Glance, a website that covers computers, laptops, and technology. He is a tech enthusiast and a computer geek who loves to share his insights and help his readers make smart choices when buying tech gadgets or laptops. He is always curious and updated about the latest tech trends.