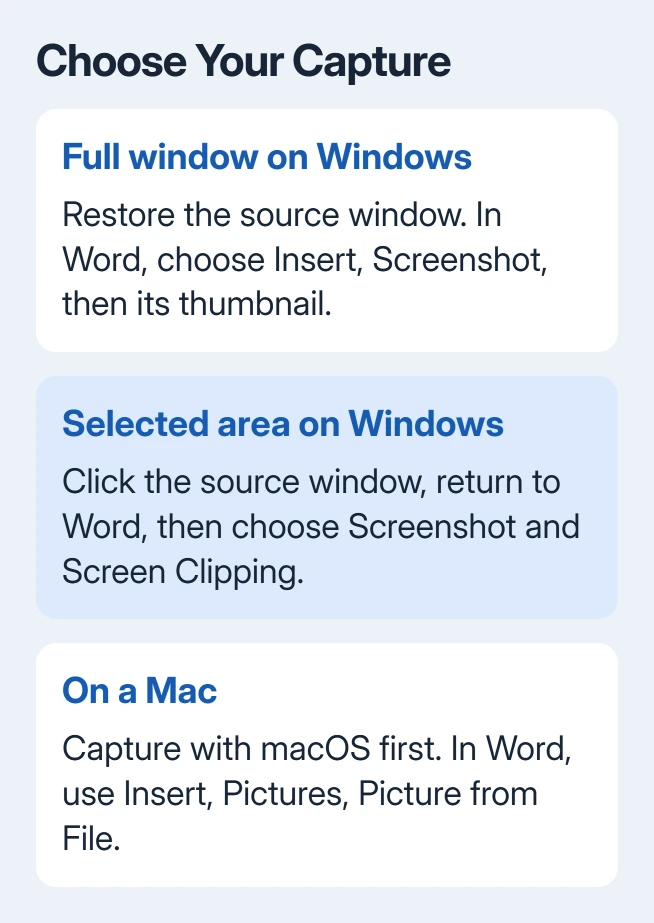
Word for Windows can insert an open window directly through Insert > Screenshot, or capture a selected area with Screen Clipping. On a Mac, take the screenshot with macOS first, then insert the saved picture into Word.
A window minimized to the taskbar cannot appear in the Windows capture gallery. Restore it before opening the Screenshot menu, and bring the intended window forward first when you only want a clipping.
In this guide
Decide how much of the screen belongs in the document
Decide whether the document needs a whole window or just the part that explains your point. A full window gives context; a small clipping makes a menu, error message, or setting more legible in the document.
Hide private details before preparing the capture. Check the window title, account details, notifications, and any other visible documents before making the picture part of a file you'll share.
Microsoft's screenshot instructions explain the built-in Office capture on Windows and the separate steps for Mac. Use the steps for the computer running Word.
Click inside the Word document where the image should appear. In a long report, check the cursor position carefully. Word inserts the capture there, rather than automatically placing it at the end or beside the paragraph you were reading.
For a procedure, I'd capture only the controls the reader needs, with enough surrounding context to recognize the screen. A whole desktop shrunk onto a page often makes the useful words much too small.
Insert an entire open window on Windows
Open the application or window you want to capture. Keep its window visible on the desktop rather than minimized to the taskbar. Return to Word without minimizing the target window.
Select Insert on Word's ribbon. In the Illustrations group, choose Screenshot. The Available Windows gallery shows thumbnails of eligible open windows.
Choose the thumbnail that matches the window you need. Word inserts that window as a picture at the cursor. Check the result in the document immediately, especially when several windows have similar titles or layouts.
Only one screenshot is added at a time. To include a second window, put the cursor where that picture belongs and repeat the capture. That keeps each picture beside the instruction it supports.
If the expected thumbnail isn't there, return to the source application and restore its window. Then return to Word and reopen the gallery. An application being open in the taskbar isn't enough when its window is minimized.
The image captures what the window shows at that moment. Open the menu or display the error you actually need before taking it. A later change in the source application won't update the inserted picture.
Capture just part of a window with Screen Clipping
Click the source window first, then go directly back to Word. This moves the intended window to the first position in Available Windows, which is the window the clipping command uses.
Place the cursor in the document, then choose Insert > Screenshot > Screen Clipping. The source screen temporarily turns pale and the pointer changes to a cross.
Drag with the left mouse button held down to mark the required area. Release it to complete the capture. Word places that area directly in your document without creating a separate image file to open.
If the wrong window is captured, change the window order and repeat. Click the intended source, return straight to Word, and start Screen Clipping again. Cycling through another application in between can change the window you're targeting.
Leave a little space around a menu or message. Cutting directly against its letters makes the image harder to read, and a clipped-off button name can remove the detail the picture was meant to explain.
For a webpage, display the needed section in the browser before returning to Word. Screen Clipping captures the visible area; it doesn't automatically scroll through a long page and assemble it into one picture.
Take the screenshot first on a Mac
On macOS, press Shift + Command + 3 for the whole screen. For a selected area, press Shift + Command + 4, then drag the crosshair over the required content and release.
To capture one window, press Shift + Command + 4, then press Space. Click the target window once the camera pointer appears. Hold Option while clicking if you want the capture without its window shadow.
For more capture choices, Shift + Command + 5 opens the Screenshot app. These shortcuts belong to macOS. You don't need to find Windows' Available Windows gallery in Word for Mac.
The saved image normally appears on the desktop. If it isn't there, check the Screenshot app's selected save location and Finder's Recents. Open the image to confirm it contains the intended window or selected area.
Return to Word and choose Insert > Pictures > Picture from File. Browse to the screenshot, select it, and choose Insert. Check its position in the document before continuing to write.
Use a saved capture when Word has no Screenshot control
In Word for the web, or when the desktop ribbon doesn't offer capture, take the screenshot with your computer's screenshot tool first. In Windows, press Windows + Shift + S, choose the capture area, then return to your document.
Paste the capture with Ctrl + V where supported. Saving it as an image file also gives you a copy that you can insert through the document's picture controls. On Mac, use the saved-file route described in the preceding section.
For Windows capture and save choices, the Windows screenshot guide covers the system tool. That route is useful when the problem is the missing Word command rather than an unavailable source window.
If a captured file is hard to locate, check the Windows screenshot folder locations. Different capture methods don't always save to the same place.
Check the image at the size readers will see
Select the inserted picture to use Picture Format tools. Crop unwanted surroundings and resize from a corner so it keeps its shape. Review the image at the document's normal reading size, rather than only while zoomed in.
If the words are unreadable, take a tighter capture of the important area instead of enlarging a tiny fragment repeatedly. Include the error text as ordinary document text too when someone needs to copy it or search for it.
If a new document accepts the capture while the original refuses it, tell Word Support the file format and insertion result. If your computer can't capture the window either, say so: the capture fails before Word tries to insert it.
The Short Version
On Windows, use Insert > Screenshot for a whole restored window, or Screen Clipping for a selected area. On Mac, capture with macOS and insert the saved picture. Check the final picture for readable text and private details before sharing.
Checked November 15, 2026.
 If you have any business, I can build it online