Microsoft 365 Backup protects business OneDrive, SharePoint and Exchange data through the admin center. Connect pay-as-you-go billing, create policies for the services you need, then check that recovery points are available.
It isn't a backup button inside Word, and it doesn't back up a whole laptop. A personal Microsoft 365 subscription needs a different file-backup approach; this setup is for an organization's administrator.
In this guide
Decide which business data needs protection
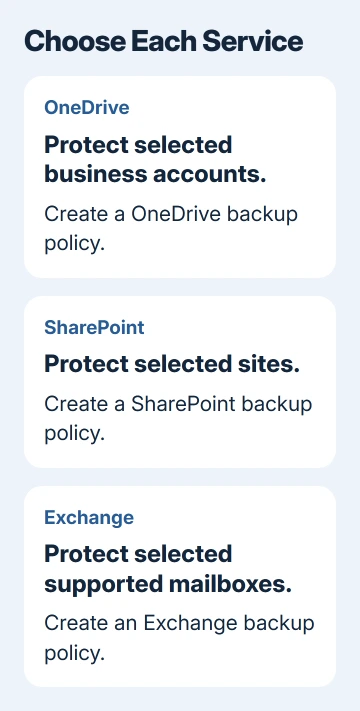
List the OneDrive accounts, SharePoint sites and Exchange mailboxes the organization needs to recover. A backup policy chooses which of those items the service protects. Creating one policy doesn't automatically cover all three services.
Start with a small, agreed selection so you can check costs and recovery before expanding it. Ask the people responsible for the data how long it needs to stay recoverable and where you can safely put a test restore.
For a recently deleted personal folder, the OneDrive folder recovery steps may be the appropriate starting point. Turning on business backup now doesn't create restore points from before protection began.
For a home subscription, the Microsoft 365 subscription guide separates the apps and storage benefits. Those benefits don't grant access to an organization's Backup administration controls.
Prepare permissions and Azure billing
Microsoft says setup requires a SharePoint Administrator or Global Administrator in its Backup setup instructions. Use the role that gives you the access you need without granting Global Administrator just for this task.
For billing, you'll need access to an Azure subscription through a role such as Owner or Contributor. Have the subscription, resource group and region ready. Ask the billing owner for help if your account lacks access.
A resource group keeps related Azure resources together. The billing policy connects the service's usage to the chosen Azure subscription; it isn't the backup policy that selects files, sites or mailboxes.
Check costs before turning Backup on. Protected data has pay-as-you-go charges separate from your Microsoft 365 subscription. Deleted data kept in the backup can count too, so today's visible files don't tell you the full bill.
I'd get agreement on both the protected accounts and the budget before enabling a large selection. Even if setup works, you could end up paying to protect data the organization didn't mean to include.
Connect Backup through the current billing experience
Sign in to admin.microsoft.com with the setup account. For new Backup customers, open Billing > Pay-as-you-go. New customers use this experience after April 1, 2026.
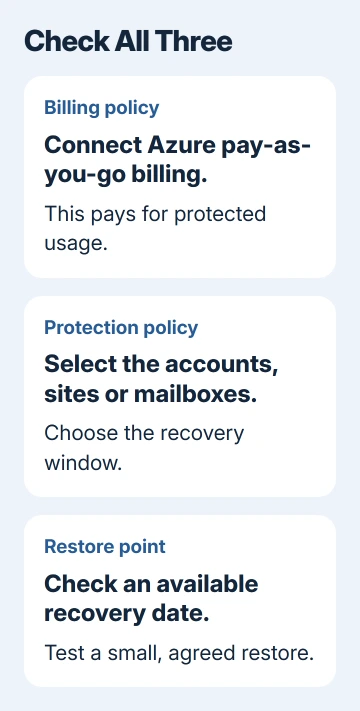
On Billing policies, choose Add a billing policy. Name it, select the Azure subscription, resource group and region, then review the terms. Complete the users or groups and optional budget pages shown by the wizard.
Review the details and select Create policy. Use Connect your services to link the policy to Microsoft 365 Backup, following the prompts to select the service. Creating an unconnected billing policy doesn't finish Backup billing setup.
Existing customers may still use Setup > Billing and licenses > Activate pay-as-you-go services. From there, you can check the existing setup and move it to Billing if that option is available.
Don't create a second arrangement just because the older screen looks different. Check the existing Backup billing connection and use the migration option if you want to move it.
Create the protection policies
Open Settings > Microsoft 365 Backup in the admin center. In the service you want to protect, select Set up policy. Read the overview and select Next to choose the accounts or sites.
For a small starting set, choose individual selection. Search for and select the OneDrive accounts, SharePoint sites, or Exchange mailboxes, depending on the service section you opened. Check the selected names before continuing.
The wizard also offers bulk methods such as CSV lists or rules, depending on the service. Check how each selects items before using it. A rule can include future members; a fixed list covers the current accounts you selected.
On Backup Settings, give the policy a useful name and choose its Recovery window. This is how long a restore point remains available. It doesn't let you choose any backup frequency you want.
OneDrive and SharePoint allow three months, six months, or whole years from one through ten. Exchange offers three months, six months, one year or two years. Check the recovery-window choices for your selected service.
Review the policy, then choose Create policy. Repeat the process in the other service sections that need protection. A policy protecting SharePoint sites doesn't also select the users' Exchange mailboxes.
Verify protection before relying on it
Return to the Backup overview and check the policy and protected-item status. Give initial protection time to finish and restore points time to appear. Don't rely on the policy entry alone to confirm you can recover your data.
Open the restore flow for a protected test account or site and check which dates are available. Those dates tell you what the service can actually recover now. Record when protection began so staff don't expect earlier recovery points.
Enable Backup email notifications from the service's settings and maintain its notification list. These can alert the responsible people to changes such as disabled protection, paused billing or removed protected items.
Choose a recovery test with the data owner. Don't test by deleting production work. Use an agreed test file and confirm the target account, restore point and destination before starting the restore.
Test a small restore and keep the result
OneDrive's file-and-folder recovery needs the SharePoint Backup Admin role and a restore point from the latest 14 days. Older points support full-account recovery instead.
On the Microsoft 365 Backup page, select Restore in the appropriate service. For a OneDrive test, choose the protected account and the option to restore specific files or folders when the selected recovery point supports it.
Follow the date and restore-point selection, browse to the test item and choose it. On Choose destination, use Create a new folder and restore to it when offered, so the recovered copy can be checked separately from current work.
Review the selections and choose Start restoration. Watch the restore job's status, then open the destination and confirm the file has the expected contents. Record the source, date, destination and result for the recovery procedure.
Full account or site restores can roll content back and overwrite newer changes. Get the data owner's agreement and decide exactly what to recover before using a full restore. Keep your first test small.
For failed protection or recovery, open Help & support in the admin center. Include the policy, affected item, job details and error. Ask support which part failed: billing, item selection, backup protection or the restore itself.
The Short Version
Connect Azure billing and create the protection policies for your data. Choose each recovery window, confirm restore points exist, then test a small recovery to a separate destination before relying on the setup.
Checked November 13, 2026.