
Printing an envelope in Word starts with Mailings > Envelopes, but the envelope size and feed direction decide whether the address lands correctly. Match both to the envelope and printer before sending the first copy.
Use desktop Word for Windows for this procedure. A saved envelope can be reused later, while a list of different recipients needs Word's separate mail-merge workflow.
Set the address and envelope size
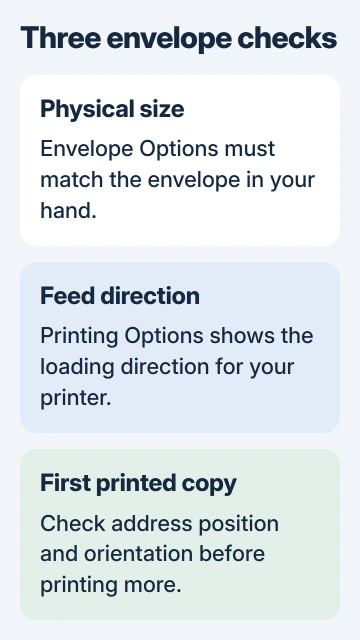
Open Word and choose Mailings > Envelopes. Enter the recipient in Delivery address and the sender in Return address. Select Omit if the return address should be left off this envelope.
Choose Options > Envelope Options and select the matching Envelope size. For an unlisted size, enter the width and height in Custom size. Microsoft documents sizing in its envelope guide.
Status: Desktop Word envelope setup and printing instructions reviewed November 3, 2026. Feed direction depends on the printer. No envelope was printed.
Check the typed postal code and apartment or unit number before continuing. Formatting cannot compensate for an incomplete address, and a small envelope leaves less room for a long recipient line.
Match the loading picture to the printer
Open Printing Options in that same dialog. Its feed picture shows the envelope position, which edge enters first and whether the address side faces up or down. Load the envelope to match, then confirm with OK.
Microsoft states that the printer driver supplies this loading information. There is no single face-up or face-down rule for all printers. Check the printer's own envelope instructions if its tray markings disagree with Word.
For a printer that has never worked from this PC, complete the first-print setup before testing special paper. A connection failure and a reversed envelope need different corrections.
Print one envelope and inspect its orientation and address placement. If it feeds but the text is reversed or misplaced, revisit the feed settings and model manual before producing more copies.
Save the envelope and print only its page
Choose Add to Document to keep the envelope in a reusable file, then save it. Microsoft says Word inserts it as the first page; the rest of the document can hold the accompanying letter.
For that saved file, open File > Print and inspect the envelope in preview. Select the intended printer and use Print Current Page while the envelope is displayed, or choose the appropriate custom page selection.
Microsoft describes these page-selection controls in its Word printing instructions. Check the preview before printing so a letter page is not sent onto the envelope by mistake.
Our recommendation is to save the successful layout with a recognizable envelope-size name. Recheck its feed settings when changing printers, even if the document itself has not changed.
Use mail merge for different recipients
For an address list, Microsoft's envelope mail-merge procedure starts with Mailings > Start Mail Merge > Envelopes, then connects recipients and inserts address fields.
That produces a different recipient on each envelope. Printing multiple copies of one manually typed envelope repeats the same address instead.
The same source list can support mailing labels from Excel, but labels use their own stock dimensions and layout. Keep the envelope document separate from the label document.
For envelope jams, ask the printer manufacturer about supported media and tray choice. For incorrect placement despite a clean feed, give Microsoft Support the printer model and an example with invented addresses.
The Short Version
Enter the addresses, choose the envelope's size and follow the feed diagram. Check one printed envelope, then save the working document. Use mail merge when each envelope needs a different recipient.

Isaac Smith is the founder and editor of PC Glance, a website that covers computers, laptops, and technology. He is a tech enthusiast and a computer geek who loves to share his insights and help his readers make smart choices when buying tech gadgets or laptops. He is always curious and updated about the latest tech trends.