

Printing labels from Excel uses Word to lay out the spreadsheet's addresses. Connect the workbook to a label mail merge, arrange the first label, then apply that layout across the sheet so every position gets a different recipient.
Start with the label package's product number and a clean address list. Printing the Excel cells directly does not create a correctly spaced sheet of mailing labels.
Prepare addresses that will survive the merge
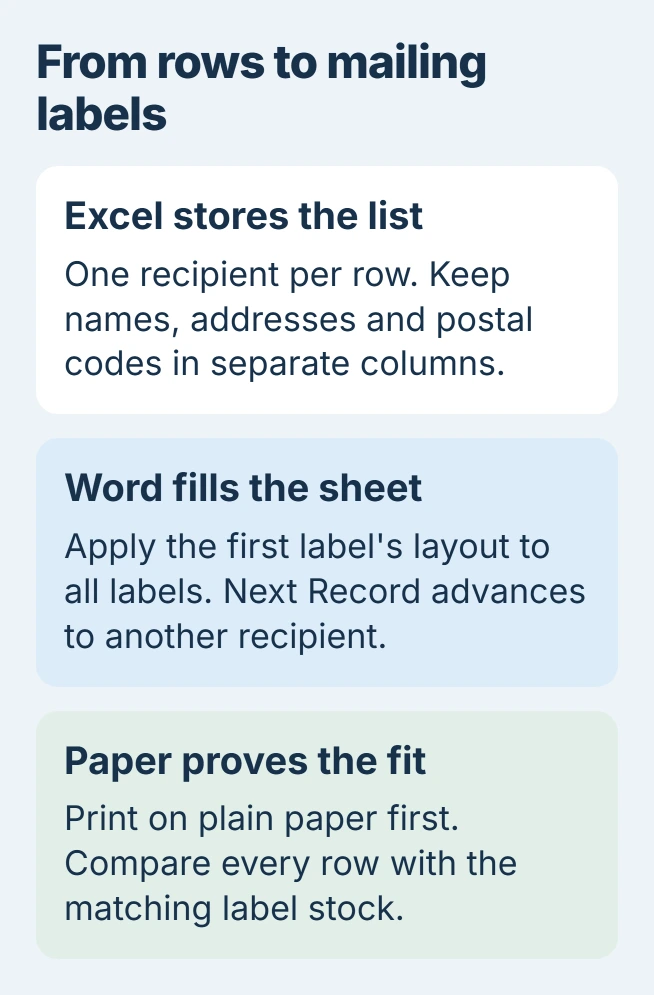
Use a heading row with separate columns for the details needed, such as name, street, city, state and postal code. Put one recipient on each following row and finish corrections before connecting the workbook.
Microsoft says to keep the merge data on the first worksheet and save the source locally in its Excel label preparation guide.
Status: Microsoft's Excel-source and Word label-merge procedures checked November 2, 2026. Windows wizard and Mac ribbon routes differ. No mailing list or printer was used.
Treat postal codes as Text when entering or importing them, especially when they begin with zero. A numeric value that has already lost a leading zero needs correction; formatting alone cannot restore a missing digit.
For CSV input, use Excel's import controls and set the postal-code column to Text before loading. Microsoft documents this in its mail-merge data preparation instructions.
Save and close the workbook before selecting it in Word. The Excel-to-Word source connection guide explains worksheet selection when the file contains several sheets.
Start a label merge in desktop Word for Windows
Open a blank document and choose Mailings > Start Mail Merge > Step-by-Step Mail Merge Wizard. Select Labels, then Next: Starting document > Label Options.
Choose the package's Label vendors and Product number, then confirm. This selects the sheet dimensions and label spacing. Use the Word label-stock checks if the product is missing or the layout is uncertain.
Continue to Next: Select recipients, choose the existing-list option and Browse to the workbook. Select the worksheet containing the addresses and confirm the recipient list.
Microsoft documents this wizard in its mailing-label procedure. Use desktop Word; a browser's document view does not supply the same merge workflow.
Arrange one label, then fill the remaining positions
Choose Next: Arrange your labels > Address block and inspect the address preview. Use Match Fields if Word pairs a spreadsheet heading with the wrong address component, then confirm the block.
Select Update all labels to distribute the arrangement across the sheet. Continue to the preview stage and inspect several records, including a long address and a postal code that starts with zero.
A label merge needs to advance through the source list. Microsoft states that Word uses the Next Record rule in label cells in its mail-merge rules reference.
If every label shows the same person, inspect the merge fields and record progression. Copying plain address text into each cell only repeats that text; it does not connect those cells to successive Excel rows.
If only the first position is populated, return to the arrangement stage and apply the layout to all labels. Check the result again before completing the merge rather than filling the empty positions manually.
On Mac, use the label controls on the ribbon
Start with Mailings > Start Mail Merge > Labels, select the label product and connect the workbook through Select Recipients. Insert the required merge fields in the first label and format them there.
Use Update Labels, followed by Preview Results. Microsoft's Mac instructions offer Finish & Merge > Edit Individual Documents for reviewing the completed labels before File > Print.
Prove the positions on ordinary paper
On Windows, complete the wizard's merge stage and choose its printing option. Make the first run on plain paper using the intended page size. Hold it against the label stock and inspect every row's position.
Check printer scaling, the selected label product and paper size if the text drifts out of position. Changing Excel's print area will not correct a layout generated in Word.
Keep the reusable merge document and its Excel source. If one recipient is missing, inspect the selected records; if all positions are displaced, concentrate on the label layout and printer setup.
For persistent trouble, send Microsoft or the label maker the product code, Word platform and an invented-data example of the output. Share the pattern without exposing the real mailing list.
The Short Version
Prepare the Excel list, select matching label stock in desktop Word, and connect the workbook. Apply the first label's arrangement to the sheet, confirm different recipients appear, and print a plain-paper proof before using adhesive stock.

Isaac Smith is the founder and editor of PC Glance, a website that covers computers, laptops, and technology. He is a tech enthusiast and a computer geek who loves to share his insights and help his readers make smart choices when buying tech gadgets or laptops. He is always curious and updated about the latest tech trends.