Uploading data to iCloud can stay at about one minute remaining without finishing. Leave the iPhone on power and Wi-Fi. Before skipping the upload for an erase or trade-in, confirm that your latest data exists elsewhere.
The next step depends on the screen you're on: an ordinary iCloud backup, preparation for a new iPhone, or the upload offered before erasing. The timer isn't confirmation that erasing is safe.
In this guide
1. Identify which upload is holding the phone
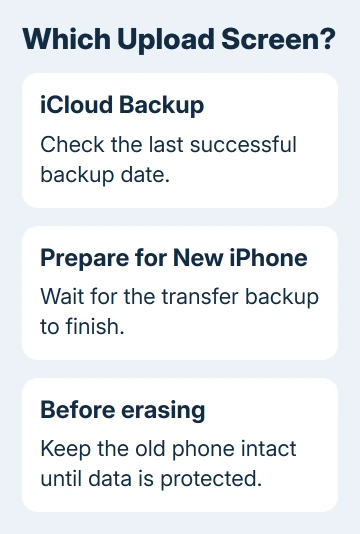
For a normal backup, open Settings > [your name] > iCloud > iCloud Backup. Read the backup status and the date of the last successful backup. A current attempt can still be running while the successful-backup date remains old.
If you started at Settings > General > Transfer or Reset iPhone > Get Started, you're preparing data for a new device. This can include a temporary iCloud backup when you're eligible for extra transfer storage.
If the message appeared after choosing Erase All Content and Settings, the upload is happening before the phone erases its contents. Keep the old phone's data until you've confirmed the needed backup or transfer.
Photos syncing and apps downloading after restoration are different processes. If your new device works but some content is missing, check the iCloud transfer and download status.
For this stuck upload, note the screen's exact wording and when it started. Use those details to compare the next attempt, so you know which upload you're checking instead of watching the timer alone.
2. Give the backup stable Wi-Fi and power
Open Settings > Wi-Fi and confirm the intended network has the checkmark. Keep the iPhone connected to a charger. Don't assume the remaining minute is a deadline; it isn't a completed-backup confirmation.
Apple's backup help recommends checking upload speed, then leaving the iPhone charging and connected to Wi-Fi for 24 hours. Upload speed matters because the phone is sending data out.
Streaming a video uses your download connection, so it doesn't tell you how fast the phone can upload. If other devices are also sending large files or backing up, pause those uploads when practical so the iPhone can use the connection.
If the backup reports failure, try another trusted Wi-Fi network and compare the result. Try this when the original connection handles browsing but the backup repeatedly fails to complete.
For a trade-in deadline, I'd arrange another backup instead of relying on the timer. The iCloud upload guide explains the size and speed checks.
3. Check available storage against the next backup
Open Settings > [your name] > iCloud and read the used storage. Then open Storage or Manage Account Storage > Backups > [this iPhone] and wait for Next Backup Size to finish calculating.
Compare that size with the space available in iCloud. The phone's free local storage and iCloud's free storage are separate numbers. Clearing a downloaded movie on the phone doesn't automatically make room in your cloud plan.
If there isn't enough room in iCloud, increase your plan or remove information you don't need. Review what will be removed before confirming a deletion; some iCloud categories sync deletions to your other devices.
Don't delete the only existing backup just to force this attempt through. A failed replacement could leave you without either copy. Keep a usable backup until the newer one or another transfer has been checked.
If enough storage is available but the same failure returns, continue with the update and other backup options. A full storage plan isn't the explanation for every upload that stops near the end.
4. Handle a temporary transfer backup separately
For a new-device purchase, Prepare for New iPhone can offer temporary iCloud storage when your current plan isn't large enough. Follow Get Started, then Turn On Backup to Transfer if that option appears.
Accept the extra-storage offer if you're eligible and let the backup complete. Having temporary storage available doesn't mean the upload itself is finished. Check its completion before starting the new phone's restore.
The temporary backup normally gives you 21 days to restore it. If the new device hasn't arrived, Keep My Backup Longer on the current device can add another 21 days. Additional time beyond that requires support.
After restoring, the temporary backup remains available for 7 days before deletion. These time limits apply to temporary transfer backups. They don't apply to every ordinary backup in a paid iCloud plan.
Those limits are in the temporary iCloud storage instructions. Don't erase the old iPhone until the restore to the replacement is complete and you've checked the information you need.
5. Make another copy when waiting isn't enough
If the phone is usable, check Settings > General > Software Update for an available update, then try the backup again. For a backup that still won't complete, use a computer to keep another copy before further changes.
On a current Mac, connect the iPhone by cable and select it in Finder. On Windows, open Apple Devices and select the phone. Older supported setups use iTunes. Unlock the iPhone and accept the trust prompt when asked.
Select a local computer backup for the iPhone, then click Back Up Now. Select Encrypt local backup if you need saved passwords, Wi-Fi settings, Health data and other information that requires encryption.
Store the encryption password where you'll be able to recover it. A forgotten password can prevent you from restoring that encrypted copy. When the job ends, check the most recent backup's date and time in the backup controls.
Check information already syncing through iCloud separately. Verify recent photos or files on another signed-in device; the computer backup doesn't duplicate every cloud item.
6. Finish the erase only after protecting the data
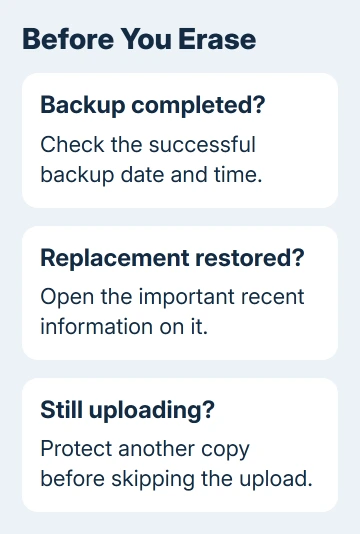
If you're still on the pre-erase upload screen, don't choose a skip option simply because the timer stopped changing. If the screen lets you safely cancel or go back, do that and check your backup or replacement first.
Once the data you need is protected, return to Settings > General > Transfer or Reset iPhone > Erase All Content and Settings and follow the prompts. Erasing the phone is the final handover step, not a repair for an unfinished backup.
For a persistent failure, use the iCloud backup help page's support option. Give the screen, iOS version, free storage, last backup date and another network's result. Ask how to complete the backup before erasing the phone.
The Short Version
Check which upload is running, keep power and Wi-Fi connected, and compare the next backup size with free cloud storage. Protect the latest data with a completed transfer or another backup before skipping an upload during erasure.
Checked November 15, 2026.
 If you have any business, I can build it online