Windows 11 uses separate controls for size, sharpness and brightness in Settings > System > Display. Start with Scale for larger apps and the recommended resolution for clear text; select the intended monitor first.
For just the lettering, use Accessibility > Text size instead. Lowering resolution to make words bigger often leaves the whole screen softer than it needs to be.
In this guide
Open Display and select the screen
Right-click the desktop away from its icons, then select Display settings. Alternatively, press Windows + I, select System, then Display.
These are Windows 11 instructions; a monitor's own buttons open a different set of controls.
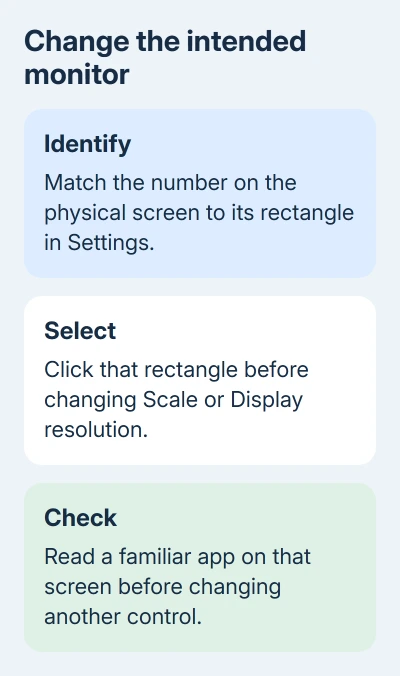
With several connected screens, click Identify. A number appears on each display so you can match the rectangles in Settings to the physical monitors. Select the rectangle for the screen you're about to change.
This selection matters when the laptop's panel differs in size or resolution from its attached monitor. A setting that suits the laptop can make the monitor's text much too large. Check the selected display again between changes.
If an attached screen isn't shown, expand Multiple displays and choose Detect. Check its power, input selection and cable if detection fails. Display settings can't adjust a monitor Windows hasn't detected.
For rectangles representing displays that aren't connected, use the ghost monitor checks.
Removing remembered screens is a different job from changing the size of text on a working monitor.
Make apps bigger with Scale
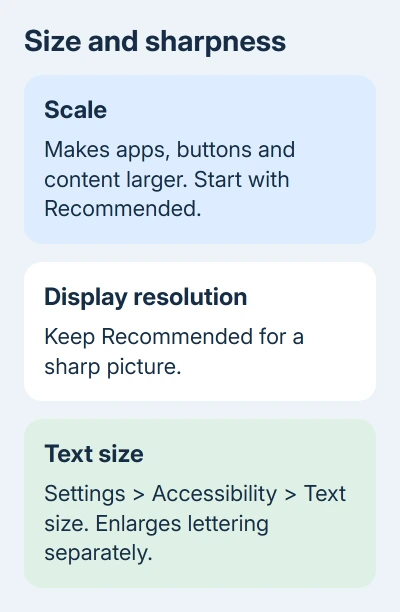
Find Scale & layout, then open Scale and select one of the offered percentages. Start with the recommended value. Increase it when menus, buttons and app content are all too small at your normal viewing distance.
Scale makes menus, buttons and other app controls larger while keeping the screen at its native resolution, the resolution it was built to use. That lets text stay sharp as you make it easier to read.
Check an app you use regularly after changing the percentage. Look at its toolbar and dialog buttons as well as the document. If the interface becomes too crowded, choose a smaller offered percentage rather than lowering resolution.
Avoid starting with custom scaling. The ordinary list makes the result easier to compare and reverse. If Windows asks you to sign out for a scaling change, save open work before doing so.
Microsoft's resolution and layout guidance recommends the marked values as a starting point for your adjustments.
Restore sharpness with the recommended resolution
Under Scale & layout, open Display resolution and choose the entry marked Recommended. Confirm the change with Keep changes when the screen looks correct. Choose Revert if the result is worse.
A lower resolution can make the desktop look larger, but text can turn blurry, the picture can stretch, or black space can appear around it. Use the scaling control for comfortable size once the resolution is right.
If a resolution change makes the display unreadable, wait for the confirmation period to expire and allow Windows to restore the earlier display mode. Don't keep pressing keys blindly to accept a result you can't see.
If the expected resolution isn't offered, check Settings > Windows Update > Check for updates. A graphics driver problem can change the options Windows shows.
A dock or adapter also needs to support the display mode you're trying to use.
An HDMI connection with the wrong picture size has additional checks in the Windows HDMI settings guide. Use that when the monitor cuts off desktop edges despite a sensible resolution.
Enlarge only the words
Open Settings > Accessibility > Text size. Move the Text size slider and look at its preview, then select Apply. Use this when the interface fits comfortably and only the lettering needs enlarging.
Compare a menu and a familiar document afterward. Text size and Scale aren't interchangeable: Scale enlarges the broader interface, while Text size targets lettering. Pick the one that solves the part you actually struggle to see.
An individual website or document can also have its own zoom. If just one page is oversized while the taskbar and menus look normal, check that app's zoom before changing the entire Windows display.
Adjust brightness and warmth separately
For the built-in laptop display, find Brightness on the Display page and move its slider. Quick Settings, opened with Windows + A, also provides a brightness control on supported hardware.
An external monitor may not offer that slider. Use its physical buttons or joystick and open its on-screen brightness menu. A missing Windows slider alone doesn't mean your desktop monitor has a broken driver.
Expand Brightness if the laptop changes brightness on its own. Supported devices can adjust for room lighting or the content on screen. Change the offered automatic setting when you want a more consistent picture.
Night light is separate. It makes the picture warmer to reduce blue light; it doesn't change resolution. Select its settings and change the schedule or strength if the display turns yellow at a regular time.
Arrange monitors and choose how they work
Drag the display rectangles to match the monitors on your desk, then select Apply. Move the pointer between them to check the join. That arrangement controls which edge your pointer crosses to reach the next screen.
Press Windows + P to choose a display mode. Duplicate repeats the picture; Extend gives you additional desktop space. PC screen only and Second screen only leave just one display active.
For a monitor mounted vertically, select it and change Display orientation to Portrait. Rotate the physical monitor using its supported stand or mount. Software rotation doesn't change the position of the panel itself.
Choose a supported refresh rate or get help
Open Advanced display, choose the intended monitor and find Choose a refresh rate. The list depends on the display and connected hardware.
A higher supported refresh rate, which updates the picture more often, can make motion smoother. It doesn't increase the desktop's resolution.
If a needed option remains missing, give the PC maker the monitor model, connection type and available modes. Mention any dock or adapter between them. Ask which driver and connection support that resolution and refresh rate together.
The Short Version
Pick the intended screen, use Scale for larger apps, and use the recommended resolution for sharpness. Text size changes lettering separately.
Brightness, Night light, monitor arrangement and refresh rate each solve a different display preference.
Checked November 15, 2026.