Windows 11 can start installing from USB offline, but current Home and Pro setup needs internet to finish. If the network screen stops you, try Ethernet, a phone hotspot, or the correct network driver before restarting setup.
Copying Windows onto the drive and completing first-time setup are two separate stages. An installation USB handles the first part. It doesn't remove the network requirement from the second.
In this guide
Check which part of installation needs the connection
A PC booted from installation media can reach Windows Setup before connecting to a network. After files are installed and the computer restarts, the first-time setup screens handle region, keyboard, network, and account choices.
If you're already at the network selection screen, Windows has made it past the file-copying stage. Starting over won't fix a missing wireless driver.
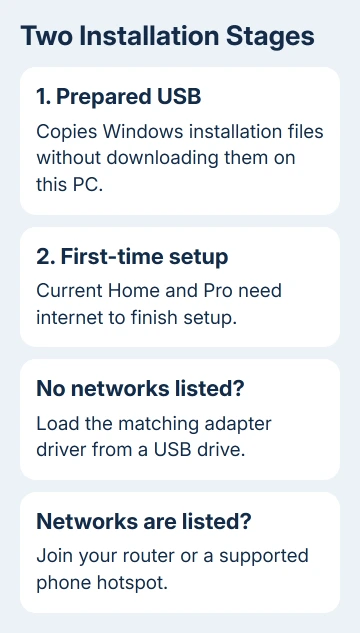
Microsoft's setup connection instructions state that internet is required to finish Home or Pro setup. The specifications also require a Microsoft account during initial setup of Home and Pro for personal use.
Work and school PCs can use a different setup process. Ask the administrator for the steps. Choosing organization setup on a personal PC doesn't create the organization's account, license, or management access.
If the machine already reaches the desktop, installation is finished. You can use installed offline apps without a permanent connection, although downloads, activation checks, and online services still need network access.
Prepare the installation USB on a connected computer
Use another Windows PC with a reliable connection to prepare the media. Have a blank USB drive with at least 8 GB available. Creating the installation drive deletes its existing contents, so preserve any files on that USB before proceeding.
Open the Windows 11 download page. Find Create Windows 11 Installation Media, then download and run the media creation tool for a compatible destination computer.
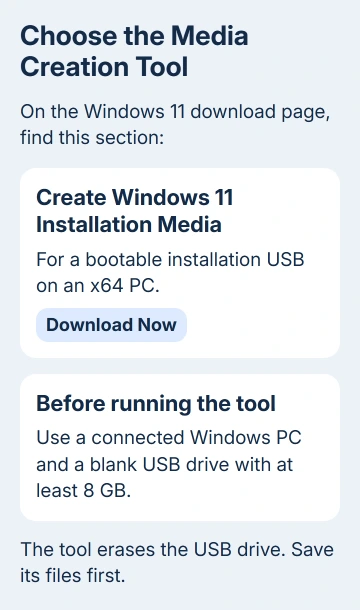
Follow the tool's prompts to choose the language, edition, and USB drive. Check the selected drive carefully before starting. Leave the connected computer online until the tool confirms that the installation media is ready.
The media creation tool makes x64 media, not Arm media. An Arm-based laptop needs the matching download and its maker's instructions. Check whether the PC you're installing on uses x64 or Arm, rather than checking the PC you borrowed.
A downloaded ISO is a disk image. Copying that file onto an ordinary USB drive isn't the same as creating bootable installation media. Use the tool's USB option when preparing a standard x64 Windows installation drive.
Before installing, back up the destination PC and check its Windows 11 hardware requirements. The Windows reinstall options help distinguish repairing an existing installation from replacing it.
Start from USB, then stop at the right setup stage
Connect the prepared USB to the PC you're installing Windows on. Use that model's startup or boot-device menu to select the installation drive. The key varies by maker, so use the PC's supplied boot instructions.
Follow Windows Setup for your intended installation and match the edition to the device's license. At the product-key prompt, choose the option for that license. Don't purchase another key solely because the PC is offline.
Choosing a clean installation can remove files, applications, and settings. Don't delete or format partitions until you've checked the backup and identified the correct destination disk.
After Windows restarts, continue through the region and keyboard choices. Check the network list. If it's empty, check adapter detection and drivers next. An incorrect Wi-Fi password wouldn't make every network disappear.
If networks appear but yours doesn't, move within range and check that another device sees the same router. A missing home network and a completely empty list need different checks.
Give setup a temporary working connection
I'd try an Ethernet cable first when the computer has a working Ethernet port. Connect it to a router LAN port with internet access, then let setup detect the connection. This avoids entering a Wi-Fi password.
If a cable isn't practical, turn on your phone's mobile hotspot when your plan permits it. Note the hotspot's network name and password, select that name in Windows setup, and enter the password.
Setup downloads count against the hotspot phone's cellular allowance. Check your plan before starting. It still needs a working Wi-Fi adapter on the PC; it won't repair an empty network list caused by a missing wireless driver.
Once the network connects, continue through the account and remaining setup screens. Setup is finished when you reach the desktop. A network name appearing in the list only tells you the adapter can see that network.
If the phone hotspot works but your router doesn't, complete setup and troubleshoot the router connection afterward. That tells you to check the home connection rather than start the installation over.
Load a missing network driver from USB
On another connected device, get the network driver from your PC maker. Match the exact PC model and its Windows architecture, such as x64 or Arm. Extract the package as instructed so its driver files are available on the USB drive.
The offline network driver guide covers identifying the correct adapter and package. A Wi-Fi driver for a similar-looking laptop can be the wrong driver.
If setup offers Install driver, use that control and select the extracted package. For the command method, press Shift+F10 to open Command Prompt. Some keyboards also require their Fn key to send F10.
Type diskpart, then list volume. Read the USB drive's letter in the Ltr column, then type exit to leave DiskPart. Don't run any disk-cleaning or formatting command to find a drive letter.
For extracted INF files at the root of drive D, run pnputil /add-driver D:\*.inf. Replace D with the letter you actually found. Then run pnputil /scan-devices if the adapter hasn't appeared.
Close the command window, then return to network selection. If it stays empty, ask the PC maker to confirm the package and extraction steps for use during Windows setup. Include the model, adapter details, and any driver-installation error.
The Short Version
Prepare USB media on a connected PC to start installation. Current personal Home and Pro setup still needs internet to finish. Use Ethernet or a hotspot, or load the matching network driver when no networks appear.
Checked November 13, 2026.