A blank Internet headers box in Outlook Sent Items isn't a damaged message. Mail servers add delivery headers, so have the recipient send you the received message's headers. Repairing the sent item won't recover that delivery record.
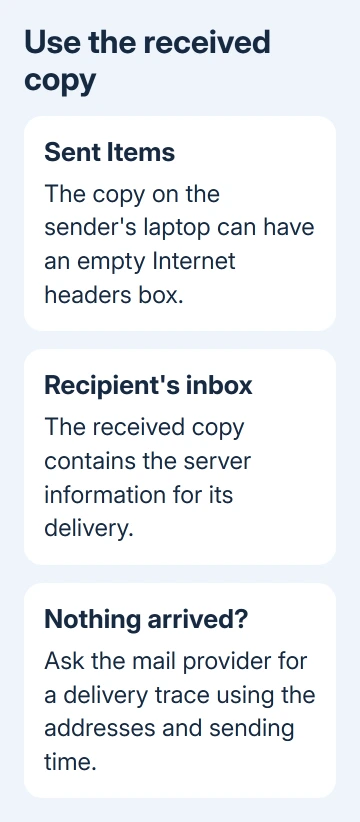
For a delivery problem, that distinction matters: the copy on your laptop can't show the whole trip to someone else's inbox. A message that never arrived needs the mail provider's delivery records, rather than a missing setting in Outlook.
In this guide
Check the received copy, rather than the sent copy
Open Sent Items, double-click the message and choose File > Properties in classic Outlook for Windows. The Internet headers field can be empty on a sent message. Reopening that same item won't create the missing delivery history.
The sender, recipient, subject and date displayed at the top of a message aren't the same thing as its Internet headers. Those visible details help identify an email, but they don't list the servers that handled it.
Microsoft's message-header instructions explain the technical fields and how to open them. The Received entries describe server handoffs on the route to the recipient.
Ask the person who received the original email to open that item in their inbox. Forwarding it normally creates another message with its own delivery path. Ask for the original message's header text instead.
If support asked for headers from Sent Items, explain that the Internet headers field is blank. Ask whether they need the recipient's received headers, the message identifier or a server-side delivery trace. Those are different requests.
Copy the headers in classic Outlook for Windows
These steps apply to the traditional Windows program with a File tab, including Outlook 2016 and classic Outlook in Microsoft 365. Ask the recipient to follow them on the original email in their inbox.
- Double-click the received message so its separate window appears.
- Select File > Properties.
- Click inside the Internet headers box in the lower part of Properties.
- Press Ctrl+A, then Ctrl+C, and paste the text into a text file or the support ticket.
Keep the complete contents of the box. A screenshot can hide entries outside the small visible area, and copying just From or Subject removes the server information that a delivery team needs.
You should see several lines, often labeled Received, From, To and Message-ID. The contents vary by mail system, so copy what's there. Don't fill in a missing field or change another line.
If the box is empty on a received message too, try another email in the same inbox. That helps you check whether just one message is affected or all of them are. Tell support which happened.
For saving a separate copy of the email itself, follow the Outlook message download steps. Saving an item preserves the copy you have; it doesn't add headers that weren't stored in it.
Open message details in the newer interface
New Outlook has message details instead of classic Outlook's File > Properties dialog. Ask the recipient which app they're using before sending them instructions, especially when their Windows laptop has both Outlook programs installed.
Open the received message, select More actions at the top of its window, then choose View > View message details. Copy the header text from the details window and send it privately to the support team.
The same message-details route is available on the Outlook website, including Outlook.com. Use the receiving mailbox for this check. Another mailbox with the same display name won't contain that received copy.
If the app's menu looks different, use the mailbox's website and open the received item there. This is useful when a colleague has access through a browser but doesn't have classic Outlook installed on their computer.
Headers contain email addresses and technical details about the message's route. Share them through the provider's support ticket, rather than posting the complete contents in a public discussion.
Send a fresh test when the original isn't available
When the recipient can't supply the original, send fresh test mail to your own separate address and inspect the received copy. Keep the subject distinct so you can tell the test apart from the email that failed.
I'd use an inbox outside the sending organization when the problem concerns external delivery. A test delivered inside the same organization follows a different route from a message sent to another provider.
Adding your address as Bcc on a fresh test also gives you a received copy. Use the Bcc field in Outlook if it isn't visible. Inspect the item that arrives in your inbox, rather than its twin in Sent Items.
That tests delivery to your address. It won't tell you what happened to an older email or show the final handoff to a different recipient's provider.
Resending or forwarding an old item now creates a new delivery event. That can help reproduce a fault, but give support the new test's time and recipient so they don't confuse it with the original failure.
Ask for a delivery trace when the email never arrived
For a missing message, collect the sending address, recipient address, subject, approximate sending time and time zone. Include any returned error email. Those details help the mail administrator search for the correct delivery attempt.
For a Microsoft 365 organization mailbox, ask the organization's mail administrator to check its message trace. For a mailbox on your own domain, ask the hosting provider's mail support team to check that domain's delivery records.
Ask what happened after the sending server accepted the message: was it delivered, rejected or delayed? Give them the delivery attempt's details rather than sending another empty Properties screenshot.
A new message still sitting in Outbox hasn't been sent yet. Tell support it never left the app. When the copy is in Sent Items, mention that too, but don't claim the recipient received it.
The Short Version
Get delivery headers from the recipient's original email. Open File > Properties in classic Outlook, or More actions > View > View message details in new Outlook. Ask the provider for a trace when nothing arrived.
Checked November 17, 2026.
 If you have any business, I can build it online