
If Steam's Play button returns without Rocksmith 2014 opening on Windows 11, verify the game files first. Then check for a missing Visual C++ 2010 x86 runtime or an audio-device conflict.
These steps cover Rocksmith 2014 Edition - Remastered on Steam. Rocksmith+ is a separate product, so check the name in your library before changing its installation.
1. Start from Steam and verify the installed files
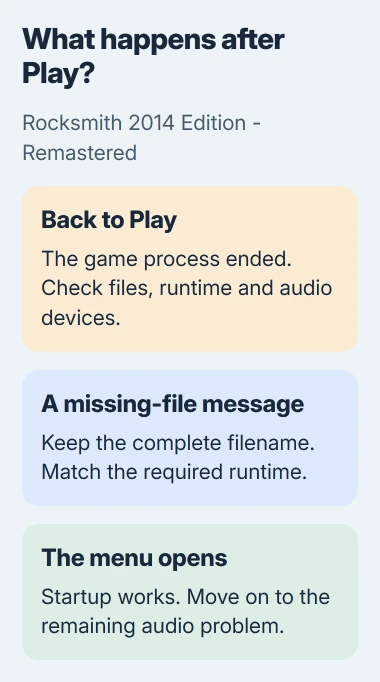
Restart Windows, open Steam normally and launch Rocksmith from its Library entry. Watch what happens: does the Play button briefly change and return, does a window appear, or does an error name a missing file?
If Play reappears, the game has stopped running. A missing-file message tells you what it needs to start. If you reach the main menu, startup worked; you can move on to any remaining audio problem.
Right-click the game in Library and open Properties > Installed Files > Verify integrity of game files. Wait for verification and any resulting download to finish before trying the game again.
Steam compares your installed files with its copy of the game. It doesn't check every set of shared Windows program files, called runtimes, or every audio tool. Continue if verification finishes but the game still won't open.
Uninstalling Steam affects more than the one game you're trying to fix. Keep a copy of your personal configuration files before replacing or changing them.
2. Install or repair the Visual C++ 2010 x86 runtime
One owner in a Windows 11 discussion fixed startup by installing the x86 Visual C++ 2010 redistributable. The same thread also records failed reinstalls and file verification, so repeating those isn't always enough.
A redistributable installs shared program files that older games need. The newest Visual C++ package doesn't replace every older version, and the 64-bit package can't replace the x86 package this game needs.
Open Settings > Apps > Installed apps and search for Microsoft Visual C++ 2010. Look for x86, which means the 32-bit version. Keep the other redistributable versions installed because other programs may need them.
Microsoft's runtime download list separates Visual Studio 2010 (VC++ 10.0) SP1 from the newer packages. Use its 2010 section or the official download page, rather than choosing the newest version by date.
On the 2010 SP1 download page, choose Download, select vcredist_x86.exe and continue with the download. The x64 and ia64 choices are different packages.
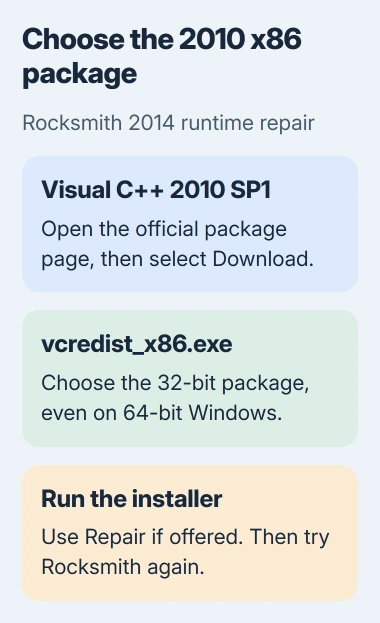
Run the downloaded installer. If it offers Repair for an existing copy, use that option; otherwise complete installation. Restart if requested, then test Rocksmith from Steam again.
Support for this old runtime has ended. Use the official download, and don't substitute individual DLL files from download sites.
If the next error names another runtime, note its exact filename. Add only the package that message identifies so you can see whether it resolves the error.
3. Remove an audio conflict before reinstalling the game
Two other players in that discussion fixed startup: one uninstalled Voicemeeter, and the other turned off Bluetooth. Try the check that matches your PC's audio setup.
First, close virtual-mixer software and switch the Windows output to built-in speakers or a wired audio connection. Open Settings > System > Sound, then select the intended device under Output.
To check Bluetooth, turn it off temporarily in Settings > Bluetooth & devices. Try launching with the wired output selected, then turn Bluetooth back on if you need it for other accessories.
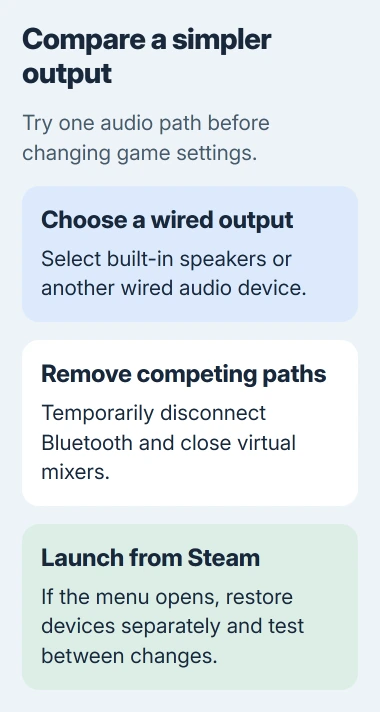
If Rocksmith now opens, restore each audio connection separately. If one device or setup makes startup fail again, focus on that instead of reinstalling the whole game.
If closing Voicemeeter doesn't help, the player reported that uninstalling it worked. Save its configuration first, remove it through Installed apps and restart. Then test with your normal Windows audio output.
I'd try this before changing Rocksmith's buffer settings, which tune audio once the game can run. First, find out whether an audio device is stopping it from opening.
4. Treat a working menu as progress, then fix its audio
Once the menu opens, leave the launch repairs alone and check what remains. A missing guitar signal, crackling playback and a game that never creates a window are different faults.
The Rocksmith 2014 configuration guide explains Audio Exclusivity and the audio-engine settings. Exclusive access gives the game control of its audio devices, which can affect sound in other apps.
Close apps using the same audio device before testing. If you choose to share audio instead, use the guide's Audio Exclusivity setting and compare the result without changing several buffer values together.
If your headset sounds tinny when another app uses its microphone, check Windows switching to the hands-free audio connection. Once startup works, you can address that change in the headset's sound mode separately.
For silence across Windows, use the computer sound checks. Repairing the game's files won't select the right Windows output or bring back an audio device that's missing system-wide.
5. Give support the failed stage and useful logs
If Rocksmith still returns to Play, note your Windows version, processor, selected output and any audio tools or game modifications. Tell support whether the runtime repair changed the error or another output let the game start.
Launch normally from the Steam library for this check. Random changes to administrator or compatibility settings can create a new problem, including an error about Steam not running.
The configuration guide describes DumpAudioLog in Rocksmith.INI, located beside the game's application. When support requests an audio log, set it to 1, run the game and look for AudioDump.TXT in that folder.
Set it back to 0 afterward because continuous logging can slow the game. A crash before audio starts may leave little useful information, so also send the exact missing-file message or Windows error if one appears.
Tell Ubisoft Support or Steam Support where startup stops and what happened after each repair. Keep a working configuration copy so you can restore it after any audio-setting changes.
The Short Version
Verify the game, repair the 2010 x86 runtime and try starting without competing audio connections. Once the menu works, troubleshoot playback separately. If startup still fails, send support the message and explain when the game exits.
Checked November 5, 2026.

Isaac Smith is the founder and editor of PC Glance, a website that covers computers, laptops, and technology. He is a tech enthusiast and a computer geek who loves to share his insights and help his readers make smart choices when buying tech gadgets or laptops. He is always curious and updated about the latest tech trends.