Snipping Tool is the easiest screenshot program for a Windows 11 desktop PC. ShareX adds scrolling captures and repeated capture tasks; Greenshot suits quick screenshots with a straightforward image editor.
The useful difference is what happens after the capture: a saved file, an annotated picture, or an upload. I'd start with the built-in app and add another program only for a job it doesn't handle comfortably.
In this guide
Match the program to the screenshot you need
A rectangle around an error message doesn't need a large capture setup. A long scrolling window is a different job, and a picture going to a colleague needs a chance to remove private details before sharing.
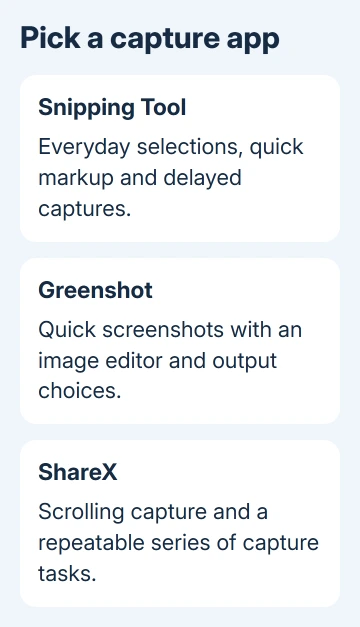
Use this comparison to choose a starting point:
- Snipping Tool: built into Windows, with selection modes, markup and delayed captures.
- Greenshot: a screenshot utility with a capture editor and a choice of output destinations.
- ShareX: a capture and automation program with scrolling capture and configurable actions after capture.
All three can handle ordinary desktop pictures. Installing several at once can make the keyboard shortcuts harder to manage because more than one app may try to respond to Print Screen.
For the built-in controls, Microsoft's Snipping Tool instructions explain the supported capture modes. Follow the Windows 11 part rather than the older Windows 10 instructions.
Start with Snipping Tool for everyday captures
Press Windows + Shift + S. Choose a capture mode on the toolbar, then drag around what you want to capture. Rectangle is convenient for a message or a few settings; Window captures an individual app window.
The selected image goes to the clipboard. Open the capture notification to edit it, or paste it into an app with Ctrl + V. If the app is already open and you only need to send the picture, pasting saves you creating a separate file.
For an attachment, use Snipping Tool's save control with your captured image open. Choose a filename you'll recognize and a folder you'll remember. Open the saved copy before attaching it, especially if small text needs to remain readable.
If the image copies but the editing pop-up doesn't arrive, check the Snipping Tool notification settings. Fix the notification before replacing an otherwise working capture app.
Open Snipping Tool from Start when you need its delay setting. Set a delay, begin the capture, then open the menu you want to capture. This gives the menu time to appear without trying to hold it open while pressing a shortcut.
Crop out empty desktop space before sending the result. An error message should still be readable when the recipient opens the attachment at its normal size. Keep enough surrounding context to show which app produced it.
Choose Greenshot for a quick capture-and-edit routine
Once Greenshot is installed, open it from the notification area. Its own help lists Capture region, Capture window and Capture fullscreen, so you can choose the subject before taking the picture.
The documented default for a region capture is Print Screen. Alt + Print Screen captures a window, and Ctrl + Print Screen captures the full screen. Check Greenshot's settings if another installed app already uses those keys.
After capturing, choose the image editor to add a label, highlight a control or crop the picture. If you only need to paste the picture, choose a clipboard destination and skip the editor.
Select the output you need. Saving an image and copying it are separate actions: a picture ready to paste isn't necessarily the file you meant to attach. If you need a file, open the destination folder to check that it's there.
Greenshot's documented Capture Internet Explorer option isn't a general full-page capture button for today's browsers. Don't pick the program for that old feature if the job is a long page in Chrome or Edge.
For ordinary screenshots, its simpler capture-and-edit sequence may suit you better than configuring a larger set of automated tasks. Try a harmless desktop window first, then set the shortcut you want to keep.
Use ShareX for scrolling captures and repeat jobs
ShareX is the more flexible choice when the same capture needs the same series of actions each time. It lets you capture a selected area, edit the image and take scrolling screenshots that extend past the visible desktop.
Open Capture > Scrolling capture when the content is longer than one screen. Select the target window or scrolling area and follow the capture controls. The finished image joins the captured sections into one picture.
Review the complete result before using it. Look for missing sections, repeated rows or fixed headers appearing more than once. A long image is useful only when the text follows the same order as the original window.
For ordinary pictures, use Capture > Region or the capture type that fits what you need. Then configure After capture tasks to decide whether the image is copied, opened in an editor or saved to a file.
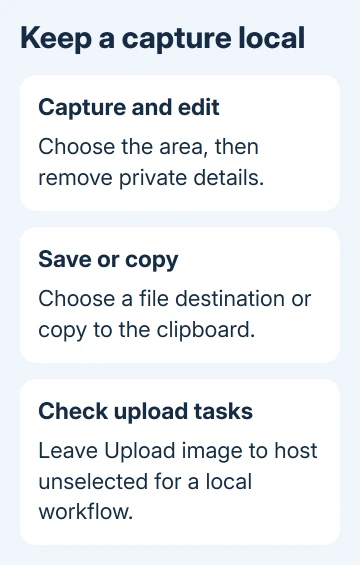
Check upload tasks before capturing private material. Leave Upload image to host unselected for pictures intended to remain on the computer. Choosing an editor doesn't itself mean every later upload action has been turned off.
Start with a plain capture, local save and clipboard copy. Add another task only when you need it. You'll then understand why a file appeared in a particular folder or why an extra window opened.
Make the saved result easy to find and share
Use a short, meaningful filename for pictures you intend to keep. A screenshot named for the app and error stands out among similar desktop images when you need it next week.
Keep text-heavy screenshots in a format that preserves their sharp edges, such as PNG. Avoid repeatedly resaving a picture as a compressed JPEG, which can make small letters harder to read.
For the Windows capture folder and Snipping Tool save choices, set up a screenshot folder before building a large collection. Check the actual destination rather than assuming every program shares it.
Try the app's capture menu when its shortcut doesn't respond. If menu capture works, check shortcut conflicts. For a failing app, report its version and the broken capture mode through its official help or issue tracker.
The Short Version
Use Snipping Tool for everyday captures, Greenshot for a quick editing routine, and ShareX for scrolling content or repeated tasks. Check where the file saves and whether upload actions are enabled before sharing private screenshots.
Checked November 16, 2026.