A paragraph that stops short while nearby text reaches the margin can be wrapping around a picture you can't see. Check Word's Selection Pane before widening the page.
In one confirmed Mac case, an invisible graphic was pushing several lines inward even though the page margins and columns looked correct.
In this guide
1. Select the object that is pushing text aside
Use desktop Word to open the document and go to the affected paragraph. Look for a short block of lines followed by ordinary full-width lines. That pattern can mean an object is taking up space beside those lines.
On Windows, choose Home > Select > Selection Pane, or press Alt+F10. On Mac, select Layout > Selection Pane.
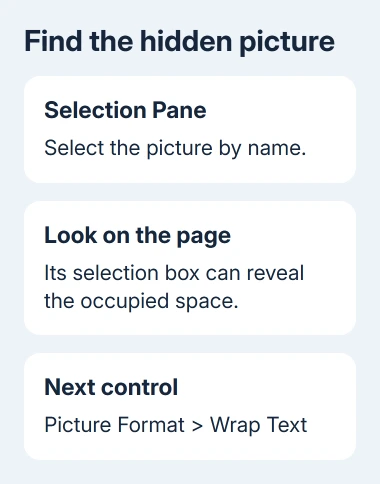
Select entries in the pane and watch for a selection box near the affected text. A picture can occupy space even when the image itself isn't visible. Check objects anchored earlier on the page as well as beside the paragraph.
The Selection Pane instructions explain how to select objects by name. Use it when clicking the empty-looking space doesn't select the object.
An owner traced the narrow lines to an invisible graphic in Microsoft's forum. Selecting text earlier in the document revealed its box, while selecting only the shortened paragraphs had missed it.
Save a copy before deleting an object. A missing picture might be part of the document's intended design, so changing its wrapping is usually a better first test than throwing it away.
2. Change the picture's wrapping and check the paragraph
With the picture selected, open Picture Format > Wrap Text. Depending on the ribbon width, Wrap Text can be inside Arrange. For a shape, use the corresponding controls on Shape Format.
Choose In Line with Text to make the picture behave like a character in a paragraph. It will sit in the paragraph instead of keeping text beside it. Text can move to a different page as Word adjusts the layout.
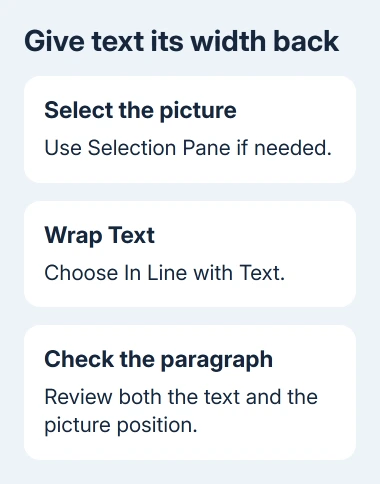
Check the previously short lines. If they now reach the margin, the picture's wrapping was keeping that space clear. Decide where the picture belongs before saving the final layout.
Keep a needed picture in its own paragraph if that arrangement suits the document. If it must stay beside text, adjust its size and position using the layout controls, then review the surrounding paragraphs again.
If the object is unwanted, select that specific item through the pane and delete it from your copy. Undo the deletion if the page changes in an unexpected way or a needed element disappears.
Hiding leaves the object inside the document. Change its wrapping or delete that specific object from your copy to check whether it's pushing the text aside.
I'd try the wrapping change before resetting all the paragraph formatting. That tests the cause the owner found while keeping your font, line spacing, and other paragraph settings intact.
3. Check paragraph indents when no object explains it
Select one affected paragraph and open its paragraph settings. On Windows, use the Home > Paragraph dialog launcher. On Mac, use Format > Paragraph. Review the Indents and Spacing controls.
Check Left and Right indentation against a nearby paragraph that lays out correctly. A right indent reduces the line's available width even though the page margin itself hasn't changed.
Set an unintended right indent to 0, then apply the change. Check the left indent and any special first-line or hanging indent separately. Keep the values that your document's design actually requires.
If several paragraphs share the same unwanted indent, select those paragraphs together and correct them. Don't apply a whole-document reset when other parts of the document already look correct.
An indent and a wrapping object can look similar, but they often affect different areas. An indent applies to the paragraph; a picture can shorten only the lines that pass beside it.
For Word 2016 paragraphs whose indents only appear to vanish, use the indent display guide. Compare the saved formatting before treating a display refresh as a real layout change.
4. Reveal line breaks and check the container
Turn on Home > Show/Hide to see paragraph marks and manual line breaks. A manual line break, entered with Shift+Enter, ends a line without starting a new paragraph. It can leave a line short of the margin.
Remove an unwanted manual break at that point and let Word wrap the text naturally. Work on individual breaks first; replacing every break in a long document can join text that was intentionally separated.
An empty area between text blocks needs the vertical white-space checks, including paragraph spacing and page breaks.
The paragraph mark guide explains the formatting symbols. Showing them changes what you can see while editing, so you can distinguish a forced break from natural wrapping.
Check whether the text is inside a table cell or text box. A cell or text box can restrict line width independently of your page margins. Compare it with a normal body paragraph outside the container.
For a section using columns, check Layout > Columns at the affected text. A document can have different section layouts, so a full-width paragraph elsewhere doesn't tell you how this section is set up.
Don't use Justify as a general cure for a narrow paragraph. Alignment changes how text uses the space available to it; it doesn't remove a picture's wrapping area or an unintended right indent.
When the picture stays invisible or the layout stays wrong
Open File > Print and compare the affected area in preview. Note whether the picture appears there and whether the same lines remain short. Send support the sample document and explain how its print preview differs from the editing view.
For a work file, ask its creator or template owner whether a floating graphic belongs in that position. They may recognize a logo or design element that isn't obvious from the shortened text.
If you can't select the object or change its wrapping, send Word support your Word version, whether you use Windows or Mac, and a sample file stripped of private text. Ask them to check the object's position and wrapping.
The Short Version
Use Selection Pane to find a hidden picture first, then try In Line with Text. If no object explains the narrow lines, check paragraph indents, manual line breaks, and the text's table, text box, or section layout.
Checked November 17, 2026.