Word mail merge can change a date's appearance even when the Excel column looks correct. Add a date-format switch to the merge field in Word so the finished letters use the day, month and year pattern you want.
An unwanted date style and a plain number such as 41179 need different repairs. Start with the field's format, then check the source value if Word still won't show a date. Use the Windows desktop version of Word for this procedure.
In this guide
1. Change the date field in the original merge document
Open the reusable document connected to your recipient list, rather than a finished set of letters. The original contains the merge fields; changing one finished letter won't correct the template for the next run.
Keep a backup of the merge document before changing its field codes. Then click the date field and press Shift+F9. Word should show the field code inside braces, with MERGEFIELD followed by the column name from your mailing list.
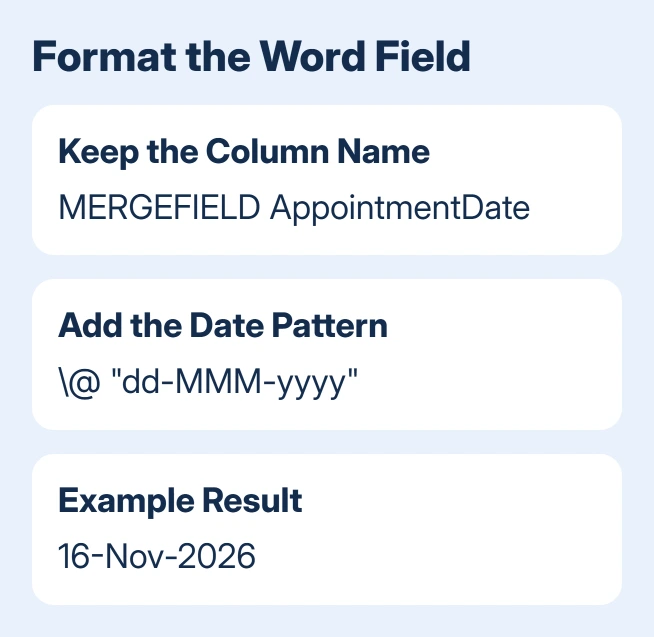
Keep that existing column name. For a column named AppointmentDate, the finished code can look like this:
{ MERGEFIELD AppointmentDate \@ "dd-MMM-yyyy" }Add the backslash, the @ symbol and the pattern in straight quotes after the field name, inside its existing braces. Don't type an entirely new pair of braces as ordinary text: those characters alone don't create a working field.
Microsoft's date-field correction uses this date-time switch to control merged dates. This controls the date in your letter without repeated changes to the Excel cell's appearance.
One owner confirmed that adding the date-format switch fixed their merge. A later report still showed a plain number after the change; use the source-data checks in section 4 for that result.
Click inside the field and press F9 to update it. Press Shift+F9 again if the instructions remain visible, then select Mailings > Preview Results to inspect the recipient's date.
For November 16, 2026, that pattern produces 16-Nov-2026 with English month names. If your column has a different name, use that name in the code. Replacing it with AppointmentDate would ask Word for the wrong field.
2. Choose the pattern that matches the letter
The code after \@ tells Word how to display the date. Use uppercase M for the month. Lowercase m means minutes in Word's date-time codes, so copying Excel's lowercase month pattern directly can give the wrong result.
| Word pattern | Example for November 16, 2026 |
|---|---|
dd-MMM-yy | 16-Nov-26 |
MMMM d, yyyy | November 16, 2026 |
dd/MM/yyyy | 16/11/2026 |
yyyy-MM-dd | 2026-11-16 |
Keep straight quotation marks around the complete pattern, including its spaces and punctuation. MMM gives an abbreviated month name; MMMM spells it out. yyyy keeps the full year, which helps with records spanning different years.
I'd use a spelled-out month for a letter read across countries. November 6 is easier to interpret than 06/11, even when the merge itself has worked perfectly. Choose the format for the person reading the finished letter.
The field-format reference explains these case-sensitive date codes. The format changes how a usable date looks. It can't fix a date entered incorrectly in your mailing list.
For example, a source value that really means June 11 won't become November 6 because the display order changes. Check an original record with a known date before accepting a neat-looking result.
3. Check the field when nothing changes
Right-click the date and choose Toggle Field Codes if the keyboard shortcut doesn't show its code. On laptops with volume or brightness on the function keys, this right-click menu gets you to the code.
Check the whole field code, especially the backslash before @ and the closing quotation mark. Keep the format instruction inside the same braces as MERGEFIELD. Text placed after the closing brace becomes ordinary letter text.
If Word shows several sets of instructions throughout the letter, Alt+F9 switches all fields between codes and results. That display mode isn't a broken merge. Return to results before judging the appearance of the dates.
If the document has a date typed as ordinary text, insert the real column through Mailings > Insert Merge Field. Select the matching date column, then apply the format to that field rather than to nearby text.
The Excel-to-Word mail merge procedure covers reconnecting the correct sheet if the expected column isn't listed. Don't recreate a working recipient list just because one field needs a different display pattern.
For an external-table error before records load, repair the source connection before changing date-field codes.
4. Treat a number as a source-data problem
Excel stores dates as day numbers. A merged result such as 41179 needs a source check when the date-format switch leaves it unchanged, rather than another attempt to rearrange the same date pattern.
Check the source column's first several data rows for consistent date values. A mixture of dates, text and unrelated numbers can affect how the column reaches Word, so the display switch alone might not fix it.
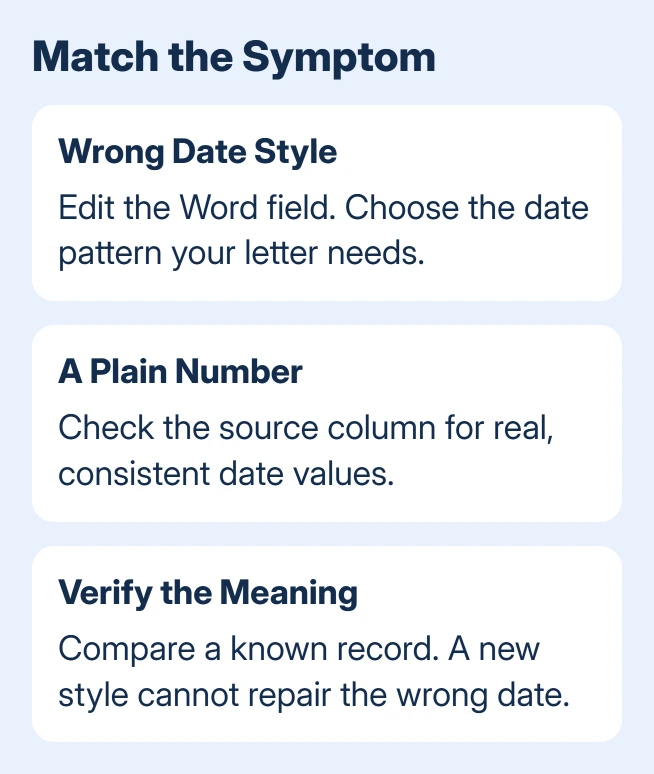
Duplicate the workbook and inspect the affected entries in that copy. If a formula produces the date, check its result too. Compare the record against the original information instead of guessing what an unfamiliar number should mean.
For cells that are text rather than usable dates, follow the separate Excel date-recognition checks. Get Excel to recognize the date correctly before trying to format it in Word.
Save and close the corrected workbook, then reopen the merge document and preview the same records. If the number remains, keep a small sample for support rather than changing connection methods or regional settings at random.
5. Review several records before finishing the merge
Use Mailings > Preview Results and move through recipients. Check a date with a day greater than 12, a different month and any blank date cells. This catches mistakes that an ambiguous first record can hide.
Choose Mailings > Finish & Merge > Edit Individual Documents to inspect generated letters before printing or sending them. Save the reusable merge document separately so its corrected field is available for the next mailing.
If the problem keeps happening, send Microsoft Support the field code and a workbook with invented data that shows the problem. Include the installed Word version and whether the output is a wrong date, a number or unchanged field text.
The Short Version
Edit the date's MERGEFIELD in Word, add \@ with a quoted date pattern, and preview the result. Use uppercase M for months. A plain day number or wrongly interpreted source date needs a source-data check before finishing the letters.
Checked November 16, 2026.
 If you have any business, I can build it online