Wrap Text in Excel keeps a long description visible on several lines within the same cell. Select the cells and choose Home > Alignment > Wrap Text in Excel for Windows.
Excel adjusts the wrapping to the column width. For a line break at a specific word, edit the cell and use Alt + Enter instead. Row height may need attention if part of the text stays hidden.
In this guide
Turn on automatic wrapping
Select the cell or range containing the long text. Open the Home tab and select Wrap Text in the Alignment group.
Set the column to the width you need. Excel reflows the text within that width while keeping it in one cell; a wider column fits more words on each line.
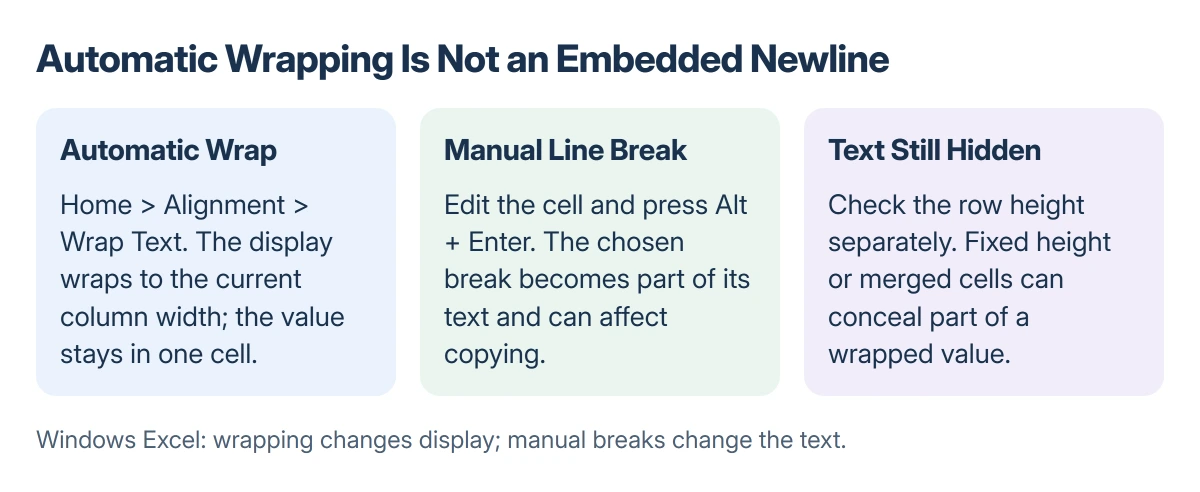
Status: Microsoft's Windows Excel wrapping instructions checked 22 October 2026. Automatic wrapping and Alt + Enter are documented; no workbook was changed.
Microsoft's Wrap Text instructions explain this width-dependent behavior. Wrapping changes the display without splitting the description into separate records.
Choose a consistent width for description columns before adjusting the rest of the layout. A very narrow column can make rows unnecessarily tall.
For billable descriptions, use a simple Excel invoice layout that leaves room for the work details alongside quantities, prices, and calculated amounts.
For a monthly planner, start with an Excel calendar template and put wrapped notes in its input areas without replacing the date formulas.
Put a new line at a particular word
For a deliberate break in Excel for Windows, double-click the cell to edit it. Click at the intended break point and press Alt + Enter.
Microsoft documents F2 as another way to edit the selected cell. Alt + Enter then adds a break within the value without moving to another cell.
For an address, place the break between the recipient and street to keep them on separate lines. Automatic wrapping cannot preserve that exact split as the column width changes.
Microsoft states that Alt + Enter inserts a line break within a cell. That break is stored in the text, so switching off Wrap Text does not remove it.
Stored breaks can affect copying: they may cause Excel to add quotes around copied text, even when the worksheet looks normal.
Wrapped text is still one value
Click the cell and inspect its contents in the formula bar. A description displayed over several lines still belongs to the same row and column address.
Keep Text to Columns for data that needs splitting into neighboring columns. It changes the data arrangement rather than simply making a sentence easier to read.
If a copied description already lands in several columns, follow Excel's remembered delimiter settings rather than changing Wrap Text repeatedly.
Before exporting wrapped values for another application, check whether that application expects embedded newlines. The layout that reads well in a worksheet may not match a destination's field format.
Text still hidden after wrapping?
Microsoft says fixed row height or merged cells can hide wrapped text. Check both if the line breaks look correct but the row lacks room to display the full value.
For a normal unmerged range, select the affected cells and use Home > Format > AutoFit Row Height. If that does not fit the contents, use the fuller Excel AutoFit row-height checks.
Avoid merging a data table's cells as a quick visual fix. Check the worksheet's structure before changing it, particularly when other people sort, filter or import the records.
If protection disables formatting, ask the workbook owner to allow the change. Wrap Text cannot override the file's protection settings.
The cell-locking and worksheet-permission controls explain how input access differs from permission to change the sheet's layout.
The Short Version
Select the cells and enable Home > Alignment > Wrap Text. Column width decides where automatic wrapping occurs.
Use Alt + Enter inside an edited cell for a deliberate line break. Check row height separately if part of the text stays hidden.
Where to Next
Review the final column widths in print preview before sharing the worksheet. If the destination is another app, test one representative value before exporting the entire table.